
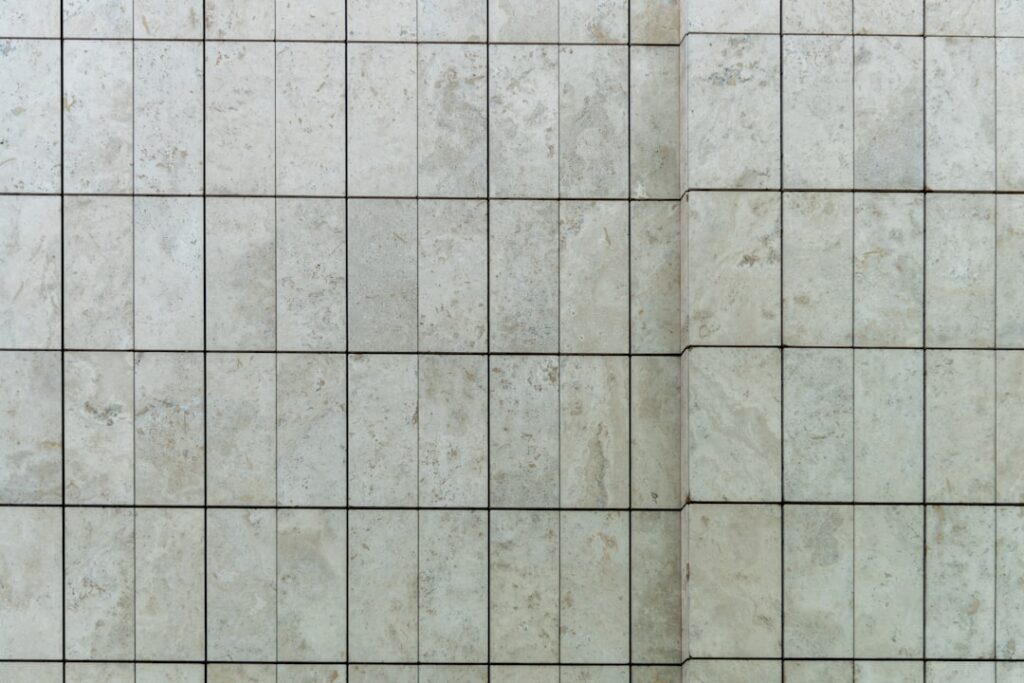
If you’ve ever looked at your bare concrete or drywall garage and wished it looked more like a proper workspace, garage wall tiles are one of the best upgrades you can make. They protect your walls, make cleaning a breeze, and turn a cluttered space into something that actually functions well. Whether you’re a car enthusiast, woodworker, or just someone who wants better organized storage, the right wall treatment changes the entire feel of the space.
Part of our Tile & Grout guide — explore the full guide →
This guide covers the main types of garage wall tiles, how to choose between them, what installation looks like, and what you can expect to pay.
Why Tile Your Garage Walls?
Bare drywall in a garage takes a beating. Moisture, grease, tool scuffs, and general abuse degrade an untreated wall quickly. Garage wall tiles add a hard, washable surface that holds up to all of that. Beyond durability, they give you a clean backdrop that reflects light better than raw concrete or gray drywall, which makes the space feel larger and brighter.
Tiled walls also create a logical foundation for storage systems. Many interlocking panel products are designed specifically to hold hooks, bins, shelves, and brackets, so your tools and supplies get off the floor and onto the wall. That alone can double your usable floor space.
Maintenance becomes much simpler too. Wipe down the panels with a damp cloth or hose them off if needed. There’s no painting, no sealing, and no worrying about moisture damage the way you’d have to with plain drywall.
If you’re running out of room even with a clean garage floor, a backyard shed takes the overflow — seasonal gear, tools, lawn equipment. And if you’re parking outside while the garage doubles as a workshop, a carport keeps your car covered without needing a second garage.
We may earn a commission when you purchase through our links.
Types of Garage Wall Tiles and Panels
Several distinct categories exist, and they differ in material, function, and price. Understanding each helps you match the product to how you actually use your garage.
Interlocking PVC Wall Panels
These are the most popular option for residential garages. Rigid PVC panels interlock along their edges, snapping together to form a continuous surface. Standard panels run roughly 12 x 12 inches, though many systems use larger 2 x 4-foot sections that cover ground faster. Thickness is usually 3/16 to 1/4 inch, which keeps the wall surface nearly flush.
PVC panels are lightweight, moisture-proof, and require no special tools to install. Most systems use a hidden fastener that clips into the panel’s edge, so the finished wall has no visible screws. Colors range from white to gray to black, with some manufacturers offering two-tone or textured finishes. Expect to pay $2 to $5 per square foot for the panels alone.
Slatwall Panels
Slatwall — sometimes called slotwall — is the horizontal-channel panel system common in retail stores and home garages alike. Channels spaced about 3 inches apart accept a wide range of hooks, bins, baskets, and shelves designed specifically for the system. The panels themselves are typically made from MDF with a laminate or melamine face, or from PVC for moisture resistance.
MDF slatwall costs less, around $1.50 to $3 per square foot, but it’s vulnerable to humidity and shouldn’t be used in garages without good climate control. PVC slatwall costs $4 to $8 per square foot and handles a damp environment without warping or swelling. The storage flexibility slatwall provides is unmatched — you can reconfigure the accessories any time without touching the wall itself.
Ceramic and Porcelain Wall Tile
Standard ceramic and porcelain tile — the same products you’d use in a bathroom or kitchen — can absolutely be used on garage walls. They’re extremely durable, easy to clean, and available in thousands of styles. Porcelain is denser and harder than ceramic, making it a better choice for areas where impact resistance matters.
The trade-off is installation complexity. You need to prep the substrate properly, apply tile adhesive or mortar, set tiles level, grout, and seal the grout. This is a more involved job than snapping PVC panels together. Budget $3 to $10 per square foot for the tile itself, plus $5 to $15 per square foot for professional installation. Many homeowners limit ceramic or porcelain tile to specific areas like around a utility sink or a mudroom entry rather than covering the entire garage.
Metal and Steel Wall Panels
Perforated steel panels and aluminum wall systems show up in commercial garages and professional shops. They’re incredibly durable and can support very heavy loads from wall-mounted equipment. The perforated versions accept specialized hooks and accessories. These systems typically run $8 to $20 per square foot installed, putting them at the premium end of the market.
Key Factors to Compare Before You Buy
Once you’ve narrowed down the type, a few practical factors should drive your final choice.
- Moisture resistance: If your garage gets damp, stick with PVC or porcelain. MDF slatwall and standard drywall backer will fail in humid conditions.
- Weight capacity: If you plan to hang heavy items — shelving loaded with power tools, bike racks, or a pegboard full of equipment — check the manufacturer’s load ratings. Slatwall and steel systems typically publish these; standard PVC panels do not carry heavy loads without reinforcement.
- Coverage speed: Large panels (2 x 4 ft) cover a two-car garage much faster than 12 x 12-inch tiles. For a 400-square-foot garage with 8-foot ceilings and two tiled side walls (roughly 320 sq ft), the difference in installation time is several hours.
- Aesthetics: If the garage doubles as a workspace or home gym, appearance matters more than in a pure storage space. Porcelain tile gives a polished, finished look; PVC panels look clean and modern; slatwall reads as functional and commercial.
Installation Over Drywall or Studs
Most PVC panel systems can go directly over existing drywall, which is the easiest path. Check that the drywall is sound — no soft spots, significant water damage, or major gaps. Use a stud finder to mark your framing before you start, because you’ll need to drive fasteners into studs for anything beyond the lightest panels.
For installations directly to studs (no drywall), you gain a flatter finished plane and avoid any question about the substrate. This is common in new construction or full garage renovations where the old drywall comes down anyway. Panels fasten to studs on 16-inch or 24-inch centers with screws through the panel face or hidden clips depending on the system.
Ceramic or porcelain tile requires a proper backer. Cement board — 1/2-inch HardieBacker or similar — screwed to studs is the standard approach. Do not tile directly over standard drywall in a garage; the humidity and temperature swings will cause the paper face to fail and tiles to pop. Apply tile adhesive, set tiles with appropriate spacers for grout joints, let cure for 24 hours, then grout and seal.
Cost Breakdown by System
Here’s a rough budget guide for covering a 400-square-foot wall area (two 20 x 10-foot side walls in a standard two-car garage):
- PVC interlocking panels (DIY): $800–$2,000 in materials, plus $50–$100 in fasteners and trim pieces. No professional labor needed for most homeowners.
- PVC slatwall (DIY): $1,600–$3,200 in panels, plus accessories, which add up quickly ($20–$80 per hook kit or bin set).
- Ceramic tile (pro installed): $1,200–$4,000 for tile plus $2,000–$6,000 for labor and materials. Total project $3,200–$10,000 depending on tile quality and layout complexity.
- Steel perforated panels (pro installed): $3,200–$8,000+ for the full wall area.
DIY-friendly systems like PVC panels are where most homeowners get the best return. The materials aren’t expensive, installation doesn’t require specialized skills, and the result looks professional.
Tips for a Professional-Looking Installation
Start at the most visible corner of your garage — usually the wall directly across from the entry door — and work outward. This keeps the most prominent surface looking perfect even if you have to rip a partial panel at a less visible edge.
Use a laser level or chalk line to keep courses straight. A panel that’s even slightly off-level at the bottom will compound that error across 20 feet of wall. Take the time to get the first row right.
Run electrical outlets through the panels before you finish the surface. Surface-mount conduit is the easiest approach if you’re adding outlets after the panels are up. A 20-amp circuit dedicated to power tools is worth planning for if you’re doing a full garage workshop build-out.
Trim pieces — corner moldings, top cap, and base trim — give the installation a finished look. Most panel manufacturers sell matching trim kits. Don’t skip them; they’re what separate a DIY look from a professional one.
Combining Systems for Maximum Function
You don’t have to choose just one system. A popular approach is to install slatwall on the upper half of the wall (from about 4 feet up to the ceiling) for tool and accessory storage, and use a more decorative tile or panel on the lower half where the wall takes the most abuse. This gives you maximum flexibility above with easy-clean durability below.
Another common combination is ceramic or porcelain tile around a work sink or utility area where water splash is a concern, with PVC panels on the rest of the walls. Mixing materials this way lets you put the more expensive or installation-intensive product only where it’s most justified.
Maintenance and Long-Term Care
PVC and porcelain are genuinely low-maintenance once installed. Wipe down PVC panels monthly with a mild all-purpose cleaner and a soft cloth. For grease and oil — common in garages — a degreaser spray works well without damaging the panel surface. Porcelain tile can handle the same treatment; just keep grout lines sealed (reseal annually in a garage environment) to prevent oil and grime from penetrating.
Slatwall MDF should be cleaned gently; avoid soaking it with water. PVC slatwall is more forgiving. Steel panels can be wiped with any cleaner and resist corrosion well in normal garage environments, though coastal salt air can eventually affect uncoated steel if you don’t touch up chips.
If a PVC panel gets damaged — a deep gouge from a tool or a crack from an impact — most interlocking systems let you pop out and replace individual panels without disturbing the rest of the wall. That modular repairability is one of the biggest practical advantages over a tiled surface.
Prefer to explore on your own?
See how new flooring looks in your actual room in seconds — free, no signup.
Try the free Floor Studio →

