
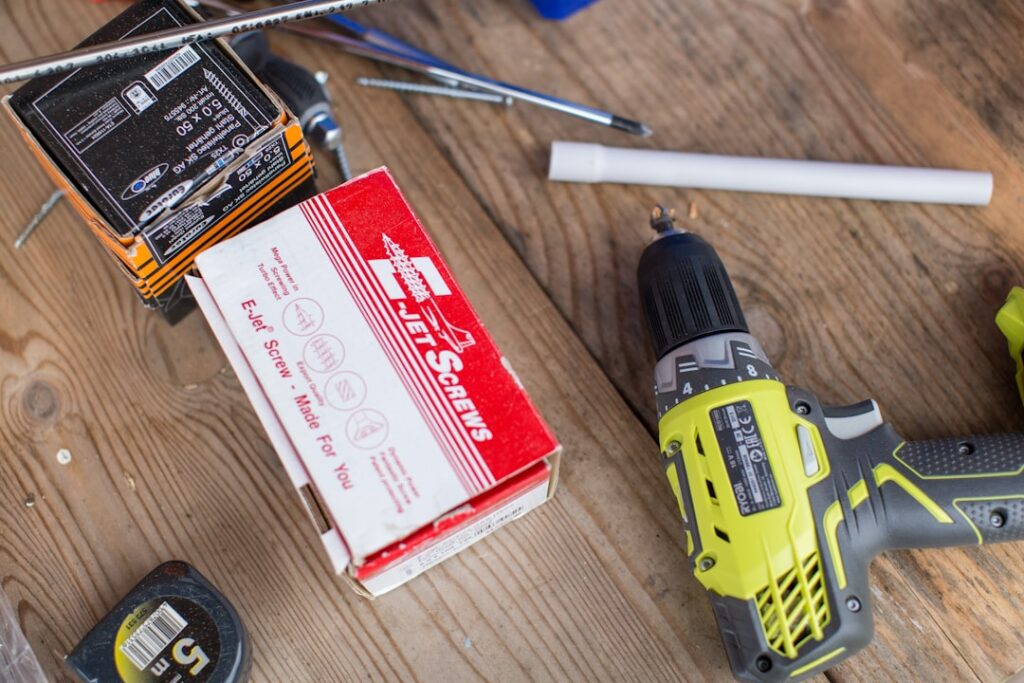
Most first-time installers assume the disposal itself is the only thing they need to buy, then find themselves back at the hardware store twice before the sink drains. A complete garbage disposal installation kit is what bridges that gap, bundling the mounting hardware, drain fittings, and gaskets that a bare unit does not always include. Understanding exactly what belongs in the kit, and what you still have to source separately, turns a frustrating afternoon into a tidy 60- to 90-minute project.
What a Standard Kit Includes
Terminology trips people up here, because “installation kit” can mean two different things. When it is packaged with a new disposal, the mounting assembly is usually already in the box. When sold separately, an installation kit is the collection of parts that connect the disposal to your sink and drain plumbing. A typical standalone kit contains the following:
- Mounting assembly: the sink flange, mounting ring, snap ring, and backup flange that clamp the disposal to the sink drain opening.
- Discharge tube: the elbow or straight pipe that carries wastewater out of the disposal to the P-trap.
- Rubber gaskets and a fiber washer: the seals that prevent leaks at the flange and discharge connections.
- Dishwasher connector and drain hose clamp: for tying a dishwasher drain line into the disposal inlet.
- Mounting bolts and snap ring: the small hardware that most people lose or strip if they are not organized.
Higher-end kits, like those from Fluidmaster or the InSinkErator Quick Lock system, add a stainless flange, plumber’s putty substitute in a pre-formed ring, and sometimes a power cord if your unit is hardwired. Budget kits skip the cord and expect you to reuse your existing flange.
What the Kit Usually Does Not Include
Here is where the second trip to the store happens. A power cord with a grounded plug is frequently sold separately because many disposals ship hardwire-ready with no cord at all. If your under-sink outlet uses a plug, budget $10 to $15 for a listed appliance cord. You will also likely need plumber’s putty for the flange seal unless the kit supplies a foam gasket, and possibly a new P-trap or extension tailpiece if the disposal sits lower than your old drain. Keep a tube of putty and a spare trap kit on hand so you are not stuck mid-install.
Electrical is the other gap. If there is no outlet or switch under the sink at all, that is an electrician’s job, not a kit purchase. Never wire a disposal into a circuit without a dedicated switch and proper grounding.
Tools You Will Need
The kit supplies parts, not tools. Gather these before you shut off the water so you are not crawling out from under the sink halfway through:
- Flathead and Phillips screwdrivers
- Channel-lock or slip-joint pliers
- A hex wrench or the mounting wrench that ships with most disposals
- Plumber’s putty and a putty knife
- A bucket and towels for the water still sitting in the trap
- A voltage tester to confirm the power is truly off
A headlamp beats a flashlight in your teeth every time under a dark cabinet. If you are replacing a unit rather than installing fresh, keep the old mounting ring on the sink if it matches your new disposal’s system; InSinkErator units generally share the same three-bolt mount across models, which can save you from re-doing the flange.
Step-by-Step Installation Overview
With the right garbage disposal installation kit in hand, the sequence is logical. First, cut power at the breaker and confirm with your tester. Disconnect the old unit if present, then clear and clean the sink drain opening. Roll a rope of plumber’s putty and press the new sink flange into the drain hole from above, weighting it with the disposal box while you work underneath.
Underneath the sink, slide the mounting ring, backup flange, and snap ring onto the flange and tighten the three mounting screws evenly so the ring seats flat. Attach the discharge tube and gasket to the disposal side. If a dishwasher connects, knock out the plug inside the disposal inlet first, then attach the drain hose. Hang the disposal on the mounting ring and rotate it to lock. Connect the discharge tube to the P-trap, wire or plug in the power, and run water while you check every joint for drips.
Pro Tips That Prevent Leaks
Tighten by hand plus a quarter turn on the slip-joint connections; overtightening cracks the plastic threads and causes the very leaks you are trying to avoid. Wipe away squeezed-out putty from the flange so it does not look messy and so you can see a clean seal. Run cold water for 30 seconds while grinding a few ice cubes on the first test; ice knocks off manufacturing debris and confirms the motor and seal are solid.
Choosing the Right Kit for Your Setup
Match the kit to your plumbing situation. If you have a dishwasher, confirm the kit includes the dishwasher connector and that you have not skipped knocking out the internal plug, a mistake that floods the cabinet on the first dishwasher cycle. For deep or double-basin sinks, verify the discharge tube length reaches your existing trap, and buy an extension if needed. Homes with older 1.5-inch drain lines are fine, but check that the kit’s discharge fits your pipe diameter.
Brand-specific kits often install faster because the tolerances match. If you own an InSinkErator, its Quick Lock mounting and matching kit snap together with minimal fiddling. Generic universal kits work on almost anything but sometimes need a little more finesse to seal. Either way, buying a complete kit up front, rather than piecing parts together at the store, is the single biggest time saver for this project. Spend the extra few dollars on a kit with a stainless flange and quality gaskets, and your under-sink connection will stay dry and quiet for years.
When to Call a Professional
DIY installation is well within reach for most homeowners with basic tools, but call a plumber or electrician if there is no existing outlet or switch under the sink, if your drain configuration is unusual, or if you hit corroded, seized fittings that resist removal. A pro install typically runs $85 to $200 in labor, and it is money well spent when the electrical or plumbing is not already in place. For a straight swap or a fresh install with existing power, though, a good kit and an hour of patience will handle it.
Continuous-Feed vs. Batch-Feed Considerations
The type of disposal you own affects which kit and accessories you need. A continuous-feed disposal, the most common style, runs whenever the wall switch is on, so it relies on a switched outlet or hardwired switch. A batch-feed disposal only runs when you insert and turn a special stopper, which means it does not need a wall switch at all and is often chosen for safety in homes with children. If you are moving from one type to the other, confirm your kit and electrical setup match; a batch-feed unit installed where you expected a switch can leave you without the wall control you assumed you needed, and a continuous-feed unit needs that switch wired in.
Horsepower matters too, though not for the kit itself. A 1/3 or 1/2 horsepower unit handles a small household, while 3/4 to 1 horsepower grinds tougher scraps and jams less often. Heavier units weigh more, so a solid mount from the kit’s flange assembly matters even more with a 1-horsepower disposal.
Avoiding the Most Common Install Mistakes
A handful of errors cause most callbacks on this project, and all are easy to avoid. Forgetting to knock out the dishwasher inlet plug before connecting the drain hose floods the cabinet on the first dishwasher cycle, so remove it early. Using too much plumber’s putty leaves a messy seal that oozes for days; a modest rope pressed firm is plenty. Reversing the discharge tube gasket, or omitting it, causes a slow leak that is maddening to trace. And overtightening the plastic slip nuts cracks them, creating the exact leak you were trying to seal. Hand-tight plus a gentle nudge is the rule for every plastic connection under the sink.


