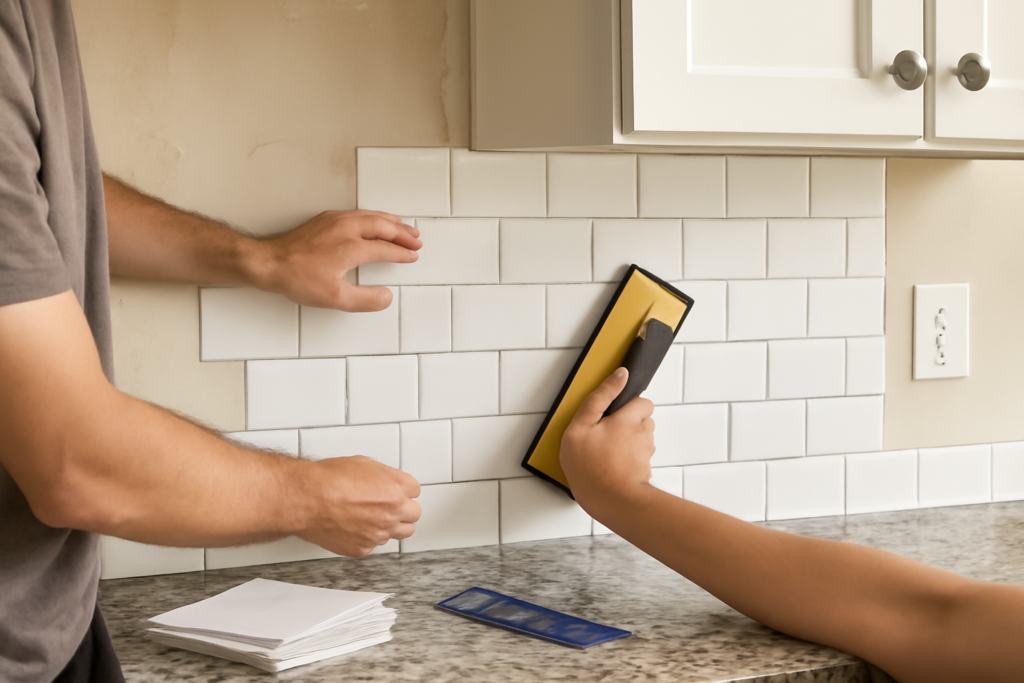
Peel-and-stick tile used to be an obvious shortcut you could spot from across the room. That changed when manufacturers introduced a version you can actually grout. Groutable peel and stick tile bridges the gap between cheap vinyl stickers and a full ceramic installation, giving you the convincing look of real grouted tile with a fraction of the labor, cost, and mess. For a confident DIYer who wants an upgraded floor or backsplash without mortar and a wet saw, it is one of the most practical options available. Here is how it works and how to install it well.
Part of our Tile & Grout guide — explore the full guide →
What Makes It Different
Standard peel-and-stick vinyl tiles butt right up against each other with no gaps, which is part of why they can look flat and fake. Groutable versions are thicker, more rigid luxury vinyl tiles designed to be set with a small spacing between them, just like ceramic. You then fill those gaps with a special grout. The result reads far more like genuine tile because the grout lines add the depth, texture, and shadow that the eye associates with real stone or ceramic. The tiles still have an adhesive backing, so no thinset mortar is required.
Where It Works Best
Groutable vinyl tile is versatile, but it performs best in the right settings:
- Kitchens and bathrooms, where its water resistance and tile look make sense.
- Laundry rooms, mudrooms, and entryways that need a durable, wipeable floor.
- Backsplashes and accent walls, where the lighter weight is an advantage.
- Rentals and budget remodels, where you want a real upgrade without major commitment.
It needs a smooth, clean, dry, and flat subfloor to adhere properly. Any bumps, debris, or moisture undermine the bond, so prep is the make-or-break step. Avoid installing it over heavily textured surfaces unless you first smooth them out.
Pros and Cons
Like any product, it involves trade-offs worth knowing up front:
- Pros: Far easier and faster than ceramic, no mortar or tile saw needed, softer and warmer underfoot, lower cost, and a genuinely convincing tiled appearance once grouted.
- Cons: Not as durable as true porcelain or ceramic over decades, sensitive to subfloor imperfections, and dependent on careful prep and the right grout to look and last its best.
What You Will Need
Gather your materials before starting:
- Groutable peel-and-stick tiles, plus about 10 percent extra for cuts and mistakes.
- The grout specified by the tile manufacturer, often a pre-mixed acrylic or urethane-based grout made for vinyl.
- Tile spacers sized to the recommended joint width.
- A utility knife or vinyl cutter, straightedge, rubber grout float, sponge, and a chalk line.
Step-by-Step Installation
Read the manufacturer’s instructions first, since grout type and spacing vary by product. The general process:
- Prep the subfloor so it is clean, dry, smooth, and level. Patch dips and remove any dust or grease that would weaken adhesion.
- Let the tiles acclimate in the room for the recommended time, usually a day or two, so they adjust to temperature and humidity.
- Snap chalk lines to find your center and lay out the pattern, so you avoid awkward narrow slivers at the walls.
- Peel the backing and press each tile firmly into place, using spacers to maintain consistent grout joints.
- Cut edge and corner pieces with a sharp utility knife against a straightedge; vinyl scores and snaps cleanly without a wet saw.
- Roll or press the entire floor to ensure full adhesive contact, working out any air pockets.
Grouting the Tiles
Grouting is what sells the real-tile illusion, so take your time. Use only the grout the manufacturer recommends, because standard cement grout can be too rigid and crack in these flexible joints. Press the grout into the gaps with a rubber float held at an angle, packing the joints fully, then scrape off the excess. Wipe the tile faces clean with a damp, well-wrung sponge before the grout hazes over, rinsing the sponge frequently. Let the grout cure for the full recommended time before walking on the floor or exposing it to water. Some products call for a grout sealer afterward, while others do not, so check the directions.
How It Compares to Ceramic and Regular Vinyl
It helps to see where groutable vinyl sits between its neighbors. Against true ceramic or porcelain tile, it is far cheaper, lighter, warmer underfoot, and dramatically easier to install with no mortar or wet saw, but it will not match ceramic’s multi-decade lifespan or its resistance to deep scratches and heavy impact. Against ordinary, ungrouted peel-and-stick vinyl, the groutable version looks markedly more convincing because the real grout lines add the depth and shadow that flat stickers lack, and the thicker, more rigid tiles feel more substantial.
The trade-off versus standard peel-and-stick is a bit more work, since you have to grout, and a higher cost. For renters, weekend remodelers, and anyone who wants the tiled look without the tiled labor, that middle ground is exactly the appeal. Set realistic expectations: it is an upgraded, budget-friendly tile alternative, not a permanent ceramic installation.
Cleaning and Maintenance
Day-to-day care is easy. Sweep or vacuum to keep grit off the surface, and damp-mop with a mild cleaner. Avoid soaking the floor or using harsh abrasives that could dull the finish or stress the grout. Wipe spills promptly, especially near the joints. If a single tile is ever damaged, one real advantage of this system is that you can often cut out and replace an individual piece rather than redoing the whole floor, though matching grout neatly takes a careful hand.
Is It Right for You?
For homeowners who want the depth and realism of grouted tile without the cost, weight, and skill of a full ceramic job, groutable peel and stick tile is a genuinely smart middle path. It rewards good subfloor prep and careful grouting with a floor or backsplash that looks far more expensive than it is. It will not outlast porcelain by decades, but for kitchens, baths, laundry rooms, and budget-minded remodels, it delivers an impressive, durable, DIY-friendly result that holds up well to everyday life.
Prefer to explore on your own?
See how new flooring looks in your actual room in seconds — free, no signup.
Try the free Floor Studio →