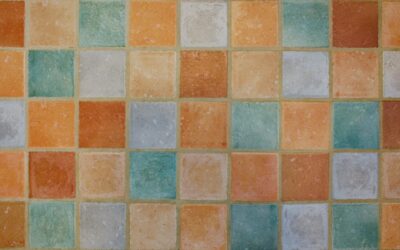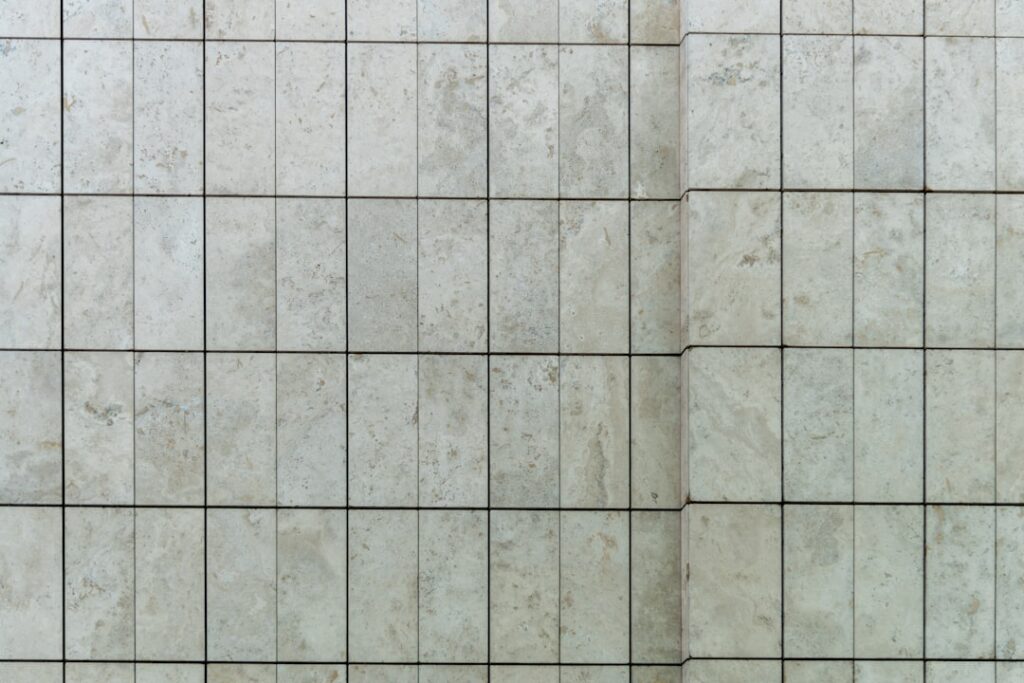
If you want a quick, affordable flooring upgrade without the mess of mortar, grout, or specialty tools, waterproof peel and stick floor tile is the answer. These self-adhesive tiles have come a long way from the thin, flimsy options of the past, with modern versions offering realistic stone and wood looks, genuine waterproof protection, and impressive durability.
Part of our Roofing guide — explore the full guide →
This guide covers the best waterproof peel and stick tiles available in 2026, installation techniques for lasting results, and honest advice on where these tiles work best and where you should consider alternatives.
- What Makes Peel and Stick Tiles Waterproof
- Types of Waterproof Peel and Stick Tiles
- Best Rooms for Installation
- Top Brands and Products for 2026
- Step-by-Step Installation Guide
- Cost Comparison with Other Flooring
- Pros and Cons
- Maintenance and Care
- Common Installation Mistakes
- Frequently Asked Questions
- Are peel and stick floor tiles really waterproof?
- How long do waterproof peel and stick tiles last?
- Can you put peel and stick tiles in a shower?
- Do peel and stick tiles damage the floor underneath?
- Can you install peel and stick over existing tile?
- What is the best thickness for waterproof peel and stick tiles?
- Do you need underlayment for peel and stick tiles?
What Makes Peel and Stick Tiles Waterproof
Not all peel and stick tiles are truly waterproof. Understanding the difference between water-resistant and waterproof products prevents costly mistakes, especially in moisture-prone areas like bathrooms and kitchens.
Truly waterproof peel and stick tiles feature a solid vinyl or WPC (wood plastic composite) core that does not absorb water under any circumstances. Even if water sits on the surface or seeps between tile edges, the material itself will not swell, warp, or degrade. These tiles typically carry an explicit waterproof rating from the manufacturer.
Water-resistant tiles can handle occasional splashes and spills but may absorb moisture over time if water penetrates the surface layer or sits at seams. Many budget peel and stick tiles fall into this category and should not be used in bathrooms, laundry rooms, or other high-moisture environments.
When shopping for waterproof options, look for these key indicators: a solid vinyl or WPC core construction, a waterproof rating or guarantee from the manufacturer, sealed or beveled edges that prevent water intrusion, and a thickness of at least 2 millimeters for residential durability.
Types of Waterproof Peel and Stick Tiles
Waterproof peel and stick tiles come in several formats, each suited to different applications and design preferences.
| Type | Thickness | Look | Durability | Price per Sq Ft |
|---|---|---|---|---|
| Luxury Vinyl Tile (LVT) | 2-4 mm | Stone, marble, slate | Very Good | $2 – $5 |
| Luxury Vinyl Plank (LVP) | 2-4 mm | Hardwood, bamboo | Very Good | $2 – $5 |
| Rigid Core Peel and Stick | 4-6 mm | Stone, wood | Excellent | $4 – $8 |
| Gel Peel and Stick | 3-5 mm | Ceramic, glass mosaic | Good | $3 – $7 |
| PVC Composite | 1.5-3 mm | Various patterns | Good | $1 – $3 |
Luxury Vinyl Tile (LVT) Peel and Stick
LVT peel and stick tiles are the most popular option for homeowners seeking a balance of quality, appearance, and ease of installation. Premium LVT tiles feature photorealistic prints with embossed textures that convincingly replicate natural stone, marble, travertine, and slate. The best options include a built-in underlayment for sound dampening and comfort underfoot.
Luxury Vinyl Plank (LVP) Peel and Stick
LVP planks use the same peel and stick technology in an elongated plank format that mimics hardwood flooring. Available in widths from 4 to 7 inches and lengths up to 48 inches, these planks recreate the look of oak, walnut, hickory, and reclaimed wood at a fraction of the cost.
Rigid Core Peel and Stick
The premium tier of peel and stick flooring features a rigid core (SPC or WPC) with an integrated adhesive backing. These tiles offer the performance of traditional click-lock luxury vinyl with the installation simplicity of peel and stick. They resist denting, handle temperature fluctuations better, and feel more substantial underfoot.
Best Rooms for Installation
Waterproof peel and stick tiles are versatile, but some rooms are better suited than others. Here is where they perform best and where to exercise caution.
Bathrooms
Waterproof peel and stick tiles are an excellent bathroom flooring option, especially for half baths and powder rooms. For full bathrooms with showers, ensure you choose a genuinely waterproof product and apply waterproof seam sealer between tiles. The seamless, grout-free installation makes cleaning simple and prevents mold growth between tiles.
Kitchens
Kitchens are ideal for peel and stick tiles because the subfloor is typically smooth and level. The waterproof surface handles cooking spills, splashes, and heavy foot traffic. Choose stone or tile-look patterns that complement your kitchen counter decor for a cohesive design.
Basements
Waterproof peel and stick tiles work well in basements, but only if the concrete subfloor is dry, level, and sealed. Test for moisture by taping a plastic sheet to the floor for 48 hours. If condensation forms, address the moisture issue before installing. Consider epoxy flooring as an alternative for basement floors with persistent moisture problems.
Laundry Rooms
The waterproof properties make peel and stick tiles a smart choice for laundry rooms where water leaks and spills are common. The soft, cushioned surface is comfortable to stand on during sorting and folding tasks.
Entryways and Mudrooms
Heavy foot traffic, wet shoes, and tracked-in dirt make entryways challenging for many flooring types. Waterproof peel and stick tiles with a high wear layer (12 mil or greater) handle these conditions well and clean up easily.
Top Brands and Products for 2026
| Brand | Product Line | Thickness | Wear Layer | Price per Sq Ft | Warranty |
|---|---|---|---|---|---|
| FloorPops | Peel and Stick LVT | 2.0 mm | 6 mil | $2.00 – $3.50 | 5 years |
| Achim | Nexus Collection | 1.5 mm | 4 mil | $1.00 – $2.00 | 5 years |
| Stainmaster | Peel and Stick LVP | 3.2 mm | 12 mil | $3.00 – $4.50 | 15 years |
| Lifeproof | Peel and Stick Rigid | 4.0 mm | 12 mil | $3.50 – $5.50 | 15 years |
| Mannington | Adura Max Peel | 4.5 mm | 20 mil | $4.50 – $7.00 | Lifetime |
| TrafficMaster | Peel and Stick Vinyl | 1.5 mm | 4 mil | $0.80 – $1.50 | 5 years |
For bathrooms and kitchens where water exposure is frequent, invest in products with at least a 12 mil wear layer and explicit waterproof certification. Budget options from TrafficMaster and Achim work well for bedrooms, closets, and other dry areas where waterproofing is less critical.
Step-by-Step Installation Guide
Proper installation is the key to long-lasting peel and stick flooring. Follow these steps carefully for professional-quality results.
Tools and Materials Needed
Utility knife with extra blades, measuring tape, carpenter’s square, pencil, roller (hand roller or J-roller), level, self-leveling compound (if needed), primer (for porous or uneven subfloors), and a heat gun or hair dryer for tricky cuts and cold-weather installations.
Step 1: Prepare the Subfloor
The subfloor must be clean, dry, level, and smooth. Sweep and mop thoroughly, then fill any cracks, holes, or low spots with self-leveling compound. Sand down high spots. For concrete subfloors, apply a primer designed for peel and stick adhesion. Remove baseboards if you plan to install tiles underneath them.
Step 2: Acclimate the Tiles
Lay the unopened boxes flat in the installation room for at least 48 hours. The room temperature should be between 65 and 85 degrees Fahrenheit during acclimation and installation. Cold tiles will not adhere properly and may shrink after installation.
Step 3: Plan Your Layout
Find the center of the room by snapping chalk lines between the midpoints of opposite walls. Dry-lay tiles from the center outward to determine the best starting position. Adjust the layout so that border tiles are at least half a tile wide. For plank formats, stagger end joints by at least 6 inches between rows.
Step 4: Install the Tiles
Peel the backing paper from the first tile and align it precisely with your chalk lines. Press firmly from the center outward to eliminate air bubbles. Butt each subsequent tile tightly against its neighbor without overlapping or leaving gaps. Use a J-roller or rolling pin to apply even pressure across each tile after placement.
Step 5: Cut Border Tiles
Measure the gap between the last full tile and the wall, subtracting 1/8 inch for expansion. Score the tile face with a utility knife using a straight edge, then snap along the score line. For complex cuts around door frames, pipes, or obstacles, use a heat gun to warm the tile for easier cutting.
Step 6: Finish and Seal
Roll the entire floor with a 75 to 100-pound floor roller (available for rent at home improvement stores) to ensure maximum adhesion. Apply waterproof seam sealer along all edges and transitions in wet areas. Replace baseboards, pressing them against the tile surface but not pinning the tiles to the subfloor.
Cost Comparison with Other Flooring
| Flooring Type | Material per Sq Ft | Installation per Sq Ft | Total per Sq Ft | Lifespan |
|---|---|---|---|---|
| Peel and Stick Vinyl (Budget) | $0.80 – $2.00 | $0 (DIY) | $0.80 – $2.00 | 3-5 years |
| Peel and Stick Vinyl (Premium) | $3.00 – $7.00 | $0 (DIY) | $3.00 – $7.00 | 10-15 years |
| Click-Lock LVP | $2.50 – $6.00 | $1.50 – $3.00 | $4.00 – $9.00 | 15-25 years |
| Ceramic Tile | $1.00 – $5.00 | $4.00 – $8.00 | $5.00 – $13.00 | 20-50 years |
| Hardwood | $4.00 – $12.00 | $3.00 – $8.00 | $7.00 – $20.00 | 25-100 years |
| Laminate | $1.00 – $4.00 | $1.50 – $3.00 | $2.50 – $7.00 | 10-20 years |
Peel and stick tiles offer the lowest total cost when you factor in the zero installation expense. Even premium waterproof options cost less than most professionally installed alternatives, making them ideal for budget-conscious renovations and rental properties.
Pros and Cons
Advantages
Effortless DIY installation. No special tools, no adhesive to mix, and no drying time. Most rooms can be completed in a single afternoon, making peel and stick the fastest flooring upgrade available.
Budget-friendly. With prices starting under $1 per square foot and zero installation labor costs, peel and stick tiles offer the most affordable path to new floors.
Renter-friendly. Most peel and stick tiles can be removed without damaging the subfloor, making them ideal for rental apartments and temporary living situations.
Variety of designs. Modern printing technology creates remarkably realistic wood, stone, and tile patterns in hundreds of colors and styles to match any decor.
Disadvantages
Shorter lifespan. Even premium peel and stick tiles last 10 to 15 years, compared to 25 or more years for ceramic tile or hardwood. Budget options may need replacement in 3 to 5 years.
Adhesive challenges. In hot climates or rooms with direct sunlight, the adhesive can soften and allow tiles to shift. In cold conditions, adhesive may not bond properly without warming the tiles and subfloor first.
Subfloor sensitivity. Any imperfections in the subfloor telegraph through peel and stick tiles, creating visible bumps, ridges, or depressions. Perfect subfloor preparation is essential.
Seam vulnerability. While individual tiles are waterproof, water can seep between tile seams and reach the subfloor. In wet areas, seam sealer is necessary to prevent moisture damage to the subfloor underneath.
Maintenance and Care
Waterproof peel and stick tiles require minimal maintenance to look their best throughout their lifespan.
Regular cleaning. Sweep or vacuum daily in high-traffic areas. Mop weekly with a damp mop and a pH-neutral vinyl floor cleaner. Avoid excessive water, especially at tile seams where moisture could penetrate to the subfloor.
Stain removal. Most stains wipe up easily with a damp cloth and mild soap. For stubborn marks like scuffs, shoe polish, or permanent marker, use a small amount of rubbing alcohol on a soft cloth. Never use abrasive cleaners, steel wool, or harsh solvents.
Protection. Use felt pads under furniture legs to prevent indentation. Place mats at exterior doorways to trap grit and moisture. Avoid dragging heavy appliances across the surface since this can dislodge tiles or scratch the wear layer.
Repairs. One of the greatest advantages of peel and stick tiles is easy repair. If a tile becomes damaged, simply heat it with a hair dryer to soften the adhesive, peel it up, and press a replacement tile into place. Keep a few extra tiles from your original purchase for this purpose.
Common Installation Mistakes
Skipping subfloor preparation. Rushing to install without properly cleaning, leveling, and priming the subfloor is the most common cause of peel and stick failure. Every bump, crack, and speck of dust shows through and weakens adhesion.
Installing in cold temperatures. Cold adhesive does not bond effectively. If the room temperature is below 65 degrees Fahrenheit, use a space heater to warm the room and a heat gun to warm individual tiles before placement.
Not using enough pressure. Placing tiles and walking away is not sufficient. Use a J-roller or heavy floor roller to apply firm, even pressure across every tile. This step alone can double the adhesion and lifespan of your floor.
Leaving gaps between tiles. Butt each tile firmly against its neighbors. Even a tiny gap allows moisture intrusion and collects dirt that is visible and difficult to clean. Consistent tight joints are critical for a professional appearance.
Forgetting expansion gaps. Leave a 1/8-inch gap between the tiles and all walls, cabinets, and fixed objects. Without expansion room, tiles can buckle in warm weather. Baseboards and quarter-round molding hide these gaps neatly.
Frequently Asked Questions
Are peel and stick floor tiles really waterproof?
Premium peel and stick tiles with solid vinyl or WPC cores are genuinely waterproof at the individual tile level. However, seams between tiles are not waterproof unless sealed. For bathrooms and kitchens, apply waterproof seam sealer to prevent water from reaching the subfloor through tile joints.
How long do waterproof peel and stick tiles last?
Budget peel and stick tiles last 3 to 5 years, mid-range options last 5 to 10 years, and premium products with thick wear layers last 10 to 15 years. Lifespan depends on traffic levels, subfloor preparation quality, and maintenance habits.
Can you put peel and stick tiles in a shower?
Peel and stick floor tiles are not recommended for shower floors or walls where they will be directly sprayed with water. The constant moisture exposure overwhelms the adhesive and seams. For shower applications, use traditional ceramic or porcelain tile with proper waterproofing membrane.
Do peel and stick tiles damage the floor underneath?
Most peel and stick tiles can be removed without significant damage to the subfloor. Some adhesive residue may remain but can be removed with adhesive remover or a heat gun and scraper. On hardwood floors, test a small area first, as the adhesive may pull up finish or veneer on some surfaces.
Can you install peel and stick over existing tile?
Yes, you can install peel and stick tiles over existing tile if the surface is clean, smooth, and level. Fill grout lines with a patching compound if they are deep enough to show through the new tiles. Lightly sand glazed ceramic tiles to improve adhesion.
What is the best thickness for waterproof peel and stick tiles?
For residential use, choose tiles at least 2 millimeters thick with a 12 mil wear layer. For high-traffic areas or commercial use, 4 millimeters or thicker with a 20 mil wear layer provides the best durability and underfoot feel.
Do you need underlayment for peel and stick tiles?
No, peel and stick tiles should be installed directly on a smooth, clean subfloor without underlayment. Adding underlayment can prevent proper adhesion and cause tiles to shift. Some premium rigid-core peel and stick products include a built-in cork or foam underlayment.
Last updated: March 2026
Prefer to explore on your own?
See how new flooring looks in your actual room in seconds — free, no signup.
Try the free Floor Studio →