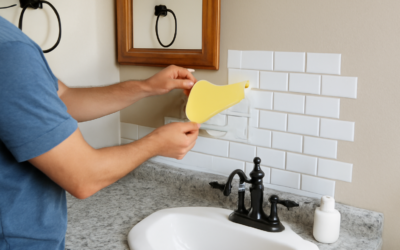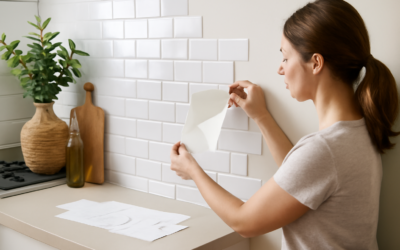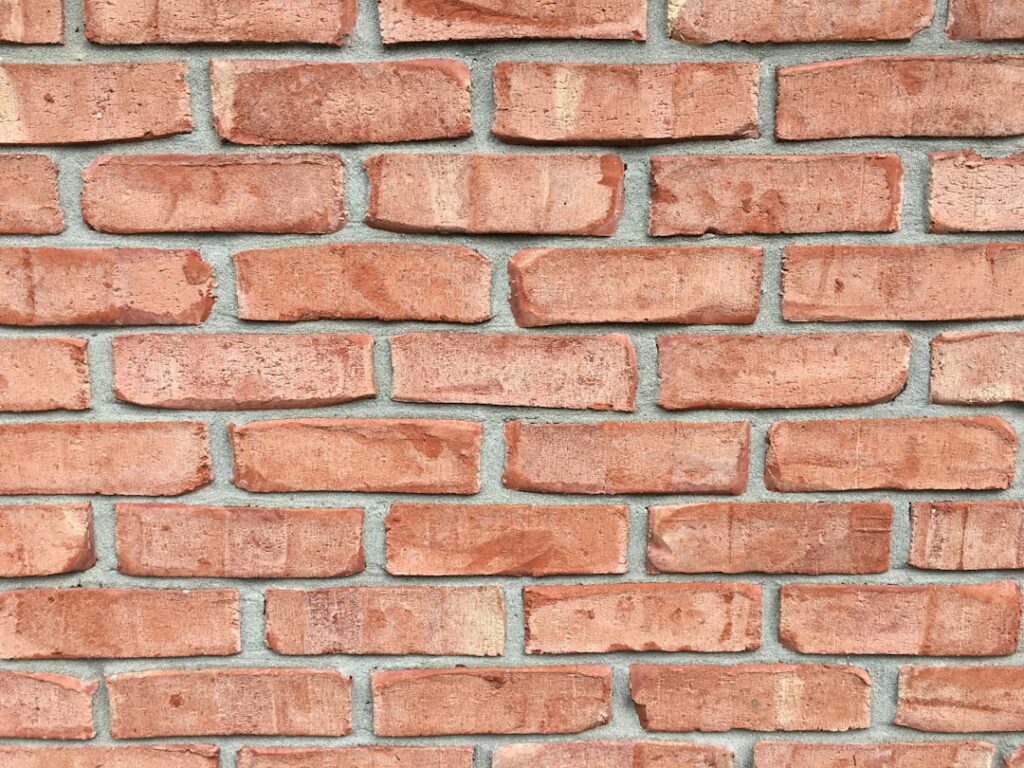
Peel and stick brick tile lets you bring the warmth and texture of an exposed brick wall into your home without mixing mortar, hauling masonry, or hiring a bricklayer. These lightweight panels and individual tiles carry a self-adhesive backing, so you simply peel away the protective film and press them into place. If you have wanted that cozy farmhouse, industrial, or rustic look but felt intimidated by traditional brick veneer, peel and stick brick tile is one of the most approachable ways to get there.
Part of our Tile & Grout guide — explore the full guide →
What Peel and Stick Brick Tile Is
At its core, this product mimics the appearance of real brick using a thin, adhesive-backed material. You apply it directly to a clean, flat surface, and the built-in adhesive holds it in place without nails or grout in many cases. Some versions still benefit from a thin grout or caulk line between pieces to complete the masonry look, while others are designed to interlock or butt together with no visible seams.
Because the tiles are thin and light, they avoid the structural weight concerns that come with genuine brick. That makes them a realistic choice for renters, weekend projects, and spaces where adding heavy masonry simply is not practical.

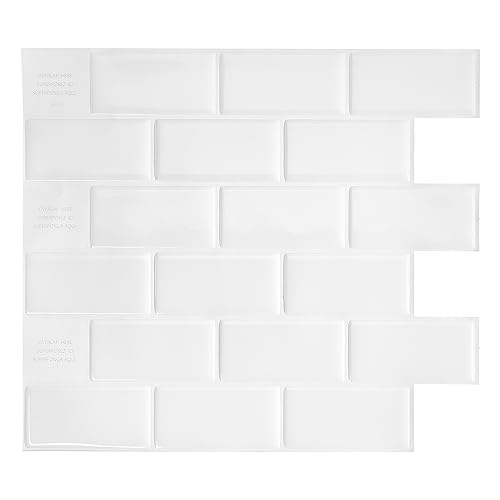

Common Materials and Styles
Not all brick-look tiles are made the same way, and the material affects both the look and where you can use it.
- Foam or PVC panels: Lightweight, flexible, and easy to cut with a utility knife. They are forgiving on slightly uneven walls and budget-friendly.
- Gel or polymer tiles: These have a soft, slightly cushioned feel and a glossy finish that catches light, often marketed for kitchens.
- Vinyl brick tiles: Thin and durable with a printed brick pattern, good for accent walls and low-moisture areas.
- Thin real-clay or cement brick slips with adhesive: The most realistic option, offering true texture and color variation, though they are heavier and pricier.
Colors range from classic terracotta red to whitewashed, charcoal, and weathered multi-tone blends. Pick a style that matches the mood you want, since the finish does most of the design work.
Where It Works Best in Your Home
Accent walls are the most popular use, especially behind a bed, a media console, or a dining nook. Kitchen backsplashes are another favorite, where the brick pattern adds character behind the range or above the counter. You will also see these tiles used on fireplace surrounds, home bars, entryways, and the fronts of kitchen islands.
Keep moisture in mind. Many peel and stick brick products tolerate occasional kitchen splashes but are not rated for constant water exposure, so think twice before using them inside a shower. Always check the manufacturer’s guidance for moisture and heat tolerance before committing a product to a specific spot.
What It Costs
Pricing varies widely by material and quality. Lightweight foam and vinyl options often run somewhere around $1 to $5 per square foot, making them very affordable for a feature wall. Gel and higher-end polymer tiles tend to land in the $5 to $12 per square foot range. Realistic clay or cement brick slips, which look closest to true brick, can climb to $8 to $20 or more per square foot.
Compared with traditional brick veneer installed by a pro, peel and stick easily saves you on labor since it is a do-it-yourself friendly project. Treat all figures as rough estimates that shift with brand, region, and current market prices.
How to Install Peel and Stick Brick Tile
A careful, methodical approach gives you the cleanest result.
- Clean the surface thoroughly so it is free of dust, grease, and loose paint. Adhesive bonds poorly to dirty or glossy walls, so a light scuff and a wipe-down help.
- Let the tiles acclimate in the room for the time the manufacturer recommends, often a day or so.
- Plan your layout and snap a level chalk line as a guide. Starting level matters because small errors compound as you climb the wall.
- Dry-fit a row first to check spacing and pattern before peeling any backing.
- Peel the backing, press each tile firmly from the center outward, and smooth out air pockets.
- Cut tiles to fit edges and outlets using a sharp utility knife or, for clay slips, a wet saw following the maker’s instructions.
- Apply grout or caulk between pieces only if the product calls for it.
Pros and Cons to Weigh
The upside is obvious: low cost, fast installation, and no specialized masonry skills. Lightweight panels are easy to handle alone, and many can be removed later, which renters appreciate. You also avoid the dust and mess of real brick.
On the downside, cheaper tiles can look flat or plasticky up close, and adhesive performance depends heavily on surface prep and climate. Heat near a stove, high humidity, or poorly cleaned walls can cause edges to lift over time. Lower-cost foam can also dent or scratch. Choosing a higher-quality product and prepping properly addresses most of these concerns.
Surface Prep and Tools You Will Need
Good results start long before you peel the first tile, and the surface underneath matters more than most beginners expect. Adhesive needs a clean, dry, and reasonably smooth wall to grip. Glossy paint, textured drywall, wallpaper, and dusty surfaces all undermine the bond, so plan to wash the area with a degreasing cleaner, rinse it, and let it dry completely before you begin. Lightly sanding a glossy finish gives the adhesive something to hold.
Keep a small kit on hand so you are not running to the store mid-project. Useful items include a tape measure, a level, a pencil, a sharp utility knife with spare blades, a straightedge or square for clean cuts, and a smoothing tool or roller to press out air pockets. For heavier clay or cement brick slips, you may need a wet saw and tile adhesive, since those products often behave more like traditional tile than peel and stick. Gather everything first, dry-fit a few rows, and you will move through the install far more smoothly.
Maintenance and Removal
Day-to-day care is simple. Wipe most tiles with a soft, damp cloth and a mild cleaner, avoiding harsh abrasives that can dull the finish. For kitchen installations, clean grease promptly so it does not build up in the textured surface.
When it comes time to remove the tiles, warming the adhesive gently with a hair dryer often helps them peel away with less residue. Even so, expect some surfaces, especially painted drywall, to need touch-up or repainting afterward. Test a small hidden area first if you are worried about your wall. With reasonable care, peel and stick brick tile delivers a striking, characterful look that holds up well for years while keeping your budget and your weekend intact.
Prefer to explore on your own?
See how new flooring looks in your actual room in seconds — free, no signup.
Try the free Floor Studio →