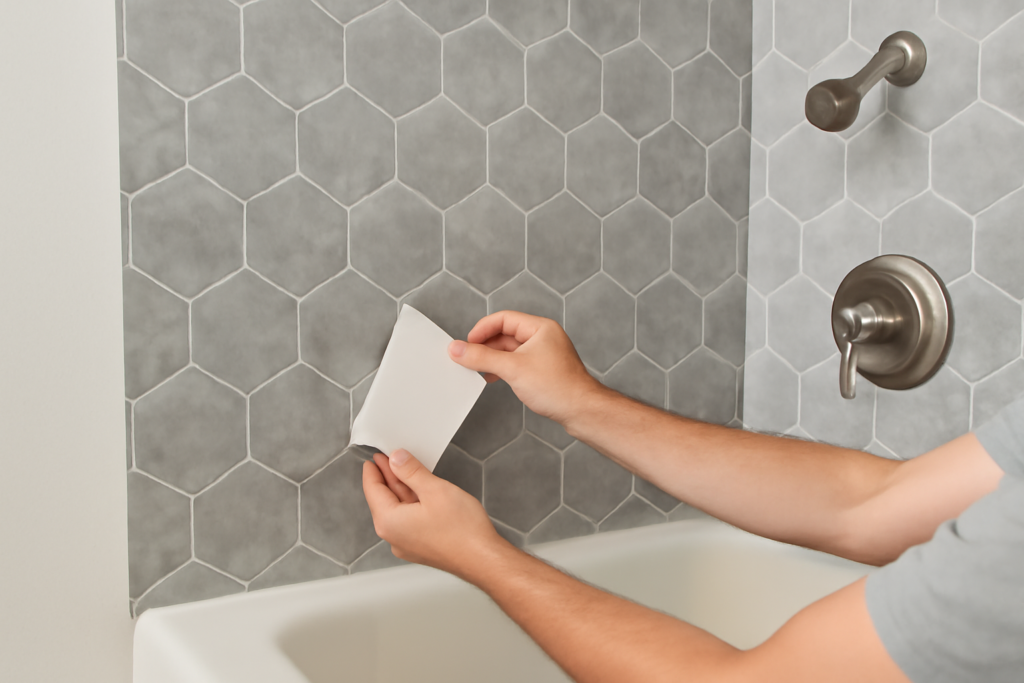
The promise of peel and stick shower tile is hard to resist: a fresh tiled look in an afternoon with no thinset, grout floats, or wet saws. For the right project these adhesive tiles deliver a quick, affordable refresh. But shower walls are one of the most demanding environments in the home, and there are important limits you must understand before you start peeling backing paper. This guide gives you the honest picture so your update lasts.
Part of our Bathroom Remodeling & Flooring guide — explore the full guide →
What Peel and Stick Shower Tile Is
These products are thin tiles or panels with a pressure-sensitive adhesive backing. You peel off the protective film and press the tile directly onto a clean, dry wall. They come in gel-style mosaics, vinyl tiles, and rigid PVC or composite panels designed to look like real tile or stone, often with faux grout lines built in.
The appeal is obvious. No special tools, no mess, and no waiting days for mortar and grout to cure. For renters and budget remodels, the speed and reversibility can be a genuine advantage.
The Critical Moisture Limitation
Here is the most important thing to know: many peel and stick tiles are not designed for the direct-spray wet zone of a shower. Constant water, steam, and humidity attack the adhesive, and water that gets behind a tile has nowhere to drain. Over time this can cause edges to lift, tiles to slide, and moisture to become trapped against the wall, which invites mold and rot.
For that reason, peel and stick is best used outside the direct splash zone, such as on an accent wall, behind a vanity, or in a powder room. If you want to use it inside an actual shower, you must choose a product specifically rated as fully waterproof for wet areas, prepare the surface meticulously, and seal every seam. Even then, true tile over a proper waterproof membrane remains the only fully reliable solution for a shower that gets daily use.
Where It Works Best
Peel and stick tile shines in lower-moisture applications. Consider it for:
- A backsplash behind a bathroom sink or vanity.
- An accent wall away from direct shower spray.
- Powder rooms and half baths with no shower at all.
- Temporary updates in a rental where you need a removable solution.
In these spots the tiles get incidental moisture at most, and the adhesive holds reliably for years.
Surface Preparation
Adhesion is everything, so prep cannot be rushed. The wall must be clean, completely dry, smooth, and free of soap scum, dust, and grease. Wipe down the surface with a degreasing cleaner, let it dry fully, and lightly sand glossy paint so the adhesive can grip. Any texture or grime left behind becomes a failure point where tiles peel away.
Step-by-Step Installation
Once the wall is prepped, the process is straightforward:
- Plan your layout and find the center so cuts fall evenly at the edges.
- Cut tiles to fit with a sharp utility knife and a straightedge.
- Peel the backing, align carefully, and press firmly from the center outward to remove air pockets.
- Roll or press the seams tightly so edges bond fully.
- Seal the perimeter and any seams in damp areas with a quality silicone caulk to keep water out.
Work slowly, because once a tile touches the wall it is difficult to reposition without damaging the adhesive.
Cost Compared to Real Tile
Peel and stick tile typically runs about $5 to $15 per square foot, and since you supply the labor, the total project cost stays low. Traditional tile installed by a pro, with a proper waterproof membrane, often runs $15 to $30 or more per square foot installed. The savings are real, but so is the difference in lifespan and waterproofing in a true wet area.
Types of Peel and Stick Tile
Several formats fall under the peel and stick umbrella, and each behaves differently in a bathroom. Gel or 3D mosaic tiles have a slightly raised, flexible surface and a built-in faux grout look, and they handle light moisture reasonably well on walls. Vinyl tiles are thin and printed, the most affordable option but the least durable in wet conditions. Rigid PVC and composite wall panels are thicker, more water-resistant, and the closest thing to a true tile look, which makes them the better pick for damp areas. Metal and stone-look composite tiles also exist for accent use. Knowing which type you are buying tells you a lot about how it will perform, so always match the format to where you plan to install it.
Choosing a Quality Product
Not all peel and stick tiles are created equal, and the cheapest options often disappoint in damp settings. When shopping for a bathroom, look specifically for products labeled waterproof and rated for wet or high-humidity areas rather than generic kitchen backsplash tiles. Thicker rigid panels and gel tiles tend to hold up better than thin vinyl stickers. Read reviews focused on bathroom installations, since a tile that performs well on a dry accent wall may fail in a steamy environment.
Pay attention to the adhesive quality too. A strong, professional-grade adhesive resists the heat and humidity of a bathroom far better than a budget product. Spending a little more on a reputable, wet-rated tile pays off in how long the installation lasts.
Pros and Cons at a Glance
On the positive side, peel and stick tile is inexpensive, fast to install, requires no special tools, and is often removable, which makes it ideal for renters and quick refreshes. The downsides are real, though: it is not a true substitute for tile in a daily-use shower, the adhesive can fail in constant moisture, and water trapped behind tiles can lead to mold. Weigh the convenience against the limitations and you will know whether it fits your project.
Cleaning and Care
Wipe these tiles with a soft cloth and mild cleaner, and avoid harsh abrasives that can scratch the printed surface. Dry the area after use to extend the adhesive’s life, and recaulk the seams whenever you see them aging. Inspect edges periodically and press down or replace any tile that begins to lift before water can get behind it. Used in the right place with realistic expectations, peel and stick tile is a smart, affordable update.
Prefer to explore on your own?
See how new flooring looks in your actual room in seconds — free, no signup.
Try the free Floor Studio →