Red peel and stick tile is one of the fastest ways to inject bold color into a kitchen backsplash, bathroom, or accent wall without hiring a crew or mixing a single bag of thinset. These self-adhesive tiles have come a long way from the flimsy peel-off squares of decades past, and today’s versions can genuinely mimic ceramic, subway tile, and even glass.
Part of our Tile & Grout guide — explore the full guide →
Before you order a case, it helps to understand the different types, where they hold up, how to install them cleanly, and what they cost compared to the real thing.
What Is Red Peel and Stick Tile?
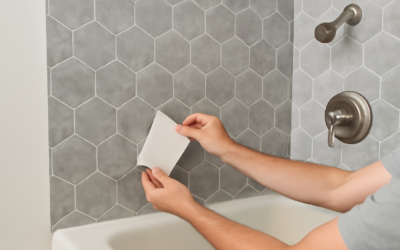
Peel and stick tile is a thin decorative tile with a pressure-sensitive adhesive backing. You remove a protective film and press the tile directly onto a clean, smooth surface. No mortar, no grout float, no wet saw required for most cuts, which you can make with a utility knife or scissors depending on the material.
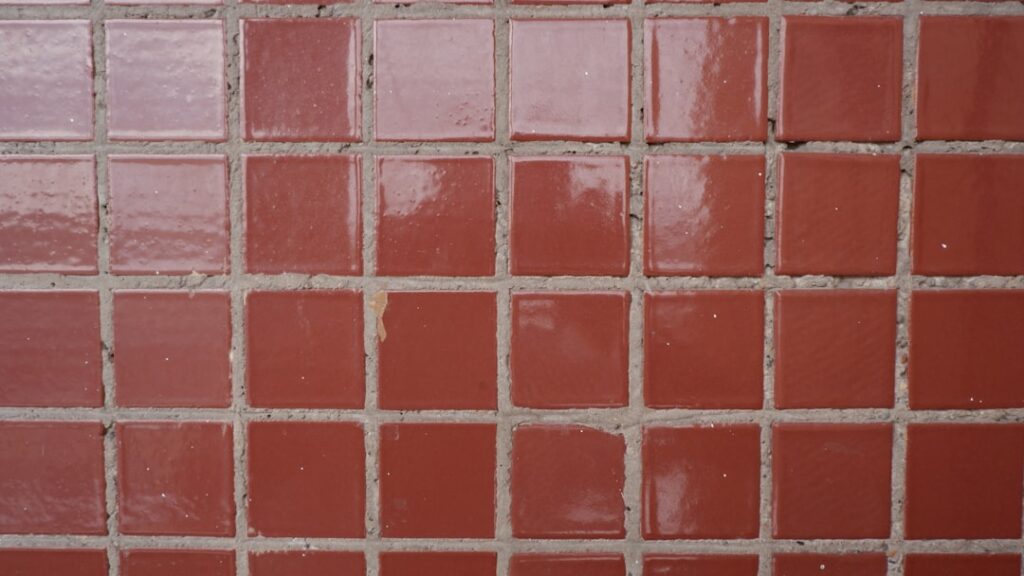
The red versions come in every shade from deep brick and burgundy to bright cherry and terracotta. That range lets you match a farmhouse kitchen, a retro diner look, or a modern high-contrast accent wall. Because the color is printed or molded into the tile, it stays consistent across the whole batch.


Types of Red Peel and Stick Tile
Not all self-adhesive tile is built the same. The main categories each suit different rooms and budgets:
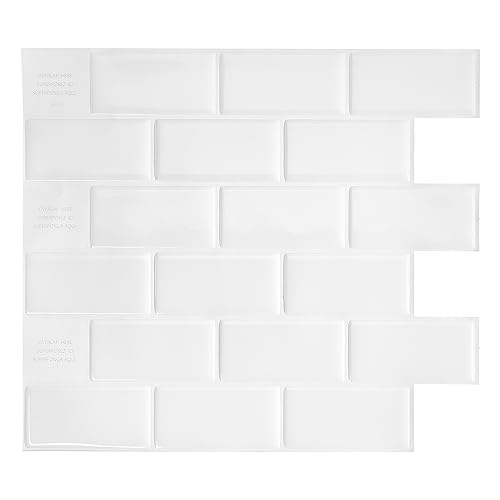
- Vinyl (PVC) tile — The most common and affordable. Flexible, water-resistant, and easy to cut. Great for backsplashes and low-moisture walls.
- Gel or 3D epoxy tile — A raised, glossy resin surface that reads like real glass or ceramic from a few feet away. Slightly thicker and more forgiving of minor wall texture.
- Metal-backed tile — Aluminum composite with a printed finish, sturdier and heat-tolerant enough for backsplash use near a range.
- Stone-composite peel and stick — Ground stone mixed with resin for a heavier, more authentic feel, though it costs more and weighs more.
For a first project, vinyl or gel tiles offer the best balance of price, ease, and appearance.
Where Red Peel and Stick Tile Works Best
These tiles shine in spots that stay relatively dry and see moderate use. Kitchen backsplashes are the classic application, since the tile sits above the counter and away from standing water. Laundry rooms, powder-room accent walls, and the risers of a staircase are all solid candidates too.
Renters love them because quality vinyl tiles peel off cleanly from most surfaces without wrecking the paint. They are also a low-risk way to test a bold red before committing to permanent ceramic.
Where they struggle is heavy moisture and heat. A shower surround that stays wet, or the area directly behind a cooktop where grease and high heat build up, can loosen the adhesive over time. For those zones, real tile remains the better call.
How to Install Red Peel and Stick Tile
Installation is genuinely a weekend-afternoon job for most walls. The key is preparation, because the adhesive only bonds well to a clean, smooth, dry surface.
- Clean the wall — Wipe with a degreaser or a mix of water and a little dish soap, then rinse and dry completely. Any grease kills adhesion.
- Check the surface — Fill gouges and sand glossy paint lightly so the tile grips. Prime bare drywall.
- Plan your layout — Find the center, snap a level line, and dry-lay a row so cuts land in the least visible spots.
- Peel and press — Start from your reference line, remove the backing, and press firmly from the center outward to push out air bubbles.
- Cut edges — Measure and score vinyl tiles with a sharp utility knife against a straightedge, then snap or trim to fit outlets and corners.
- Roll and seal — Run a hand roller or a wallpaper seam roller over the whole surface to lock the bond. Caulk the perimeter for a finished look near counters.
Let the wall reach room temperature, ideally between 65 and 75 degrees Fahrenheit, before and after installation so the adhesive cures properly.
What It Costs
Price is a big part of the appeal. Red peel and stick tile typically runs $5 to $15 per square foot depending on material, with gel and stone-composite tiles at the higher end and basic vinyl at the low end. A standard kitchen backsplash of 30 square feet lands somewhere between $150 and $450 in materials.
Compare that to real ceramic, where the tile plus professional installation easily reaches $12 to $25 per square foot installed, and the savings are obvious. You also skip the labor entirely if you do it yourself, and the whole project wraps in a day rather than most of a week.
Care, Durability, and Longevity
Quality peel and stick tile lasts five to ten years in a backsplash setting if installed on a well-prepped surface. Clean it with a soft cloth and mild soap; skip abrasive scrubbers and harsh solvents that can dull the finish or attack the adhesive at the seams.
Keep an eye on edges near heat and water, since that is where lifting starts. If a corner peels, a dab of clear silicone or seam adhesive usually fixes it. When you eventually want to remove the tile, warming it with a hair dryer softens the adhesive so it pulls away with minimal residue.
Choosing the Right Shade of Red
Red is not one color, and the shade you pick sets the entire mood of the room. A deep brick or oxblood red reads warm and traditional, pairing well with wood cabinets and a farmhouse kitchen. Bright cherry or fire-engine red pops against white cabinets and stainless steel for a bold, retro-diner energy. Muted terracotta and clay tones lean Mediterranean and work beautifully with warm neutrals and natural wood.
Because red is such a strong color, most rooms handle it best as an accent rather than a wraparound. A single backsplash wall or a strip behind the range delivers the punch without overwhelming the space. Order a sample or two and tape them up for a few days, checking the color under both daylight and your evening kitchen lighting, since red shifts noticeably between warm and cool bulbs.
Common Mistakes to Avoid
Most peel and stick failures trace back to a few avoidable errors. Applying tile over glossy, unsanded paint is the biggest one, since the adhesive cannot grip a slick surface and edges lift within weeks. Skipping the degreasing step in a kitchen is nearly as bad, because even invisible cooking grease breaks the bond.
Other pitfalls include failing to snap a level starting line, which leaves the whole wall drifting off-square, and stretching flexible vinyl tiles as you press them, which creates gaps that open up as the material relaxes. Take your time on the layout, press from the center out, and roll every tile firmly to head off these problems before they start.
Pros and Cons at a Glance
Weighing the trade-offs helps set expectations before you buy:
- Pros — Low cost, fast DIY install, no grout or mortar, renter-friendly, easy to replace individual tiles.
- Cons — Shorter lifespan than ceramic, sensitive to heavy moisture and heat, needs a smooth substrate, can look less authentic up close on cheaper products.
Final Thoughts
For a bold, budget-friendly update, red peel and stick tile is hard to beat. It delivers a striking pop of color in an afternoon, costs a fraction of ceramic, and lets renters and cautious remodelers experiment without commitment. Keep it out of showers and direct high-heat zones, prep the surface properly, and press every tile down firmly, and your red peel and stick tile will look sharp for years. When you are ready for something permanent, you will have already proven the color works in your space.
Prefer to explore on your own?
See how new flooring looks in your actual room in seconds — free, no signup.
Try the free Floor Studio →