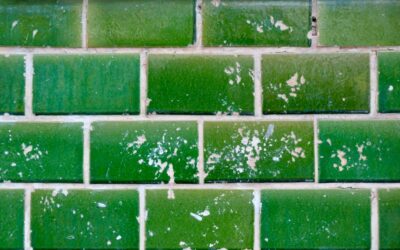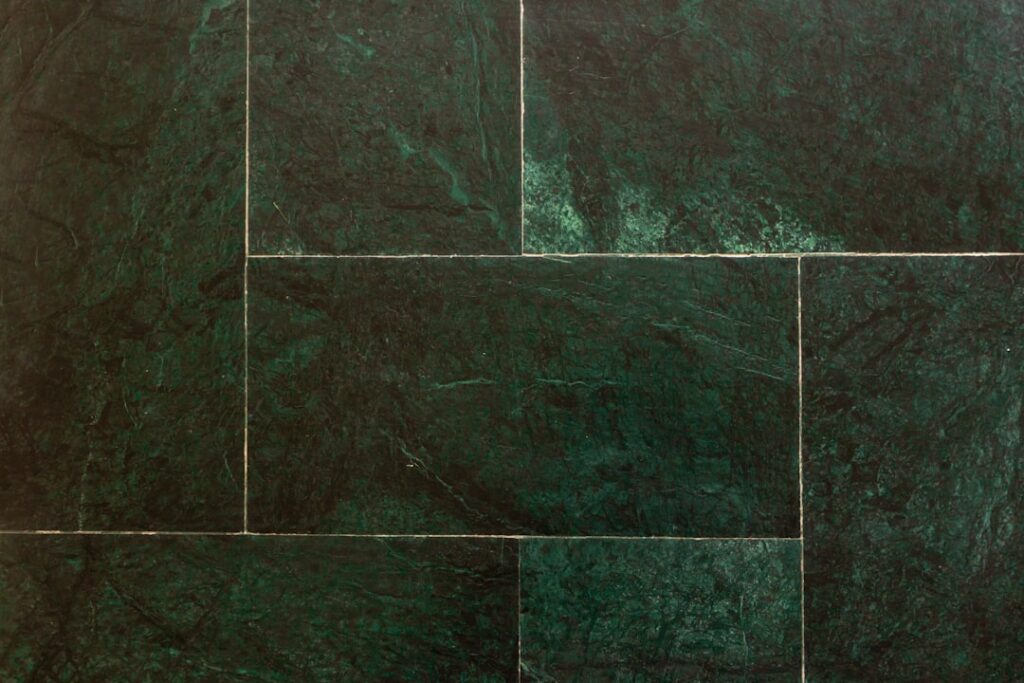
Green peel and stick tile is one of the easiest ways to inject color and personality into a kitchen, bathroom, or laundry room without the cost, mess, or commitment of traditional tile. From soft sage to deep emerald, green has surged in popularity for backsplashes and accent walls, and peel and stick versions let you get the look in an afternoon with nothing more than a tape measure and a sharp blade.
Part of our Tile & Grout guide — explore the full guide →
These adhesive-backed tiles are especially appealing to renters and budget-minded homeowners. Here is how to choose the right product and install it so it actually stays put and looks great.
Why Green Is Having a Moment
Green has become a defining color in modern interiors because it bridges natural and bold. Sage and muted greens feel calm and organic, pairing beautifully with wood, brass, and white cabinetry. Deeper emerald and forest tones make a dramatic, sophisticated statement. Either way, green reads as fresh and current without feeling trendy in a throwaway way.
Peel and stick formats make it low risk to experiment. If you love it, it stays; if your taste shifts, many products come off without major damage, which is exactly why they suit rentals.

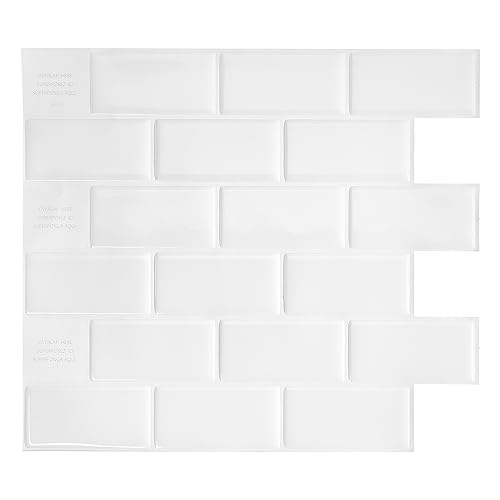

Types of Peel and Stick Tile
Not all peel and stick tiles are the same, and the material affects both looks and durability.
- Vinyl and PVC tiles: lightweight, flexible, and affordable, with printed designs in many green shades
- Gel or 3D tiles: thicker with a raised, glossy look that mimics real ceramic from a short distance
- Metal-backed and aluminum composite: a more substantial feel for backsplashes
- Stone and resin composites: heavier products that read closer to genuine tile
For a backsplash near a stove, check the heat tolerance, since the area behind a cooktop gets warm and some thin vinyl products are not rated for high heat.
Where It Works and Where It Does Not
Peel and stick tile performs best on smooth, dry, flat surfaces in areas with light to moderate moisture. Kitchen backsplashes, bathroom accent walls, laundry rooms, and powder rooms are ideal. It is a quick way to update a space you do not want to renovate fully.
It struggles in constantly wet zones like the inside of a shower, on textured or uneven walls, and over peeling paint or wallpaper. Direct, prolonged water exposure eventually loosens the adhesive, so keep it out of the shower spray zone and seal edges near sinks.
Surface Preparation Is Everything
Adhesion is only as good as the surface beneath it. Skipping prep is the number one reason tiles peel at the corners later.
- Clean the wall thoroughly to remove all grease, dust, and soap residue. A degreaser works well in kitchens.
- Repair holes and sand down any bumps so the surface is flat and smooth.
- Ensure the wall is completely dry before starting.
- Wipe with rubbing alcohol for a final clean, oil-free surface.
- Let everything dry fully so the adhesive bonds to a clean base.
Glossy or freshly painted walls may need extra attention, since adhesive bonds poorly to slick or uncured paint.
How to Install Green Peel and Stick Tile
Planning your layout before peeling any backing makes the whole job smoother. Find your center point and work outward so the pattern stays balanced and any cut tiles land at the edges.
- Measure the area and dry-lay tiles to plan the layout and minimize awkward cuts.
- Snap or mark a level guideline, since a crooked first row throws off the entire wall.
- Peel the backing, align the tile to your line, and press firmly from the center outward.
- Use a utility knife and straightedge to cut tiles for edges, outlets, and corners.
- Roll or press each tile hard to activate the adhesive and remove air pockets.
Always turn off power and remove outlet covers before tiling around electrical boxes, then reinstall the covers over the new tile.
Care and Longevity
Peel and stick tile is easy to maintain. Wipe it with a damp cloth and mild cleaner, and avoid harsh abrasives that can scratch the printed surface. Around sinks and counters, a thin bead of clear caulk along the edges keeps water from creeping behind the tiles and lifting them.
With good prep and gentle cleaning, quality peel and stick tile can last several years. It will not match genuine ceramic for lifespan or heat resistance, but that is not the point. The appeal is fast, affordable, reversible style.
Removing It Without Damaging the Wall
One of the best features of peel and stick tile, especially for renters, is that it usually comes off when you are ready for a change. The key is patience and gentle heat, which softens the adhesive so it releases instead of pulling paint or paper with it.
- Warm a corner with a hair dryer on low to soften the adhesive.
- Lift the edge slowly and peel back at a low angle rather than yanking straight out.
- Keep applying heat just ahead of the peel as you work across the tile.
- Remove leftover adhesive residue with a mild adhesive remover or rubbing alcohol.
- Wipe the wall clean and touch up paint if any came away.
Results vary with the wall surface and how long the tiles were up. On smooth, well-painted walls, removal is usually clean. On flat or builder-grade paint, freshly applied paint, or wallpaper, there is more risk of pulling the surface, so test one tile first. If you are in a rental and worried about deposits, removability is a genuine advantage of this product over permanent tile, but it is never a guarantee, so always check a small area before committing the whole wall.
Is It Right for You?
If you want an inexpensive, beginner-friendly update, especially in a rental or a space you may change again, green peel and stick tile is hard to beat. It delivers on-trend color with minimal tools, no grout, and easy cleanup. For a forever kitchen or a wet shower, traditional tile remains the better investment. But for a quick, stylish refresh that you can do yourself in a weekend, this is one of the most satisfying upgrades available.
Prefer to explore on your own?
See how new flooring looks in your actual room in seconds — free, no signup.
Try the free Floor Studio →