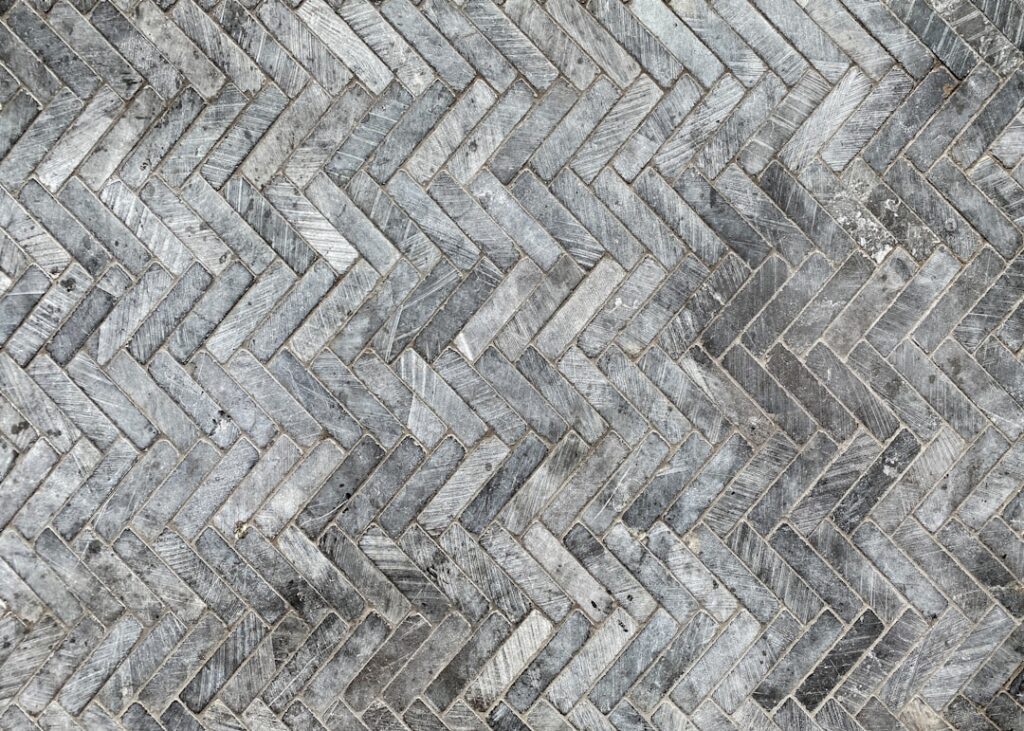
The herringbone pattern has been a mark of craftsmanship for centuries, but recreating it once meant hiring a skilled tile setter and paying for hours of precise labor. Herringbone peel and stick tile changes that math entirely, delivering the same interlocking zigzag look in a self-adhesive product a homeowner can install over a weekend. Whether you want a designer backsplash, a bathroom accent wall, or a quick kitchen refresh on a budget, this format makes a high-end pattern accessible without grout, thinset, or a wet saw. Here is what you need to know before you start peeling.
What Herringbone Peel and Stick Tile Is
These products come as flexible tiles or larger mosaic sheets with an adhesive backing protected by a paper liner. You expose the sticky side and press the tile directly onto a clean wall, no mortar required. The herringbone effect is either printed and molded into a single sheet or created by individual planks arranged at 45 degrees, giving that signature V-shaped weave.
Materials vary more than you might expect. Some tiles are made from a gel or vinyl composite that mimics the depth and grout lines of real tile, while others use thin aluminum, PVC, or even real stone and glass chips bonded to a mesh sheet. The lightweight vinyl and gel versions are the easiest for beginners, while metal and stone options look more authentic but demand a bit more care during installation.
Where It Works Best
Kitchens and bathrooms are the most popular spots, and for good reason. A peel and stick herringbone backsplash instantly elevates a plain kitchen, and the water-resistant vinyl varieties hold up well behind a sink or counter. In bathrooms, they work as an accent behind a vanity or mirror, though you should keep them out of direct water contact inside a shower unless the manufacturer specifically rates them for wet zones.
Beyond the obvious rooms, these tiles show up on laundry-room walls, as fireplace surrounds, and even on furniture like the front of a kitchen island or an accent dresser. Because they are removable, renters love them for adding style without violating a lease. The one rule that spans every application is surface quality: the adhesive needs a smooth, clean, dry backdrop to grip, so textured or freshly painted walls need prep first.
Preparing Your Surface
Success with any self-adhesive product is decided before the first tile goes up. Start by cleaning the wall thoroughly with a degreasing cleaner, since even a thin film of cooking grease or dust will keep the adhesive from bonding. Kitchens especially need a wipe-down with a mixture of warm water and a grease-cutting dish soap, followed by a rinse and complete drying.
Smoothness matters as much as cleanliness. Fill any nail holes or dents, sand down bumps, and make sure the wall is fully cured if it was recently painted, which can take two to four weeks. Glossy or heavily textured surfaces are the enemy of peel and stick adhesive. If your wall has a heavy orange-peel or knockdown texture, you may need to skim-coat it smooth or the tiles will lift at the corners within weeks.
Step-by-Step Installation
Installing herringbone tile is more forgiving than traditional tile, but planning your layout still separates a clean result from a crooked one. Measure your wall and find the center, then use a level and a pencil to draw reference lines so your first row stays true. Because the herringbone pattern is diagonal, a small error at the start multiplies across the wall.
- Dry-fit a few sheets without removing the backing to confirm your layout and pattern alignment.
- Peel the liner from your first tile and press it firmly onto the wall along your reference line, smoothing from the center outward to push out air bubbles.
- Continue placing tiles edge to edge, matching the interlocking pattern so seams disappear into the design.
- Cut edge and outlet pieces to fit with a sharp utility knife and a straightedge, or scissors for thinner sheets.
- Go back over the whole surface with a hand roller or a clean cloth, applying firm pressure to lock in the bond.
Give the adhesive 24 to 48 hours to fully cure before exposing the wall to moisture or heavy cleaning. Rushing that curing window is the most common reason edges start to peel later.
Design Ideas and Color Choices
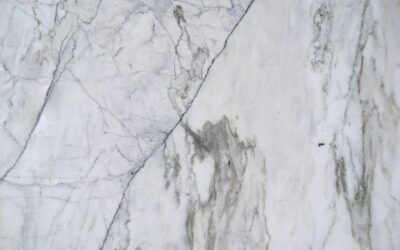
The beauty of a herringbone layout is that it reads as sophisticated in almost any color. Classic white marble-look tiles with soft gray veining suit both modern and traditional kitchens and brighten a small space. For a warmer, on-trend feel, terracotta and beige tones bring an earthy, handmade character that pairs well with wood cabinetry.
Homeowners after a bolder statement can reach for matte black, deep green, or a metallic copper finish that turns the backsplash into a focal point. Consider how the pattern’s direction interacts with your room: running the herringbone vertically draws the eye up and makes a low wall feel taller, while a horizontal orientation widens a narrow space. Mixing a subtle two-tone tile within the herringbone weave adds depth without overwhelming the room.
Cleaning and Maintenance
Keeping these tiles looking new takes very little effort, which is part of their appeal in a busy kitchen. A soft cloth or sponge with warm water and a gentle dish soap wipes away grease splatter and food residue without harming the surface. Steer clear of abrasive scrubbers and bleach-based cleaners, since scouring can scratch the printed finish and strong chemicals may cloud the protective top layer over time.
Pay attention to the edges and seams, where grime and moisture tend to collect. Wiping down the perimeter regularly and drying any standing water keeps the adhesive bond strong and prevents corners from lifting. If a single tile does begin to peel at a corner after a year or two, a dab of clear adhesive caulk usually re-secures it, and the modular nature of the product means you can replace one damaged piece without redoing the whole wall.
Cost, Durability, and Limitations
Price is a major draw. Herringbone peel and stick tile typically runs $5 to $12 per square foot, and a standard kitchen backsplash of 25 to 30 square feet lands in the $130 to $360 range for materials, with no labor cost if you do it yourself. Compared with the $800 to $1,500 a professional ceramic backsplash can cost installed, the savings are substantial.
Durability is reasonable but not unlimited. Quality vinyl and gel tiles resist moisture and wipe clean easily, often lasting five to ten years in a normal kitchen, though direct heat from a stovetop and constant water exposure will shorten that lifespan. These products will never fully match the permanence of real grouted tile, and they are best viewed as an affordable, attractive, and reversible upgrade. For most homeowners, a well-installed sheet of herringbone peel and stick tile delivers the designer look they want at a price and effort level that traditional tile simply cannot beat.
Prefer to explore on your own?
See how new flooring looks in your actual room in seconds — free, no signup.
Try the free Floor Studio →