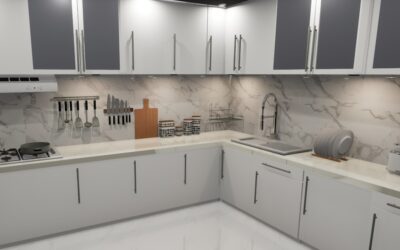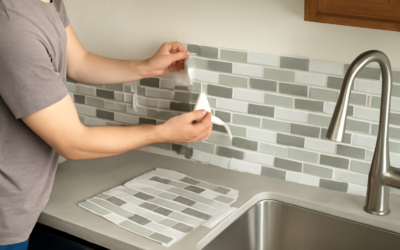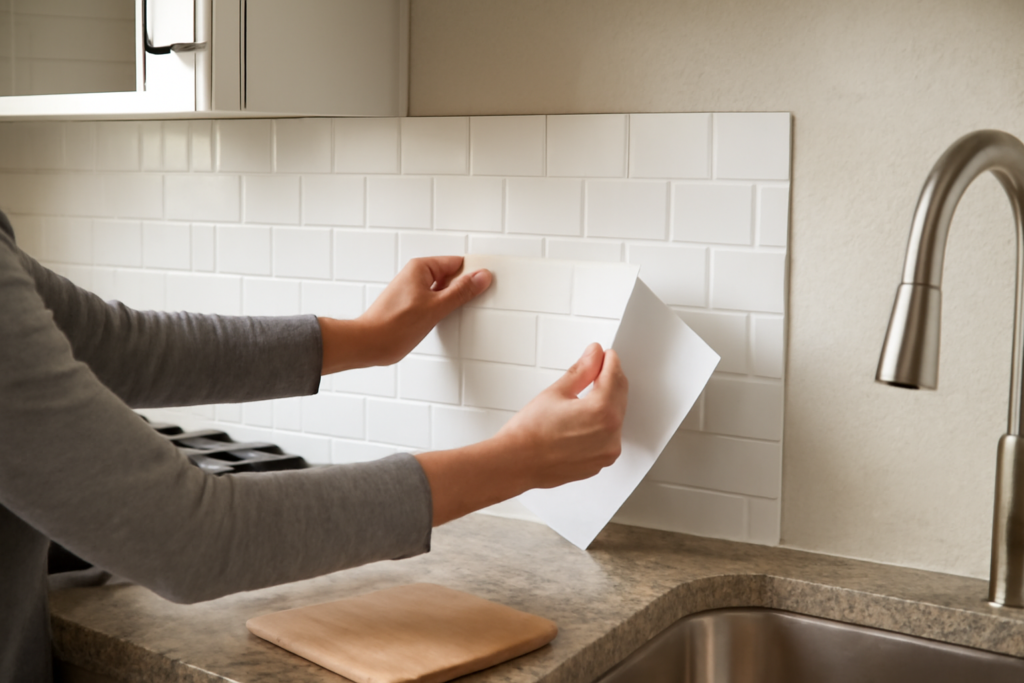
A traditional tile backsplash means thinset, spacers, a wet saw, and a two-day timeline. Peel and stick kitchen backsplash tile collapses all of that into an afternoon with nothing more than a tape measure, a utility knife, and a level. These self-adhesive tiles have improved dramatically, and the better products now genuinely fool the eye from a few feet away. They are a favorite of renters, budget renovators, and anyone who wants a fresh backsplash without hiring a pro. But they are not right for every kitchen, and cutting corners on the wall prep guarantees peeling edges. Here is the honest rundown and a step-by-step install.
Part of our Kitchen Remodeling guide — explore the full guide →
What Peel and Stick Backsplash Tile Is
Peel and stick tiles are thin panels or individual tiles with a factory-applied pressure-sensitive adhesive on the back, protected by a release liner. You peel off the liner and press the tile onto a clean wall; no mortar, grout, or special tools required. The face materials vary widely, which is what makes some products look convincing and others look like the plastic they are.
Most sheets are designed to interlock or overlap so seams disappear, mimicking a fully grouted tile wall. Because they are thin and lightweight, they add almost no depth to the wall and trim easily with a knife or scissors, which is a big part of the appeal for DIYers.
The Main Types Available
Not all peel and stick tile is created equal. The common categories, from budget to premium:
- Vinyl/PVC sheets: printed to mimic subway, marble, or mosaic; cheapest and easiest but the least convincing up close.
- Gel or 3D epoxy tiles: a raised, glossy resin layer over a printed base that looks and feels surprisingly like real tile.
- Metal and aluminum: brushed or mirrored finishes for a modern look, more durable and heat-tolerant.
- Real stone and glass composite: thin slices of genuine material on a self-adhesive backing; the most realistic and the priciest.
For a kitchen where the tile sits behind a range and near heat, gel/epoxy or metal options hold up far better than thin vinyl.
The Advantages
Speed and simplicity top the list. A full backsplash goes up in one to three hours with no cure time, no dust, and no specialized tools. Cost is the next big draw; you can transform a kitchen for a fraction of what a tiled backsplash costs.
- Renter-friendly: many peel off cleanly later, leaving the wall intact.
- No mess: no mortar, grout, or wet saw, so cleanup is trivial.
- Beginner-proof: mistakes lift and reposition before the adhesive fully sets.
- Wipeable: the sealed surface cleans with a damp cloth.
For a quick refresh before selling, a rental upgrade, or a low-budget kitchen makeover, few projects deliver as much visual change per dollar.
The Downsides to Weigh
Durability and heat are the honest limitations. Cheaper vinyl tiles can lift at the edges over time, especially above a stove or near a sink where steam and heat attack the adhesive. They are not a permanent, decades-long solution the way real ceramic is, and most will need replacing in a few years of heavy kitchen use.
Adhesion also depends entirely on the wall. Peel and stick will not bond well to textured, glossy, greasy, or freshly painted surfaces, and it can pull paint off the wall when removed. Up close, budget products read as printed rather than real, and they cannot handle direct high heat, so keep them away from the immediate area behind a gas burner.
What It Costs
Pricing spans a wide range by material quality:
- Vinyl sheets: $4 to $8 per sq ft, often sold in packs of 10 tiles.
- Gel/epoxy 3D tiles: $7 to $12 per sq ft.
- Metal and premium composite: $10 to $20 per sq ft.
A typical 30-square-foot kitchen backsplash runs $120 to $360 in materials, and since you install it yourself there is no labor cost. Compare that with $600 to $1,500 for a professionally tiled backsplash and the savings are obvious, with the trade-off being lifespan.
Step-by-Step Installation
The finished look lives or dies on wall prep and a level start. Follow this order:
- Clean the wall: degrease thoroughly with a TSP substitute or dish soap, rinse, and let it dry completely. Grease is the enemy of adhesion.
- Sand if needed: lightly scuff glossy paint so the adhesive can grip, then wipe off dust.
- Measure and plan: find your starting point, usually a bottom corner, and mark a level horizontal line so the first row is dead straight.
- Peel and place: remove the liner, align the first tile to your line, and press firmly from the center outward to push out air.
- Work across and up: interlock or overlap each tile per the product design, keeping seams tight.
- Cut around outlets and edges: measure and trim with a sharp utility knife and a straightedge; turn off power and remove outlet covers first.
- Roll or press seams: go over the whole surface, pressing edges and seams hard to lock down the adhesive.
Work in a warm room, around 65 to 75°F, because adhesive bonds poorly in the cold. Replace outlet covers with spacers if the added thickness requires it.
How Long Does Peel and Stick Backsplash Last?
Lifespan depends heavily on the material and the environment. In a low-heat, low-moisture spot, a quality gel or metal tile can look good for 5 to 10 years. Behind a busy stove or over a sink where heat and steam attack the adhesive daily, budget vinyl may start lifting at the edges within 1 to 3 years.
You can stretch that life with a few habits. Run your range hood while cooking to pull heat and steam off the wall, wipe grease promptly so it does not creep under the tile edges, and press down any corner that starts to lift before it peels further. Buying a higher-grade product up front, gel/epoxy or metal rather than thin vinyl, is the single best way to get more years out of the installation.
Peel and Stick vs. Real Tile: Set Your Expectations
It helps to be honest about what peel and stick is and is not. It is a fast, affordable, renter-friendly cosmetic upgrade that looks great from a few feet away and installs without tools or mess. It is not a permanent, heatproof, decades-long surface, and a close inspection reveals it is not genuine ceramic.
If you plan to stay in the home for many years and want a forever backsplash, real tile is the better investment despite the higher cost and effort. If you want a big visual change on a small budget, are renting, or plan to update the kitchen again before long, peel and stick delivers exactly the right value. Match the product to your timeline and you will be satisfied with the result.
Care and Removal Tips
Wipe the tiles with a soft damp cloth and mild cleaner; avoid abrasive scrubbers that scratch the printed or gel surface. Keep the area directly behind burners clear of direct flame contact. If an edge lifts, a dab of clear silicone or seam adhesive tucks it back down.
When it is time to remove them, warm the tiles with a hair dryer to soften the adhesive, then peel slowly from a corner. Expect some residue; a citrus adhesive remover cleans it up. Used with realistic expectations, peel and stick kitchen backsplash tile is a smart, affordable way to refresh a kitchen fast, especially for renters and anyone who wants a big change without a contractor or a permanent commitment.
Prefer to explore on your own?
See how new flooring looks in your actual room in seconds — free, no signup.
Try the free Floor Studio →