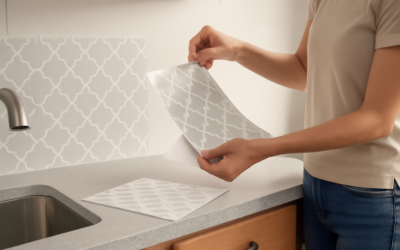
Renters and cautious homeowners have long envied the fresh look of a tiled backsplash without wanting the mortar, grout, and permanence that come with it. A removable peel and stick backsplash solves exactly that problem, delivering the look of tile, metal, or stone in a self-adhesive sheet you can install in an afternoon and pull off later without wrecking the wall. This guide walks through the types available, what they cost, how to put them up, and how to take them down cleanly.
Part of our Kitchen Remodeling guide — explore the full guide →
What “Removable” Really Means
These products use a pressure-sensitive adhesive on the back of a thin decorative sheet, usually vinyl, gel, or lightweight resin. Press the sheet to a clean wall and the adhesive grabs; the bond is strong enough to hold for years yet formulated to release when you peel slowly and, if needed, apply gentle heat. That balance is what separates a truly removable product from a permanent tile decal that tears paint off the drywall.
Removability depends heavily on your wall. Smooth, well-painted drywall releases cleanly. Flat or matte paint, freshly painted surfaces less than a month old, and textured walls are the enemies of a clean removal, because the adhesive can bond to the paint film rather than the wall behind it.
The Main Types You Will Find
Not all peel-and-stick backsplashes are the same material, and the type you choose affects both the look and how well it survives near a stove or sink.
- Vinyl decals: the cheapest option, a flat printed sheet that mimics subway tile or patterned cement. Best for low-splash accent walls.
- Gel or 3D tiles: a soft, dimensional sheet that looks and feels closer to real tile, with faux grout lines and a raised surface.
- Metal and aluminum: thin brushed or mosaic-look panels that handle heat better and give a high-end finish.
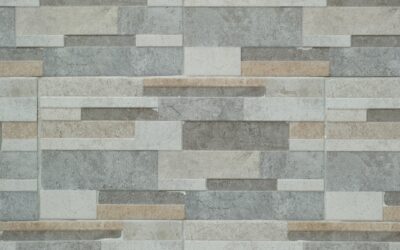
- Stone and resin composite: heavier peel-and-stick tiles that read almost identical to real stone mosaics up close.
For the area directly behind a gas cooktop, choose a metal or heat-rated product, since some vinyl and gel tiles can warp or discolor with sustained high heat.
What It Costs
Affordability is the whole appeal. Basic vinyl backsplash rolls and sheets often run $8 to $15 per square foot, while gel and 3D tiles land around $6 to $12 per sheet, with each sheet covering roughly one square foot. Premium metal and stone-composite peel-and-stick tiles cost more, in the $15 to $25 per square foot range, but still undercut a professionally installed tile job.
A typical kitchen backsplash of 30 square feet therefore costs somewhere between $180 and $450 in materials, with no labor bill if you do it yourself. Compare that to $1,000 or more for professional tile installation, and the savings are obvious, especially for a rental you cannot permanently alter.
How to Install It Step by Step
The single biggest factor in a good result is surface prep. Grease is invisible on a kitchen wall but it will keep any adhesive from sticking.
- Clean the wall with a degreaser, then wipe with rubbing alcohol and let it dry fully. Skip this and the corners will curl within weeks.
- Measure and dry-fit your sheets, planning where cuts fall around outlets and the ends of the counter.
- Start at a bottom corner and work up and out, peeling the backing gradually rather than all at once so you can align each sheet.
- Smooth as you go with a plastic squeegee or a credit card, pushing out air bubbles from the center toward the edges.
- Cut around outlets with a sharp utility knife and a straightedge; turn off the power and loosen the cover plates for a clean edge.
Overlap the sheets slightly where the manufacturer indicates so the seams disappear, and run a bead of clear caulk along the counter line for a finished, water-tight look.
Durability and Real-World Performance
A well-installed removable backsplash holds up surprisingly well in normal kitchen use. The surfaces wipe clean with a damp cloth and resist everyday splashes of water, sauce, and oil. Quality gel and metal products can last three to five years or longer before they show wear.
The weak points are heat and standing moisture. Sustained heat from a cooktop can soften vinyl, and water that pools behind a poorly sealed edge near the sink can loosen the adhesive. Keep the sheets a couple of inches back from direct flame contact, seal the sink and counter edges with caulk, and the backsplash will stay put.
Removing It Without Damage
When you are ready for a change, or when you hand back the keys, removal is straightforward if you are patient. Warm the corner of a panel with a hair dryer for 20 to 30 seconds to soften the adhesive, then peel slowly at a low angle, keeping the heat moving just ahead of the lifting edge. Rushing is what pulls paint off; a slow, warm peel usually leaves the wall clean. Any leftover adhesive residue wipes away with a little rubbing alcohol or an adhesive remover.
Design Ideas That Look Convincing
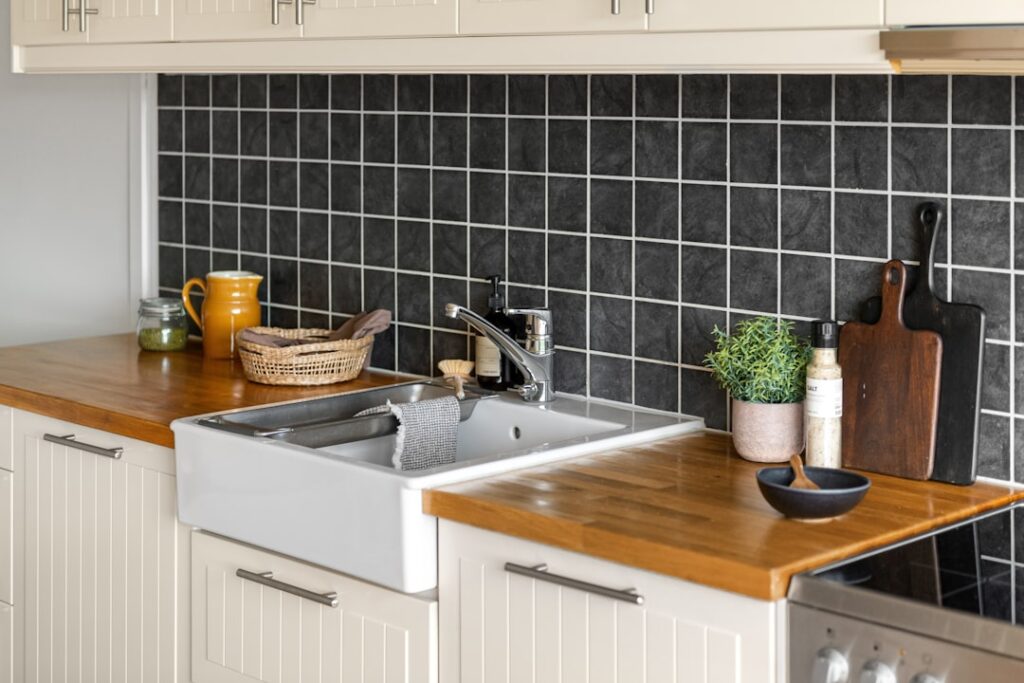
The gap between a peel-and-stick backsplash that looks cheap and one that fools guests comes down to a few design choices. Dimensional gel and metal tiles with real faux-grout lines read as genuine tile from just a few feet away, while flat printed vinyl decals give themselves away up close, so spend a little more if the backsplash sits at eye level. Keep the pattern proportional to the space: a small subway or hexagon repeat suits a modest galley kitchen, whereas an oversized marble-look sheet can overwhelm it. Finishing details sell the illusion, too. A bead of color-matched caulk along the countertop and around the outlets hides the sheet edges, and adding a thin metal or PVC trim piece where the backsplash meets the wall gives it the crisp, built-in border a real tile job would have. Those small touches are what turn a temporary fix into something that looks permanent.
Is It Right for Your Kitchen?
A removable peel and stick backsplash is the ideal upgrade when you cannot or do not want to commit to permanent tile. It is perfect for renters, for testing a color before a real remodel, and for quick refreshes on a tight budget. Pick a heat-rated material near the stove, prep the wall obsessively, and seal the edges, and you will get a look that fools most guests for years, then comes down without a fight when you want it gone.