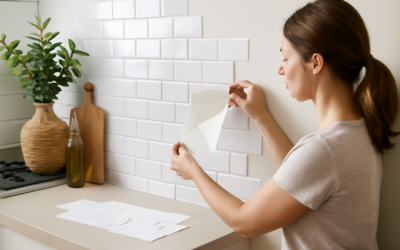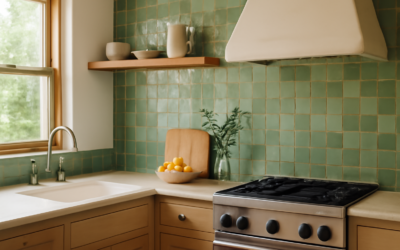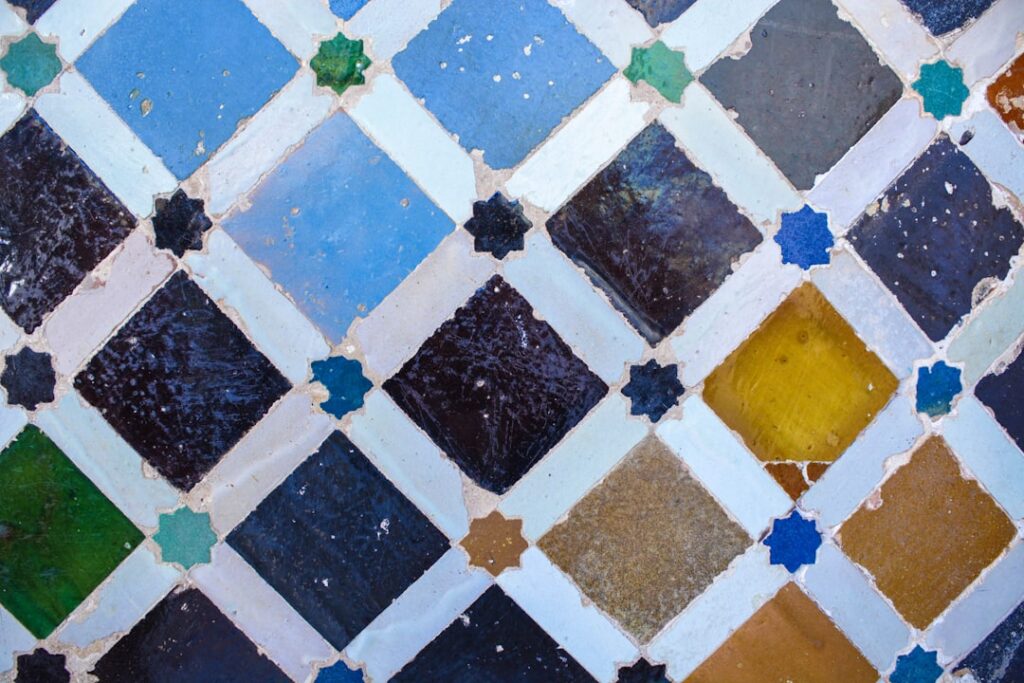
Peel and stick zellige tile lets you capture the coveted handmade Moroccan look, all glossy imperfections and shimmering color variation, without mortar, grout, wet saws, or a contractor. Traditional zellige is a labor-intensive clay tile fired and hand-glazed in Fez, prized for its uneven surface and depth of color, and it commands premium prices and skilled installation. The peel-and-stick version recreates that artisan aesthetic on a lightweight, self-adhesive panel that a renter or weekend DIYer can install in an afternoon. This guide explains what it is, where it works, what it costs, and how to install it for a convincing result.
Part of our Tile & Grout guide — explore the full guide →
What Peel and Stick Zellige Tile Is
These are lightweight tiles or panels, usually made from gel-based vinyl, epoxy resin, or thin composite, printed and molded to mimic the glossy, wavy, color-shifting look of real zellige. The back carries a strong self-adhesive that bonds to clean, smooth walls with no thinset required. Many come as multi-tile sheets with the classic small rectangular or square zellige format, so you cover more area per piece and the joints line up automatically.
The best versions use a raised, three-dimensional gel surface that catches light much like the glazed original, giving real depth rather than a flat printed photo. That dimensionality is what separates a convincing peel-and-stick zellige from a cheap sticker look, so it is worth examining a sample before committing.
Where It Works Best
Because it installs without mortar and stays lightweight, this tile shines in spots where a full tile job would be overkill or off-limits. Consider it for:
- Kitchen backsplashes: The most popular use, delivering the zellige look behind a range or counter in an afternoon.
- Bathroom accent walls: Vanity backsplashes and half-wall accents, kept away from direct shower spray.
- Rental updates: Renters get the high-end look and can often remove it later without damaging the wall.
- Laundry rooms and bar areas: Quick style upgrades in low-moisture spaces.
Where it does not belong is inside a shower, on floors, or on any surface with constant water exposure or heavy abrasion. The adhesive and material are not built for submersion or foot traffic, so keep it to vertical, low-moisture applications for a lasting result.
Cost Compared to Real Zellige
The price gap is dramatic, and it is the main reason people choose peel and stick. Authentic handmade zellige runs $15 to $50 or more per square foot for material alone, plus specialized installation that can double the total because the irregular tiles demand patience and skill. A full real-zellige backsplash easily reaches four figures.
Peel and stick zellige tile typically costs $5 to $15 per square foot with no installation labor if you do it yourself, so a standard backsplash might run $100 to $300 all in. You sacrifice the true clay body and lifetime durability of the original, but for a fraction of the cost and none of the mess, many homeowners find the trade worthwhile, especially in a rental or a quick refresh.
How to Install It
Installation is genuinely beginner-friendly, but surface prep makes or breaks the result. Work through these steps:
- Clean and dry the wall: Wipe the surface with a degreaser to remove grease and dust, since the adhesive only bonds to a clean, dry, smooth wall. Glossy or textured walls may need light sanding or priming.
- Plan your layout: Find the center or a focal point, and dry-fit a few pieces to plan cuts around outlets and edges.
- Peel and press: Remove the backing, align the sheet carefully (you often get one shot), and press firmly from the center outward to eliminate air bubbles.
- Cut to fit: Trim edges and outlet openings with sharp scissors or a utility knife.
- Seal the edges if needed: In damp areas, run a bead of clear silicone along the countertop and edges for extra moisture protection.
Turn off power and loosen outlet covers so they sit over the finished tile. Take your time aligning the first sheet, since everything else references off it.
Pros, Cons, and Care
The upsides are compelling: low cost, fast DIY installation, no grout or mortar, lightweight, and renter-friendly. The downsides are equally real. Peel and stick zellige tile is not as durable as ceramic, cannot handle wet or high-heat areas the same way, and the adhesive can loosen over years, especially in humidity or near heat sources. It also will not fool a close inspection the way real glazed clay does, though from a few feet away it reads convincingly.
Care is simple. Wipe it with a soft cloth and mild soap, avoiding abrasive pads and harsh solvents that can dull or lift the surface. Keep it away from direct stovetop flame and prolonged moisture. Handled that way, peel and stick zellige tile is a smart, affordable way to bring the warm, handcrafted Moroccan look into a kitchen or bath without the premium price or the professional install, making it one of the easiest style upgrades in the whole tile aisle.
Making It Look Convincing
The difference between a peel-and-stick zellige backsplash that fools guests and one that looks obviously fake comes down to a few details. Choose a product with genuine three-dimensional relief and a glossy, slightly uneven surface, since real zellige is prized for its handmade irregularity and light play. Flat, uniformly printed sheets read as plastic up close, while gel or molded versions with subtle tonal variation catch light the way glazed clay does.
Layout also matters. Real zellige is set in tight, thin joints, so avoid products that exaggerate the grout lines into wide, cartoonish gaps. Take time to align the first sheet perfectly level, because any tilt compounds across the wall and gives the installation away. Finish the exposed edges cleanly with a trim piece or a neat silicone bead rather than leaving a raw cut, since sloppy edges are the fastest tell that a backsplash is a peel-and-stick shortcut. Finally, keep the surrounding elements authentic; pairing the tile with warm brass hardware, natural wood, and unlacquered fixtures reinforces the Moroccan aesthetic and draws the eye to the overall vibe rather than to any single imperfect tile.
Prefer to explore on your own?
See how new flooring looks in your actual room in seconds — free, no signup.
Try the free Floor Studio →