Transforming a dated kitchen wall used to mean thinset, spacers, and a weekend of grout under your fingernails. Not anymore. Peel and stick backsplash wallpaper lets you cover the strip between your countertop and cabinets in an afternoon, with nothing more than scissors, a smoothing tool, and a little patience. It is the go-to solution for renters who can’t touch the real tile, for landlords staging a unit, and for homeowners who want a quick refresh without the cost or commitment of a full remodel. But not all peel-and-stick products are created equal, and knowing which type you are buying, and how to prep for it, makes the difference between a slick upgrade and a peeling mess.
Vinyl Wallpaper vs. Gel Tile Stickers
The phrase peel-and-stick backsplash actually covers two very different products, and shoppers routinely confuse them. Flat vinyl wallpaper is a printed adhesive sheet, often sold in rolls, that shows a photorealistic image of subway tile, marble, or mosaic. It is the thinnest and cheapest option, applies smoothly to flat walls, and reads convincingly from a few feet away, though up close it is obviously flat rather than dimensional.
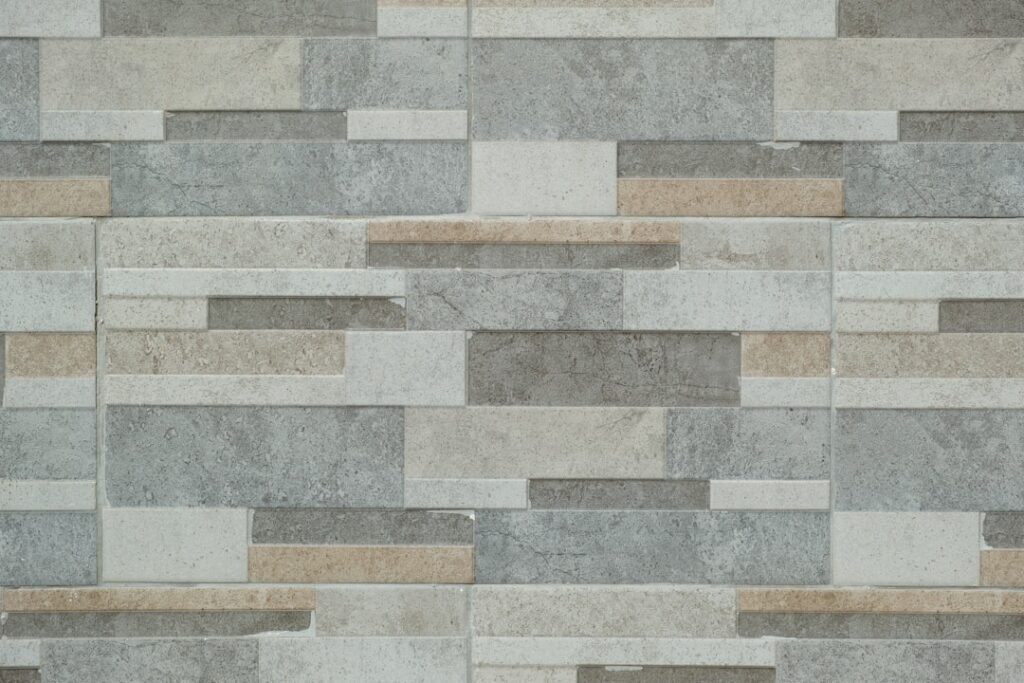
Gel or 3D peel-and-stick tiles, sometimes called Smart Tiles, are thicker molded panels with raised grout lines and a glossy, gel-coated surface that mimics real tile texture and even reflects light like the genuine article. They cost more but look dramatically more authentic, especially in close-up kitchen and bathroom settings. For a quick reference:
- Vinyl wallpaper: Cheapest, flattest, best for large areas and tight budgets
- Gel/3D tiles: Dimensional, glossy, most convincing, heat-resistant near stoves
- Metal or PVC panels: Rigid, most durable, harder to cut around outlets
If your backsplash sits behind a cooktop, choose a gel or PVC product rated for heat, since thin vinyl wallpaper can warp or discolor near burners.
What It Costs
Affordability is the whole appeal. Vinyl backsplash wallpaper rolls run roughly $10 to $30 for enough to cover a small run, while gel 3D tiles are sold in packs and average $6 to $12 per sheet, with each sheet covering about one square foot. A typical kitchen backsplash of 25 to 30 square feet lands somewhere between $80 and $250 depending on the product, compared to $600 to $1,500 or more for real tile installed. Even the premium peel-and-stick options cost a fraction of a professional tile job.
Factor in a few extras: a good smoothing tool or plastic squeegee, a sharp utility knife with spare blades, and possibly a heat gun or hair dryer for tricky corners. These add maybe $20 total and are worth every penny for a clean result. Buy 10 to 15 percent more material than your measured area to cover mistakes, pattern matching, and cuts around outlets.
Prep Is Everything
The number one reason peel-and-stick backsplash wallpaper fails is poor surface prep. Adhesive needs a clean, smooth, dry, non-porous surface to grab, and kitchen walls are usually coated in an invisible film of grease and cooking residue that will cause even the best product to lift within weeks. Scrub the entire area with a degreasing cleaner like diluted TSP or a strong dish soap solution, rinse thoroughly, and let it dry completely before you unpeel anything.
Flat, semi-gloss, and satin painted walls are ideal candidates. Heavily textured walls, raw drywall, and flat matte paint are poor surfaces because the adhesive cannot make full contact, so skim-coat or prime textured walls first if you want the material to stay put. Wipe down existing tile you plan to cover, and lightly sand glossy surfaces so the adhesive has something to bite into. Spending 30 extra minutes on prep saves you from redoing the whole wall in a month.
How to Install It Cleanly
Start by finding your reference line. Measure and mark a level horizontal guideline rather than trusting your countertop, which is often not perfectly level, and work from the most visible corner outward. Peel back only a few inches of the backing at first, position the top edge along your line, then slowly remove the rest of the backing while smoothing as you go with your squeegee, always working from the center outward to push out air bubbles.
Take your time around outlets and corners. Turn off the power, remove outlet and switch cover plates, apply the material over the opening, then trim it out with a sharp knife once it is smoothed down. Overlap seams slightly and match the pattern before pressing them home, since gaps and mismatched grout lines are what give a cheap install away. For inside corners, crease the material firmly with your smoothing tool and cut a relief slit where needed. A hair dryer warms stubborn gel tiles and makes them more flexible around curves and edges.
Durability and Real-World Longevity
Managed expectations matter here. A well-installed peel-and-stick backsplash on properly prepped walls typically lasts three to five years or more, holding up well to occasional splashes and wipe-downs. Gel tiles are the most durable and the most water-resistant, standing up to steam and grease better than thin vinyl. That said, this is not a permanent solution, and areas of constant moisture, direct high heat, or heavy scrubbing will shorten its life.
Clean it gently with a soft cloth and mild soapy water rather than abrasive scrubbers or harsh solvents that can dull the finish or lift edges. If a corner starts to peel over time, a dab of clear adhesive or a warm press with a hair dryer usually re-sets it. Keep any leftover sheets for spot repairs, because matching a discontinued pattern later is nearly impossible.
The Renter-Friendly Payoff
For renters, the best part comes at move-out. Quality peel-and-stick products are designed to be removable, and most peel away cleanly when you warm the edges with a hair dryer and pull slowly at a low angle, leaving little to no residue on the wall. Test a small hidden spot before you rely on getting your full deposit back, and avoid leaving the material up for many years, since adhesives cure harder over time and become tougher to remove without pulling paint.
Whether you are dressing up a rental you can’t renovate or simply want a low-risk way to try a bold pattern before committing to real tile, peel-and-stick backsplash wallpaper is one of the highest-impact, lowest-cost updates available to a homeowner. One last tip: apply the material in a room that is at least 65 degrees Fahrenheit, since cold walls and cold adhesive bond poorly and are far more likely to lift at the edges. Prep the wall properly, choose the right product for the location, and take your time on the install, and the result can genuinely fool the eye at a fraction of the price and effort of the real thing.