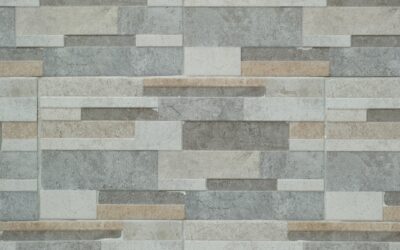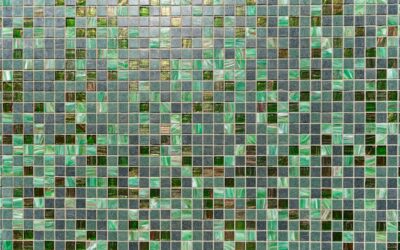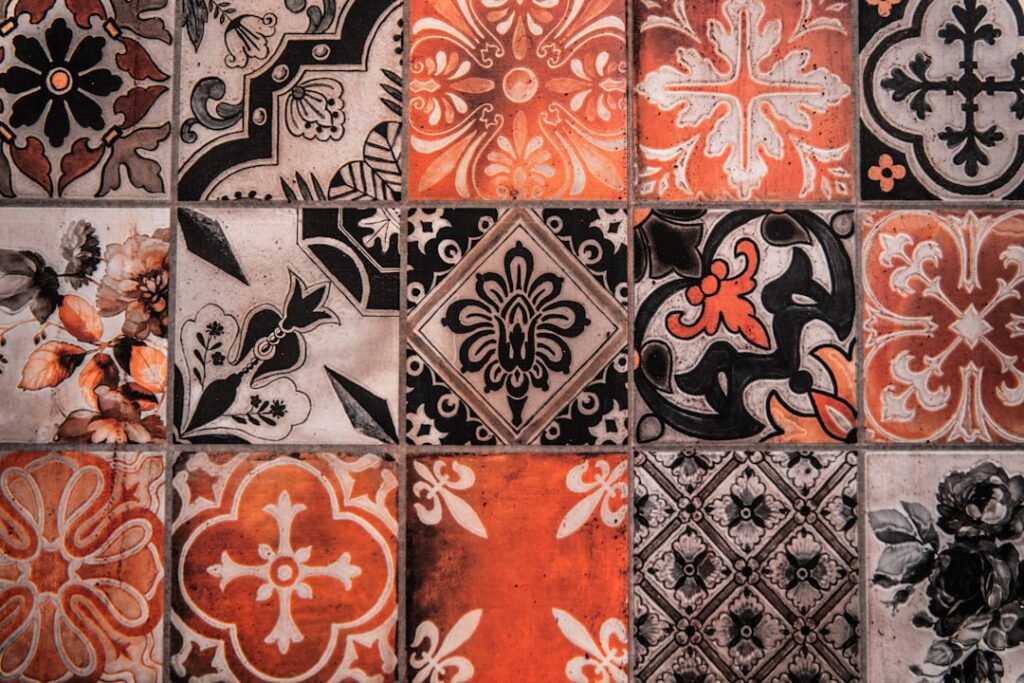
Not every backsplash upgrade requires thinset, a wet saw, and a weekend on your knees. Peel and stick tile wallpaper gives you the look of a tiled wall in an afternoon, using nothing more than a utility knife and a smoothing tool. For renters, budget remodelers, and anyone testing a design before committing to real tile, it’s become a wildly popular shortcut. But not all products are created equal, and knowing what to expect will save you from a bubbling, peeling mess a month later.
Part of our Tile & Grout guide — explore the full guide →
What Peel and Stick Tile Wallpaper Really Is
Despite the name, this product spans two distinct categories, and the difference matters. The first is true adhesive vinyl wallpaper printed with a tile pattern—flat, thin, and applied like any peel-and-stick wallpaper. The second is a semi-dimensional gel or foam tile, often called a 3D tile sticker, that has raised grout lines and a slightly cushioned, glossy surface mimicking real ceramic. Both peel off a paper backing and press directly onto a smooth wall.
Neither is actual tile, and that’s the point. You’re getting the visual of a tiled surface without the weight, the mortar, or the permanence. The flat printed versions are cheapest and best for accent walls, while the dimensional gel tiles feel and look more convincing up close, making them the popular choice for kitchen and bathroom backsplashes.
Where It Works Best
Placement is the single biggest factor in whether you’ll be happy with the result. These products cling best to clean, smooth, non-porous surfaces and struggle everywhere else.
- Kitchen backsplashes: The most common use. Gel tiles handle occasional splashes and wipe clean easily.
- Bathroom accent walls: Fine away from direct water, but keep them out of the shower spray zone.
- Laundry and mudrooms: Low-stakes spaces perfect for a quick refresh.
- Rental kitchens and baths: Removable, damage-free, and landlord-friendly when done right.
Avoid installing these directly behind a stovetop where high heat is a concern, inside a shower or tub surround where standing water sits, or over textured, glossy, or freshly painted walls. Textured surfaces prevent the adhesive from making full contact, and paint that hasn’t fully cured—give it at least three to four weeks—can peel off with the wallpaper when you remove it.
How to Install It Cleanly
Good results come down to prep and patience. Start by cleaning the wall thoroughly with a degreaser, because even invisible kitchen grease will sabotage the adhesive. Let it dry completely. Measure your area, plan your layout so cut pieces land at the edges, and mark a level horizontal guideline with a pencil—walls are never as square as they look.
Peel back just a few inches of the backing to start, align the top edge with your guideline, and press as you slowly remove the rest of the backing. Use a plastic smoothing tool or an old credit card to push out air bubbles from the center toward the edges. For the dimensional gel tiles, overlap the raised grout edges slightly so the seams disappear. Trim around outlets and corners with a sharp utility knife, replacing the blade often for clean cuts. Work in good light and take your time—rushing is what creates the bubbles and misalignments that make a job look cheap.
Durability and What to Expect
Set realistic expectations and you won’t be disappointed. Quality peel and stick tile wallpaper typically lasts three to five years in a low-traffic spot, sometimes longer if it’s not exposed to heat, steam, or constant moisture. The flat printed versions are more prone to peeling at the edges over time, while the thicker gel tiles hold up better and resist water more effectively.
Heat is the enemy. Areas above a stove or near a dishwasher vent can loosen the adhesive, causing corners to curl. Direct, prolonged water exposure does the same. The material also scratches and dents more easily than real ceramic, so it won’t survive heavy abuse. Think of it as a semi-permanent cosmetic upgrade rather than a lifetime finish, and it will serve you well within those limits.
What It Costs
Affordability is the whole appeal. Flat printed tile wallpaper runs roughly $1 to $4 per square foot, while dimensional gel tile stickers land between $4 and $10 per square foot. A typical 30-square-foot kitchen backsplash costs $30 to $300 in materials depending on which style you choose, with zero installation labor if you do it yourself.
Compare that to real tile, where materials plus professional installation easily reach $450 to $900 for the same backsplash, and the value proposition is obvious. You’re trading longevity and authenticity for speed, low cost, and reversibility—a fair trade for the right project and the right room.
Removing It Without Damage
The renter-friendly promise depends entirely on careful removal. Start at a corner and peel slowly at a low angle. If the adhesive resists, warm it with a hair dryer on medium heat for 20 to 30 seconds to soften it, then continue peeling. Warming as you go is the key to lifting the material without pulling paint or paper off the drywall underneath.
Any sticky residue left behind usually comes off with a little rubbing alcohol or an adhesive remover and a soft cloth. Because the whole point is damage-free removal, always test one small piece in an inconspicuous spot before covering a whole wall—confirm that both application and removal behave well on your particular surface before you commit.
Flat Printed vs. Dimensional Gel Tiles
Since the two main product types perform so differently, it’s worth choosing deliberately rather than by price alone. Flat printed vinyl is the thinnest and cheapest option, and from a few feet away it convincingly reads as tile. Up close, though, the flatness gives it away, and the edges are more prone to lifting over time. It shines on accent walls and low-touch areas where cost matters more than realism.
Dimensional gel tiles, sometimes sold as 3D wall stickers, have raised grout lines and a soft, glossy surface that genuinely mimics ceramic to the touch. They resist water better, hide minor wall imperfections thanks to their thickness, and hold their edges longer. They cost two to three times as much as flat vinyl, but for a kitchen or bathroom backsplash the upgrade is almost always worth it. If you can only splurge in one place, put the gel tiles where hands and splashes will actually touch them.
Design Ideas Beyond the Basic Backsplash
These products have grown far beyond plain white subway prints. You’ll find Moroccan and encaustic patterns, marble-look hexagons, terrazzo, penny rounds, and bold geometric designs that would cost a fortune in real tile. That range makes peel and stick a great way to experiment with a look you’re not ready to commit to permanently.
Consider using it as a stair riser accent, inside open shelving as a colorful backing, on the face of a kitchen island, or as a framed feature behind a floating vanity. Because it cuts with a utility knife, you can fit it into odd spaces where cutting real tile would be a headache. Treat it as a low-risk canvas for pattern and color, and it becomes far more useful than a simple backsplash stand-in.
Is Peel and Stick Tile Wallpaper Worth It?
For the right job, absolutely. Peel and stick tile wallpaper delivers a fast, affordable, reversible way to transform a backsplash or accent wall without tools, mess, or a big budget. It won’t replace genuine ceramic in a high-moisture shower or last for decades, but as a rental upgrade, a design test run, or a quick refresh, it’s hard to beat. Prep your wall properly, choose the dimensional gel style for wet-adjacent areas, and manage your expectations, and you’ll get a great-looking result in a single afternoon.
Prefer to explore on your own?
See how new flooring looks in your actual room in seconds — free, no signup.
Try the free Floor Studio →