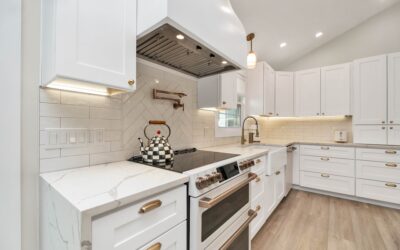
The mosaic format is where peel-and-stick tile earns its keep. Big flat “subway” panels have to imitate a single smooth tile — hard to fake — but a mosaic peel and stick backsplash gets to hide behind pattern: dozens of small chips, beveled facets, or real stone pieces per sheet break up light and sightlines so convincingly that guests routinely have to touch the wall to tell. I have installed most of the major product classes at this point, in my own spaces and for rental refreshes, and the category splits into four genuinely different products that get lumped together online. Buying the right class for your wall and your expectations matters far more than picking a brand off a bestseller list, so this is a roundup by class, with honest notes on where each succeeds and where each embarrasses itself.
Part of our Kitchen Remodeling guide — explore the full guide →
- Class One: Gel / Epoxy 3D Mosaic Tiles
- Class Two: Real-Material Mosaics With Adhesive Backing
- Class Three: Thin Vinyl / PVC Printed Mosaic Sheets
- Class Four: Aluminum-Composite Mosaic Sheets
- Side-by-Side
- How Much to Buy
- Installation: The Ninety Percent Rule
- Living With It, and When to Choose Real Tile Instead
Class One: Gel / Epoxy 3D Mosaic Tiles
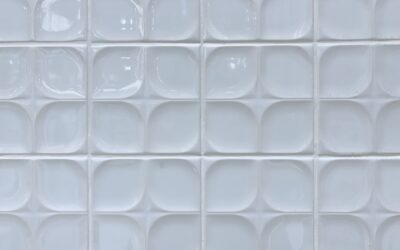
These are the thick, squishy-faced sheets — a resin gel surface molded into individual raised “tiles” with printed grout lines between them, usually 10 to 12 inches square per sheet, 2 to 3 millimeters thick. The dimensionality is the selling point: the beveled subway-mosaic and hexagon versions catch light like glazed ceramic, and the printed grout lines sit genuinely recessed, which is what sells the illusion. Smart Tiles is the best-known brand here (we review that brand separately on this site — this piece stays across brands), and Tic Tac Tiles, Art3d, and RoomMates make comparable gel product; expect $6 to $14 per square foot.
Strengths: the most convincing faux-tile look per dollar, easy scissor cutting, heat tolerance adequate for behind-range use per most manufacturers’ specs (typically fine at normal splash-zone distances from burners), wipeable, and forgiving of slightly imperfect walls because the thick gel absorbs minor texture. Weaknesses: the resin face can be gouged by knives and scorched by direct contact with hot cookware; deep colors can fade in strong direct sun; and once stuck, repositioning is limited — the adhesive grabs fast.
Class Two: Real-Material Mosaics With Adhesive Backing
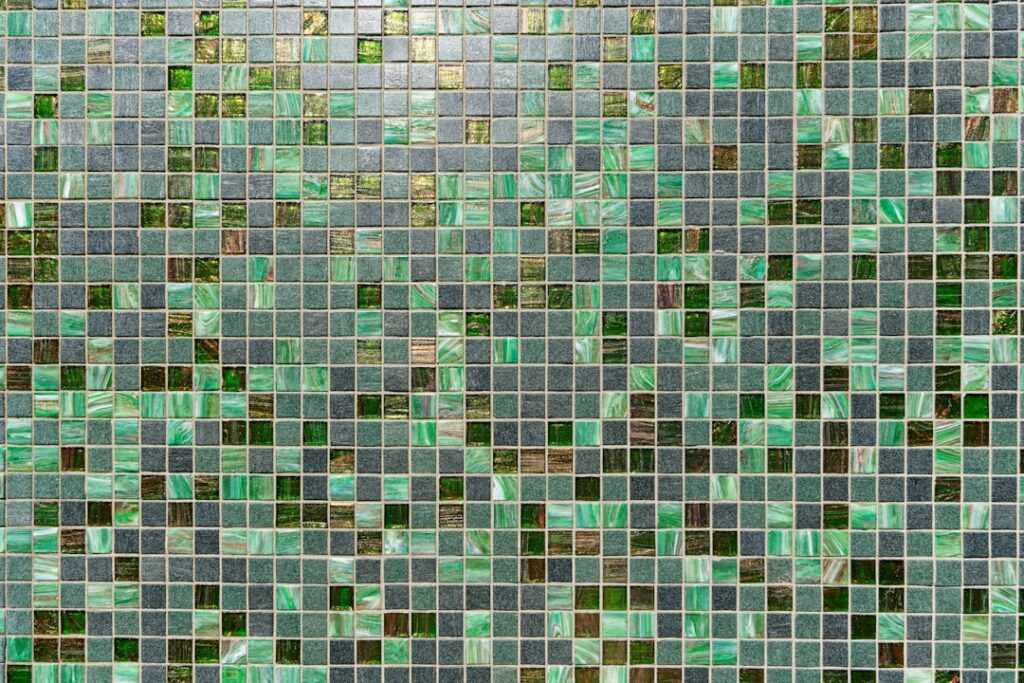
This is the premium class and the one most people do not realize exists: genuine stone, glass, or metal mosaic chips mounted on a mesh or composite backing that carries a factory-applied pressure-sensitive adhesive. Aspect (by ACP) does metal and glass; Tack Tile and several stone brands do real slate and quartzite splitface; Art3d and MSI have adhesive-backed real-stone lines. Prices run $10 to $25 per square foot — real-tile money — but the payoff is that it is not an imitation of anything. Slate splitface peel-and-stick reads as slate because it is slate.
Strengths: authentic texture and light play, excellent longevity, no fade concerns with stone. Weaknesses: weight is the engineering problem — these sheets are heavy, and they will find any weakness in your wall prep or any grease film left on the paint. Cutting requires tile nippers or a wet saw for stone and glass, not scissors. And the thick, irregular edges of splitface product make outlet trim and edge terminations a real detail to plan (metal edge profiles like Schluter strips, glued at the perimeter, solve this cleanly). For a renter, note that these are also the least removable class — the adhesive plus weight means removal usually takes paint and sometimes drywall paper with it.
Class Three: Thin Vinyl / PVC Printed Mosaic Sheets
The budget class: flat vinyl sheets, under a millimeter thick, with a mosaic pattern printed on them — sometimes with a light emboss. $2 to $6 per square foot, sold in big multi-packs online. I will be blunt: these are wall stickers, and they look like wall stickers from closer than about six feet. Flat print cannot fake the light behavior of dimensional mosaic. Where they earn a place: rental kitchens where the landlord allows nothing permanent (they remove cleanly), laundry closets, RV and boat galleys, and craft projects. Where they disappoint: any primary kitchen wall you look at daily, and any location near heat — thin vinyl can lift and curl behind a range. If your budget stops here, buy the embossed versions and dark, busy patterns, which photograph and age best.
Class Four: Aluminum-Composite Mosaic Sheets
A smaller but interesting class: brushed-aluminum or metal-composite chips on sheets, from Aspect and several import brands, $8 to $16 per square foot. These deliver the commercial-kitchen stainless mosaic look, cut with heavy scissors or shears, handle splash-zone heat well, and hide fingerprints better than you would guess in brushed finishes. The caution is electrical: metallic sheets around outlets demand properly seated cover plates and care that no metal edge contacts receptacle terminals. They are also unforgiving of wavy walls — metal telegraphs every hump with a shifted reflection.
Side-by-Side
| Class | $ / sq ft | Realism | Cutting | Removability | Behind Range |
|---|---|---|---|---|---|
| Gel / 3D resin | $6–$14 | Very good | Scissors | Moderate | Yes, per specs |
| Real stone / glass | $10–$25 | It is real | Nippers / wet saw | Poor | Yes |
| Vinyl printed | $2–$6 | Fair at best | Scissors | Excellent | Risky |
| Metal composite | $8–$16 | Very good | Shears | Moderate | Yes |
How Much to Buy
Measure your backsplash area (length times height for each wall section, minus windows), then add 15 percent for mosaics — pattern-matching at seams and L-cuts around outlets eat more material than straight subway panels do. A typical kitchen backsplash runs 25 to 35 square feet, which puts real-world project costs at roughly $60 to $150 for vinyl, $180 to $400 for gel tiles, and $300 to $700 for real-material sheets. Even the premium class lands at a fraction of a tiled backsplash once you count thinset, grout, tools, and labor at $10 to $30 per square foot installed.
Installation: The Ninety Percent Rule
Ninety percent of peel-and-stick failures are wall prep failures. Adhesive sheets do not fail in the middle of the wall; they fail at edges and corners, and they fail because the surface underneath let go or was never clean. My sequence, learned the annoying way:
- Degrease twice. Kitchen walls wear an invisible film of aerosolized cooking oil. Wash with TSP substitute or a strong degreaser, rinse, then wipe with isopropyl alcohol. Paint that feels clean usually is not.
- Deal with texture and flat paint. These products want smooth, glossy-or-satin, well-adhered paint. Orange-peel texture telegraphs through gel tiles and defeats vinyl adhesion at every peak. Skim-coat heavy texture, and prime chalky flat paint with a bonding primer, or the tile will peel the paint off for you later.
- Strike a level line. Countertops are not level. Snap or draw a level reference for your first course and shim the below-line gap with caulk at the end; every subsequent sheet inherits the first one’s error.
- Dry-fit the layout. Plan seams away from the sightline center, and plan which edge gets the cut course. Mosaic patterns have a repeat; check that adjacent sheets interlock the way the manufacturer intends (most gel sheets have interlocking flanged edges — align them dry before committing).
- Peel partially, place, then peel through. Fold back a few inches of backing, position the top edge, and peel the rest downward while smoothing outward from center with a plastic smoother or credit card. Full-peel-then-slap is how sheets go on crooked with trapped bubbles.
- Kill power before trimming at outlets. Cut sheets to the box opening, and add outlet spacers ($5 a pack) if the added thickness recesses your receptacles — code wants plates flush and supported.
- Roll or press every edge, then let the adhesive build for 48 hours before heavy wiping. Pressure-sensitive adhesive reaches most of its final grab over days, not minutes.
Living With It, and When to Choose Real Tile Instead
Care is easy across the classes: warm soapy water and a soft cloth, no abrasives on resin faces, a stone sealer wipe once a year on real slate if it lives near the sink. Expect quality gel and real-material installs to look right for five-plus years; expect vinyl to be a two-to-three-year refresh. And know the honest limits of the category: peel-and-stick belongs on walls, not counters or floors; it will not fix crumbling drywall; and in a forever-home kitchen where you want a fifty-year surface with wet-area credentials, thinset-and-grout tile still wins. But for the enormous middle ground — rentals, flips, first kitchens, laundry rooms, and any wall that needs to go from bare to beautiful in an afternoon with a $250 budget and no wet saw — the mosaic peel and stick backsplash is one of the highest-leverage upgrades in home improvement. Pick the class that matches the wall, prep like the adhesive is watching, and it will out-perform its price tag by a comfortable margin.