A kitchen backsplash used to mean hiring a tile setter, buying mortar and grout, and losing a weekend to mixing and mess. Peel and stick backsplash tiles changed that — for $8 to $15 a square foot and an afternoon of work, you can transform a wall with nothing but scissors and a firm hand. I have installed real tile for decades, and I will tell you honestly where these adhesive tiles shine and where they fall short, so you know what you are getting.
Part of our Kitchen Remodeling guide — explore the full guide →
How Peel and Stick Backsplashes Work
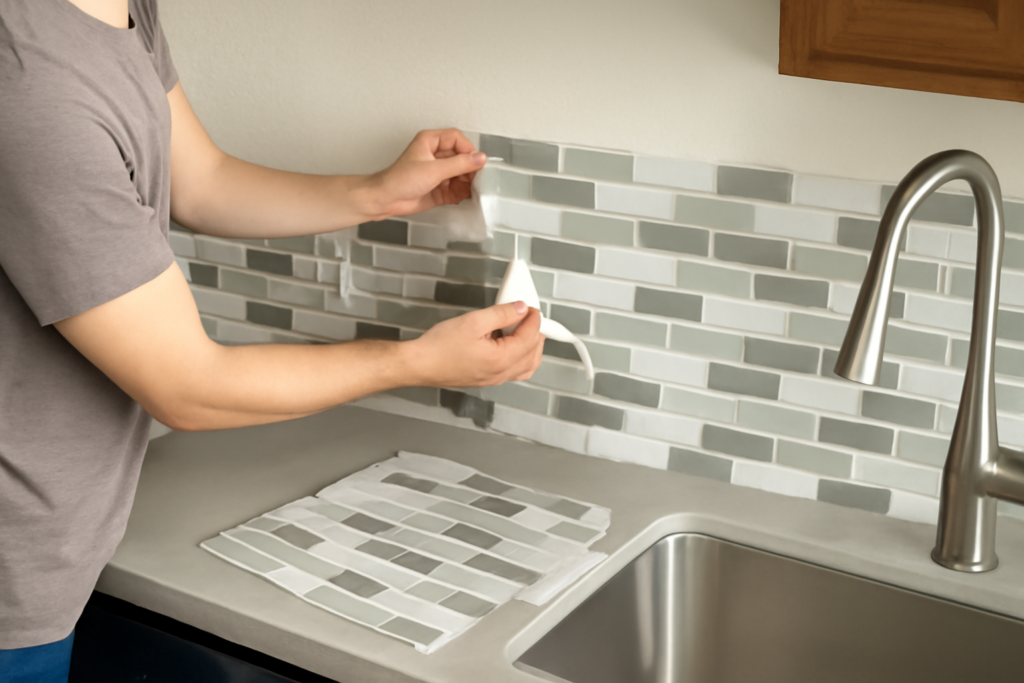
Each tile or sheet has a pressure-sensitive adhesive backing protected by a peel-off liner. You remove the liner, press the tile onto a clean wall, and the adhesive grabs on contact. There is no mortar, no grout float, and no waiting 24 hours for thinset to cure. Most products come as roughly 10×10-inch mosaic sheets that gang up many small “tiles” into one piece, so a whole backsplash goes up fast.
The best results come on smooth, clean, dry, flat surfaces. The adhesive needs full contact, so glossy painted drywall, existing smooth tile, and laminate all work well as substrates.
The Main Types Available
Not all peel-and-stick is created equal. The material determines the look and the durability.
Gel / Vinyl Mosaic Sheets
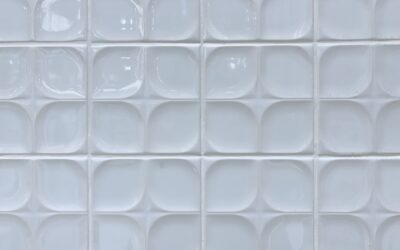
Lightweight vinyl or gel sheets that mimic glass or stone mosaics. They have a slightly raised, dimensional feel and are the easiest to cut with scissors. Great for a fast refresh but the least heat-resistant, so keep them away from the space directly behind a gas cooktop.
Aluminum / Metal Tiles
Thin metal-faced tiles that look like real metal or glass. More durable and heat-tolerant than vinyl, with a premium appearance. They cost more and require tin snips to cut.
Stone and Composite Peel-and-Stick
Real thin-cut stone or stone-composite tiles with adhesive backing. These look and feel closest to genuine tile and are the most durable, but they are heavier, pricier ($12 to $20-plus per sq ft), and can push the limits of the adhesive on tall installations.
Where They Hold Up and Where They Don’t
Peel-and-stick excels behind sinks, on general kitchen walls, in bathrooms above a vanity, and on laundry-room walls. In these spots they resist normal splashes and wipe clean easily.
Be cautious in three situations: directly behind a gas range where high heat can soften vinyl adhesive; in a steamy shower with constant standing water; and on textured, uneven, or freshly painted walls where the adhesive cannot fully grip. Give new paint at least three to four weeks to fully cure before applying, or the tiles can pull the paint off later.
What They Cost vs. Real Tile
The budget comparison is where peel-and-stick wins big. Here is the realistic math:
- Peel-and-stick material: $8 to $15 per sq ft (stone-look higher)
- Peel-and-stick labor: $0 — it is a true DIY product
- Traditional tile material: $5 to $20 per sq ft
- Traditional tile labor: $10 to $25 per sq ft
A standard 30 sq ft backsplash might cost $300 to $450 in peel-and-stick with no labor, versus $600 to $1,200 installed in real tile. The trade-off is longevity and resale appeal — genuine tile lasts decades and adds more value.
Prep and Installation Steps
Adhesion is everything, so prep the wall properly before you peel a single liner.
- Clean thoroughly. Degrease the wall with a TSP substitute or a strong cleaner — grease is the number-one cause of tiles falling off.
- Let it dry completely and turn off outlet covers if needed.
- Find your center and level line. Snap a level reference so the first row is straight; everything follows from it.
- Start from the bottom center and work outward, pressing firmly across the whole sheet.
- Overlap the pattern seams so the grout lines align between sheets and hide the joins.
- Cut around outlets with scissors or a utility knife, measuring carefully.
Press each tile hard for full contact — a wallpaper smoother or a wood block helps. Warming vinyl sheets slightly with a hair dryer makes them more pliable around corners.
Honest Limitations to Know
These tiles are a great cosmetic upgrade, not a permanent installation. The adhesive can weaken over years, especially with heat and humidity, and edges may lift over time. They generally do not add the resale value that ceramic or porcelain does. Removal can also pull off paint or leave adhesive residue, so they are not always cleanly reversible in a rental.
Set your expectations accordingly: peel-and-stick is fantastic for a fast, affordable, low-commitment refresh, and mediocre as a forever solution.
Are They Worth It?
For renters, budget updates, and anyone who wants a new look this weekend, peel and stick backsplash tiles are absolutely worth it. Clean the wall well, use a level line, press firmly, and keep them away from direct high heat and constant water. You will get a sharp, custom-looking backsplash for a fraction of the cost and effort of traditional tile — just go in knowing it is a cosmetic upgrade, not a lifetime one.
Where They Work and Where They Don’t
Peel-and-stick backsplash tiles shine in dry-to-moderate areas like the wall behind a counter, a bathroom vanity, or a rental where you cannot do permanent work. They adhere best to a smooth, clean, non-textured surface such as painted drywall or existing flat tile. They are a poor choice directly behind a stovetop where high heat can loosen the adhesive, over heavily textured walls, or in a constantly wet zone like a shower surround, where moisture eventually creeps behind and lifts the edges.
Set expectations on durability too: quality gel and metal versions look convincing and last for years in the right spot, while the cheapest thin vinyl sheets can yellow or peel sooner.
Prep and Application Tips
Clean the wall with a degreaser so no cooking film or dust undermines the adhesive, and let it dry fully. Plan your layout from a center line for balanced cuts, and dry-fit a row before peeling. Press firmly from the center outward to eliminate air bubbles, and use a sharp utility knife with a straightedge for clean cuts around outlets and edges. Warming stubborn tiles slightly with a hair dryer improves flexibility and stick. Done carefully, the result looks surprisingly close to real tile at a fraction of the time and cost.
Prefer to explore on your own?
See how new flooring looks in your actual room in seconds — free, no signup.
Try the free Floor Studio →