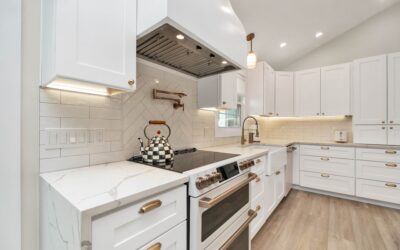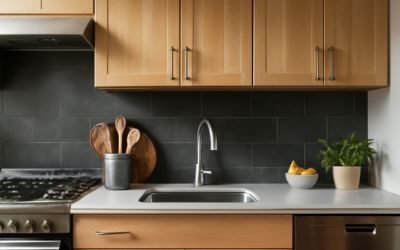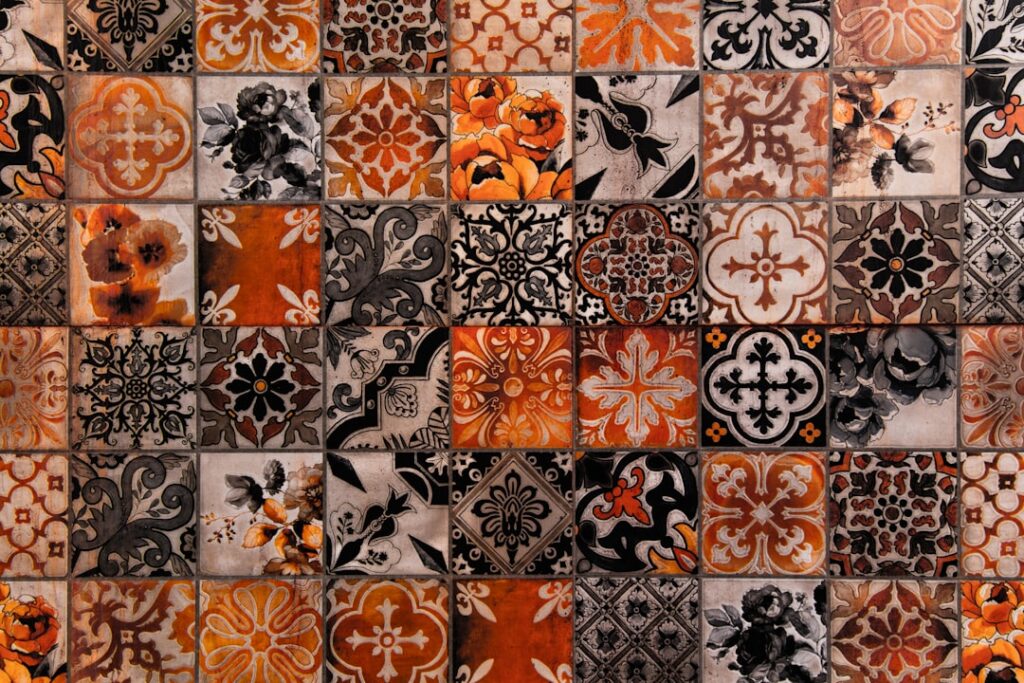
Updating a kitchen backsplash used to mean thinset, grout, spacers, and a weekend of mess. Now there is a far easier option. A stick on backsplash uses peel-and-stick tiles or panels with a self-adhesive backing that mount directly to your wall in an afternoon, with no mortar, no grout, and minimal tools. It is the go-to choice for renters, quick refreshes, and DIYers who want a new look without a major project. That said, peel-and-stick has real limits worth knowing before you start. This guide covers how it works, where it shines, and where traditional tile still wins.
How Stick On Backsplash Works
Peel-and-stick backsplash comes as individual tiles, sheets, or large panels with a pressure-sensitive adhesive on the back, protected by a peel-off liner. You clean and prep the wall, peel the backing, and press the tile into place. The adhesive bonds to a smooth, clean surface, and many products include faux grout lines printed or molded into the design so the finished look mimics real tile. Materials range from thin vinyl and gel-based tiles to metal and even thin real-stone or glass composite options.
Types of Peel and Stick Backsplash
- Vinyl tiles: The most common and affordable, thin and flexible with printed designs. Easy to cut with scissors or a utility knife.
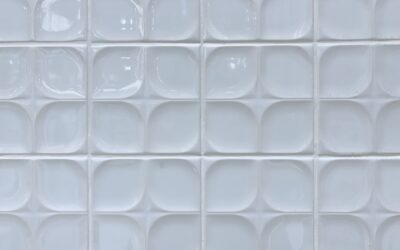
- Gel or 3D tiles: Thicker, with a raised, glossy surface that looks more like real tile and adds dimension.
- Metal tiles: Aluminum or stainless-look tiles for a sleek, modern feel.
- Glass and stone composite: Real glass or stone chips on a backing, giving a more authentic look at a higher price.
- Large panels: Sheets that cover more area at once, speeding installation but harder to maneuver.
Where Stick On Backsplash Works Best
Peel-and-stick is ideal in the right setting. It shines for rental kitchens, since many products remove without damaging the wall; for fast cosmetic updates before selling or hosting; and for low-moisture areas like the wall behind a counter away from direct water. It is also great for the budget-conscious, costing a fraction of a tiled installation and requiring no special skills. Bathrooms with good ventilation, laundry rooms, and accent walls are other good fits.
Honest Limitations
It is important to set expectations. Peel-and-stick is not a permanent, professional-grade tile installation, and it has clear weaknesses.
- Heat and moisture: Adhesive can fail near a cooktop, behind a sink with constant water exposure, or in steamy, poorly ventilated rooms.
- Surface dependence: It bonds well only to smooth, clean, dry surfaces. Textured, glossy, or freshly painted walls cause adhesion problems.
- Durability: Thin vinyl can scratch, fade, or peel over time and does not match the lifespan of ceramic tile.
- Resale value: Buyers and appraisers generally see it as cosmetic, not a true tile upgrade.
- Heat near stoves: Keep vinyl tiles away from direct flame and very hot surfaces, which can warp or discolor them.
Surface Prep Is Everything
The single biggest factor in whether a stick on backsplash lasts is wall prep. The adhesive needs a clean, smooth, dry, and grease-free surface to grip.
- Clean thoroughly. Degrease the wall with a kitchen cleaner or a mix of mild soap and water, then wipe with rubbing alcohol to remove residue.
- Dry completely. Let the wall dry fully; moisture ruins adhesion.
- Smooth the surface. Fill holes and sand any rough or glossy spots so the wall is even.
- Let new paint cure. If you recently painted, wait several weeks for the paint to fully cure before applying tiles.
Installation Tips
Once the wall is prepped, installation is quick. Plan your layout first and find the center or a level starting line so the rows stay straight. Peel only part of the backing, position the tile, then press from the center outward to avoid bubbles. Overlap or butt tiles according to the product’s design so the grout lines align. Cut tiles to fit around outlets and edges with a utility knife and straightedge, turning off power and removing outlet covers first. Use a small roller or a firm cloth to press each tile fully, which strengthens the bond.
Care and Removal
Cleaning is simple: wipe with a damp cloth and mild cleaner, avoiding harsh abrasives that can scratch vinyl or dull the finish. To remove peel-and-stick tiles later, warming them with a hair dryer softens the adhesive so they lift more cleanly, and any residue usually comes off with an adhesive remover. Test removal in a corner first, especially on painted drywall, since aggressive adhesives can occasionally pull paint.
Estimating How Much You Need
Measure the area you plan to cover before buying. Multiply the width by the height of each section in feet to get the square footage, add up all sections, then add about 10 to 15 percent extra for cuts, mistakes, and pattern matching. Backsplash tiles are typically sold by the box or sheet with the coverage listed, so divide your total square footage by the coverage per box to find how many to buy. Buying a little extra from the same lot ensures the color and pattern match, since dye lots can vary between production runs. Keep any leftovers for future repairs.
Tools You Will Need
One of the advantages of peel-and-stick is the short tool list. You will generally need a tape measure, a level, a pencil, a straightedge, and a sharp utility knife or scissors for cutting. A small roller or a firm cloth helps press tiles down and strengthen the bond. For cutting around outlets, a screwdriver to remove cover plates is useful, and rubbing alcohol plus a clean rag handle the surface prep. No mortar, grout float, wet saw, or specialized tile tools are required, which is exactly why this method appeals to renters and first-time DIYers.
Stick On vs Real Tile
Choose peel-and-stick when you want a fast, affordable, renter-friendly, or temporary update in a low-moisture area. Choose real tile when you want a permanent, high-value, fully waterproof backsplash that withstands heat, moisture, and decades of use, and when resale value matters. Both have a place; the trick is matching the method to your goals and the demands of the location.
Final Thoughts
A stick on backsplash is a genuinely useful tool for transforming a kitchen or bathroom quickly and cheaply, especially for renters and quick refreshes. Its success rests almost entirely on choosing a suitable, low-moisture location and prepping the wall meticulously. Go in with realistic expectations about durability and placement, and a peel-and-stick backsplash delivers a fresh, attractive look that belies how little time and money it took.