If you have been searching for peal and stick tile, you are looking at one of the fastest, cheapest ways to transform a floor or backsplash without hiring a pro. The common spelling is actually “peel and stick tile,” but the product is the same either way: a self-adhesive tile with a factory-applied glue backing that bonds directly to a clean, smooth surface. No mortar, no wet saw, no grout float required for most jobs.
Part of our Tile & Grout guide — explore the full guide →
Over the past decade these tiles have jumped from cheap rental-friendly flooring to a genuinely respectable finish, with photorealistic wood and stone prints, thicker wear layers, and gel or vinyl backsplash panels that mimic real ceramic. This guide walks you through materials, prep, application, cost, durability, and removal so you can decide whether the product fits your project.
What Peel and Stick Tile Actually Is
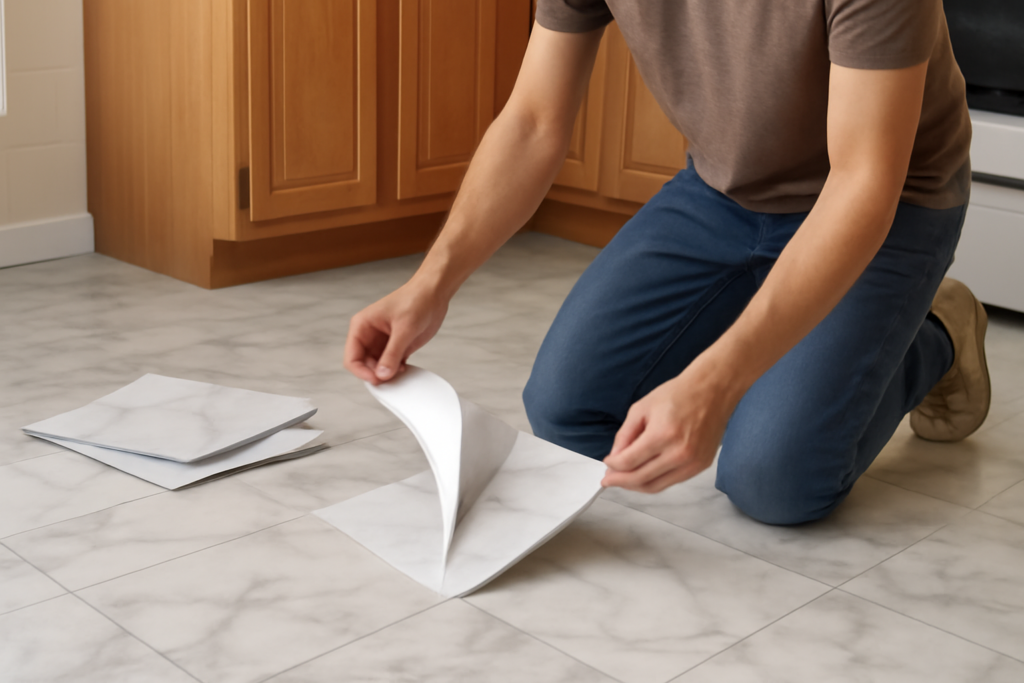
At its core, a peel-and-stick tile is a rigid or semi-rigid tile with a pressure-sensitive adhesive on the back protected by a paper or film liner. You peel the liner and press the tile down. The bond strengthens over the first 24 to 72 hours as the adhesive flows into the surface texture.
You will run into four main categories on the market:
- Vinyl (LVT) floor tiles: The workhorse. Typically 12 by 12 inches or 12 by 24 inches, 1.2mm to 3mm thick, with a printed design layer under a clear wear layer. Runs $0.70 to $3 per sq ft.
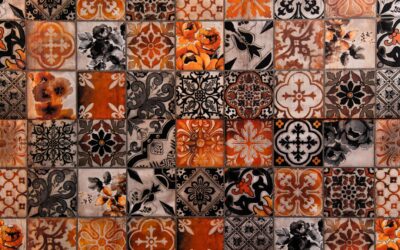
- Gel or 3D backsplash tiles: Flexible sheets that mimic subway or mosaic tile with a raised, glossy epoxy-gel surface. Usually $4 to $9 per sheet covering roughly 1 sq ft.
- Metal and stainless panels: Thin aluminum or steel faces for kitchen backsplashes, $6 to $12 per sq ft.
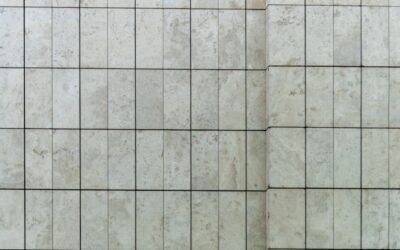
- Stone-composite and real-stone mosaics: Crushed marble or travertine bonded to a mesh with adhesive backing, $8 to $15 per sq ft. The most convincing but the heaviest.
Surface Prep: Where Success Is Won or Lost
Adhesive tile is only as good as the surface under it. The manufacturer’s warranty almost always hinges on prep, and I have pulled up plenty of failed jobs that were installed over dust, wax, or a slightly damp slab. Follow this sequence:
- Clean thoroughly. Degrease with a TSP substitute, then wipe with clean water and let dry. Grease, soap film, and old floor polish are the number-one causes of tiles that lift at the corners.
- Make it smooth and flat. The adhesive telegraphs every bump. Fill low spots and cracks with a floor patch compound, and sand down high ridges. On backsplashes, skim over heavy texture or the tile will not sit flat.
- Check for moisture. Tape a 2-by-2-foot square of plastic to a concrete slab overnight. Condensation underneath means the slab is too damp and the glue will fail. Address moisture before you tile.
- Prime if needed. Glossy, chalky, or very porous surfaces benefit from a bonding primer. On drywall behind a backsplash, a coat of primer gives the adhesive something consistent to grip.
- Acclimate. Let the tiles sit in the room 24 to 48 hours so they reach room temperature. Aim for a working range of 65°F to 85°F. Cold tile is stiff and bonds poorly.
How to Apply Peel and Stick Tile
Dry-lay the whole floor first without removing any liners. This tells you where cuts land and lets you shift the layout so you avoid a sliver-thin row against the most visible wall.
Snap a chalk line to establish a square starting point, usually the center of the room. Working out from the middle keeps the border cuts even on both sides. Peel the backing, align the tile to your line, and press it down hard. Do not slide it into place; set it once, because the adhesive grabs immediately.
Here are the pro habits that separate a clean job from a lumpy one:
- Roll every tile with a 75- to 100-pound floor roller, or press firmly with a J-roller on walls. Pressure is what activates the bond.
- Butt seams tight. Any gap collects dirt and moisture and invites peeling.
- Cut with a sharp utility knife and a straightedge. Score the wear side, snap, and finish the cut. No power tools needed.
- For outlets and pipes, make a paper template first, then trace and cut the tile.
- Stay off the floor for the cure time the label specifies, usually 24 hours before heavy traffic and 72 hours before you move in furniture.
Many floor tiles are edge-to-edge groutless, but some LVT and most stone-composite lines are designed for a thin grout line. If your product calls for grout, use a pre-mixed vinyl-compatible grout, not sanded cement grout, which can crack against a flexible tile.
Durability and Where It Holds Up
A quality vinyl peel-and-stick floor with a 12- to 20-mil wear layer will realistically last 5 to 10 years in a moderate-traffic room. Bargain tiles with a 6-mil layer look great on day one and start showing scuffs and lifting corners within a year or two, especially in sunlight or near heat.
The two things this product hates are heat and standing water. Direct sun through a south-facing window can soften the adhesive and cause tiles to creep. Water that seeps into seams in a full bath or laundry room will eventually break the bond. For those spots, either seal the seams carefully or step up to a fully waterproof click-lock LVT instead.
Best Rooms for Peal and Stick Tile
Choosing the right room is half the battle. This is where peal and stick tile shines and where it struggles:
- Great fits: Kitchen backsplashes, half baths, laundry rooms with dry floors, home offices, bedrooms, closets, and rental units where you want a reversible upgrade.
- Proceed with caution: Full bathrooms with showers, entryways with grit and moisture, and sunrooms with heavy solar gain.
- Skip it: Rooms with in-floor radiant heat above the tile’s temperature rating, and any surface that is uneven, damp, or heavily textured and cannot be prepped flat.
For backsplashes specifically, the gel and vinyl panels are hard to beat. They resist kitchen humidity well, wipe clean, and can be installed in an afternoon for under $100 in a typical galley kitchen.
Cost Breakdown
The budget appeal is real. A 100 sq ft room in mid-grade vinyl runs roughly $150 to $250 in materials, versus $600 to $1,500 for professionally installed ceramic. Because you skip mortar, spacers, a wet saw rental, and grout, the tool cost is close to zero beyond a knife, straightedge, and roller. Factor in an extra 10 percent of tile for cuts and mistakes, plus $20 to $40 for floor patch and primer.
Removal and Reversibility
Removal is straightforward but rarely clean. Warm each tile with a hair dryer or heat gun on low to soften the glue, then lift a corner and peel slowly. Expect adhesive residue, which comes off with an adhesive remover or mineral spirits and a plastic scraper. On drywall, backsplash panels can pull off the paper face if they were pressed hard, so plan on patching and repainting. If you are renting, test one tile in a hidden spot before committing so you know how much cleanup to expect.
Pros and Cons at a Glance
Weigh these before you buy:
- Pros: Low cost, no special tools, fast DIY install, huge design range, and easy spot replacement of a damaged tile.
- Cons: Shorter lifespan than glued or click LVT, sensitive to heat and standing water, demands near-perfect prep, and cheaper grades look and feel thin.
Final Word
Used in the right room and installed over a clean, flat, dry surface, peal and stick tile delivers a genuinely convincing floor or backsplash for a fraction of the cost and effort of traditional tile. Spend a little more for a thicker wear layer, do not rush the prep, roll every tile firmly, and give the adhesive its full cure time. Do those four things and you will get years of good-looking service from a product you installed yourself in a weekend.
Prefer to explore on your own?
See how new flooring looks in your actual room in seconds — free, no signup.
Try the free Floor Studio →