Setting individual mosaic tiles one at a time is slow, fussy work that can turn a weekend project into a week-long ordeal. That is exactly why tile sheets for backsplash installations have become the go-to solution for homeowners who want a polished result without the tedium. Instead of placing dozens of tiny pieces, you set pre-arranged sheets that lock the spacing and pattern in place automatically. Understanding the two main sheet types and how to install them cleanly is the key to a backsplash that looks professionally done.
Part of our Kitchen Remodeling guide — explore the full guide →
What Are Backsplash Tile Sheets?
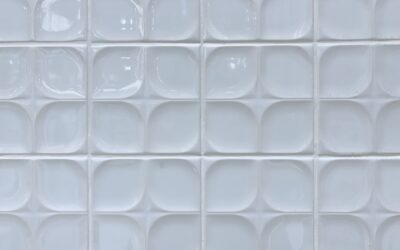
A tile sheet is a group of small tiles held together in a fixed arrangement, usually in a 12-by-12-inch square, so you can install many pieces at once. The tiles are spaced evenly and bonded to a backing material, which means the pattern and grout gaps are already perfect before the sheet ever touches your wall. This preassembly is what makes mosaics, hexagons, and penny rounds realistic for a first-time installer.
Sheets fall into two broad families. Traditional mesh-backed and paper-faced sheets are set in thin-set mortar and grouted like any real tile. Peel-and-stick sheets have an adhesive back and require no mortar or grout at all. Both give you the sheet advantage of speed, but they install in completely different ways and suit very different projects.
Mesh-Backed and Paper-Faced Sheets
Mesh-backed sheets are the standard for genuine ceramic, porcelain, glass, and stone mosaics. A fiberglass mesh is glued to the back of the tiles, holding them together while still letting mortar grip through the openings. You spread thin-set on the wall, press the sheet in, and the mesh disappears into the adhesive. Once cured, you grout the joints exactly as you would with loose tile.
Paper-faced sheets work in reverse, with a removable paper bonded to the tile faces and nothing on the back. This lets the tile bond directly to the mortar for maximum strength, which is common with high-end glass. After the thin-set sets, you dampen and peel the paper away, then grout. Both styles deliver a permanent, waterproof, real-tile backsplash that lasts for decades.
Peel-and-Stick Tile Sheets
Peel-and-stick sheets are the fastest, most forgiving option and a favorite for renters and quick refreshes. Some are made of lightweight gel or vinyl that mimics tile, while others use real thin tile or glass on a self-adhesive backing. You simply clean the wall, peel the film, and press the sheet in place. There is no mortar, no grout float, and no drying time before you can use the counter.
The trade-off is durability and heat tolerance. Peel-and-stick sheets are best kept a few inches away from direct heat behind a range, and they will not last as long as mortar-set tile in a hard-working kitchen. For a bathroom, a coffee bar, or a rental you plan to restore later, they are hard to beat for speed and cost.
What Tile Sheets Cost
Price depends on both the material and the sheet type, but there is an option for nearly every budget.
- Peel-and-stick vinyl or gel sheets: roughly $6 to $15 per square foot, no adhesive or grout to buy.
- Mesh-backed ceramic or porcelain mosaic: about $8 to $18 per square foot.
- Glass mosaic sheets: typically $15 to $35 per square foot.
- Natural stone and marble sheets: $12 to $40 per square foot, plus sealer.
For a standard 30-square-foot backsplash, real tile sheets set in mortar usually run $250 to $900 in materials, while peel-and-stick options often come in under $400. Doing the labor yourself is where sheets save the most, since one person can typically finish a small kitchen backsplash in a single day.
How to Install Mortar-Set Tile Sheets
Start with a clean, flat, dry wall and mark a level line for your first row, because a crooked start will magnify across the whole surface. Mix white thin-set to a peanut-butter consistency for glass or light stone, or standard gray for porcelain, and spread it with a 3/16-inch notched trowel over an area slightly larger than one sheet.
Press each sheet firmly into the mortar and use a grout float or a flat block of wood to bed it evenly so no corners lift. The critical step is spacing: leave the same gap between sheets as the gap between tiles within a sheet, or the seams will show as obvious grid lines. Check alignment constantly, wipe excess mortar from the joints, and let the wall cure for 24 hours before grouting. Apply grout diagonally across the joints, wipe with a damp sponge, and seal any natural stone once everything dries.
Cutting Sheets to Fit
Around outlets, corners, and edges you will need to trim sheets down. For mesh-backed mosaics you can often just snip the backing with utility scissors to remove or reposition individual tiles. For cuts through the tile itself, a wet saw with a diamond blade gives the cleanest edge, especially on glass and stone. Plan the layout so full tiles land in the most visible areas and cut pieces hide near the ends.
Tips for a Flawless Result
A few habits separate an amateur job from a clean, custom-looking wall. Dry-lay several sheets on the counter first to see how the pattern repeats and to plan where cuts will fall. Always turn off power and remove outlet covers before you start, then reinstall them with slightly longer screws over the finished surface. For peel-and-stick sheets, warm the wall to room temperature and press each panel from the center outward to force out air bubbles.
Finally, do not skip the caulk. Where the backsplash meets the countertop and where it turns an inside corner, use a flexible color-matched silicone rather than rigid grout. These joints move slightly as the house settles, and caulk flexes where grout would crack.
Popular Patterns Available in Sheet Form
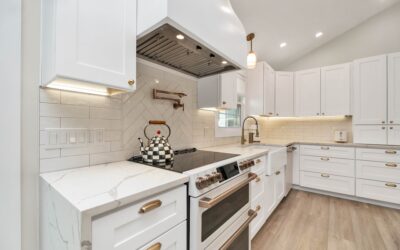
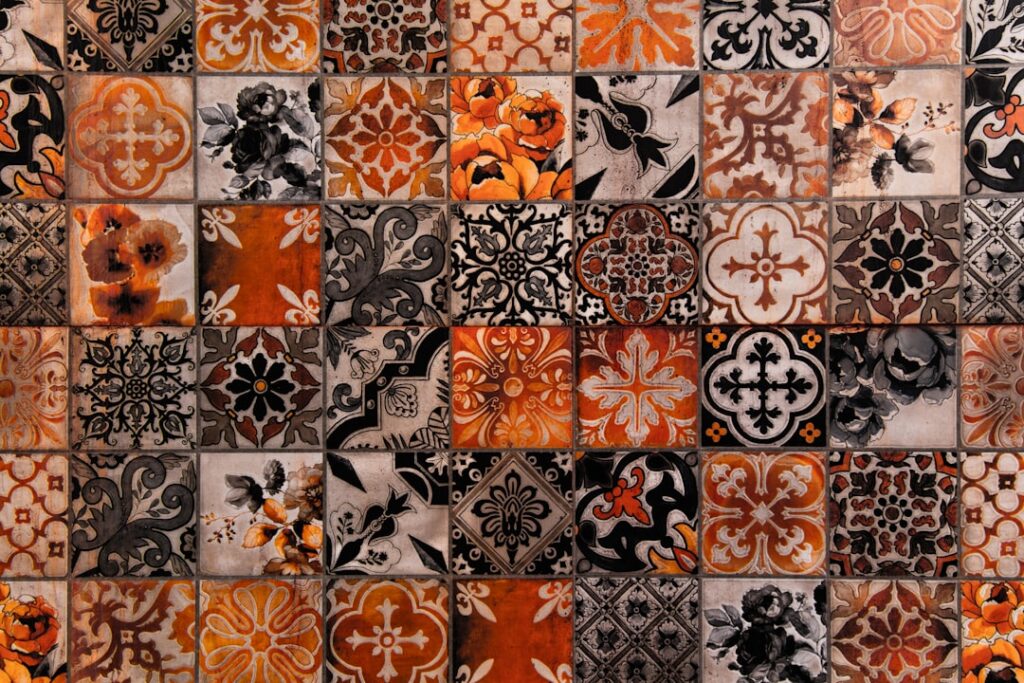
Part of what makes sheets so appealing is the range of intricate patterns that would be miserable to lay by hand. Classic mosaic squares, tiny penny rounds, and hexagons all come pre-spaced on mesh, giving you a detailed, custom look in a fraction of the time. Herringbone and chevron sheets deliver the trendy angled layout without you having to cut and align each individual piece to a perfect 45 degrees.
Marble and stone sheets in Carrara, basketweave, and arabesque shapes bring high-end texture to a wall, while glass mosaics add reflective color and light. Even large-format subway looks now come sheet-mounted so the grout gaps stay uniform. When you shop, check the sheet’s tile-to-tile spacing and pick a pattern whose repeat will flow cleanly across your specific wall width, since a badly chosen repeat leaves obvious seams.
Common Mistakes to Avoid
The single most common error is inconsistent spacing between sheets. If the gap where two sheets meet is wider or narrower than the gaps inside each sheet, your eye instantly reads a grid of seams across the wall. Take the time to match those joints exactly. Another frequent misstep is troweling on too much thin-set, which squeezes up between the tiles and fills the joints, leaving no room for grout and a messy surface to clean.
With peel-and-stick sheets, the usual failures trace back to the wall prep. Skipping the degreasing step, applying to a cold or damp surface, or pressing over textured drywall all cause edges to lift within weeks. Finally, do not grout an inside corner or the counter joint with rigid grout; those spots flex and need flexible silicone caulk instead, or you will see hairline cracks by the next season.
Are Tile Sheets for Backsplash the Right Choice?
For the vast majority of homeowners, tile sheets for backsplash projects are the smartest way to get an intricate, high-end look with far less labor than loose tile. Choose mortar-set mesh or paper-faced sheets when you want permanent, heat-tolerant, waterproof durability behind a working range. Reach for peel-and-stick sheets when speed, budget, or a rental situation matters more than longevity. Either way, careful layout, consistent spacing, and flexible caulk at the seams will give you a backsplash that looks like it took far more skill than it actually did.
Prefer to explore on your own?
See how new flooring looks in your actual room in seconds — free, no signup.
Try the free Floor Studio →