Anyone who has ever set individual small tiles by hand knows how slow the process can be. Subway tile sheets solve that problem by mounting dozens of miniature subway tiles onto a flexible mesh or paper backing, so you install a full section in one motion instead of placing each piece one at a time. These sheets give you the timeless look of a classic 3×6 brick-lay pattern while cutting installation time dramatically, which is why they dominate kitchen backsplashes and shower walls across the country.
Part of our Tile & Grout guide — explore the full guide →
Whether you are tackling a weekend renovation or planning a full remodel, understanding how these sheets are built, sized, and installed will help you buy smart and avoid costly mistakes. This guide walks through everything from mesh backing to grout choices, pricing, and the pro tips that make the difference between a professional-looking wall and an obvious DIY job.
What Exactly Are Subway Tile Sheets?
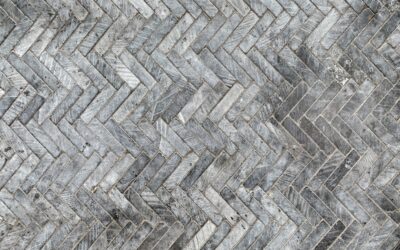
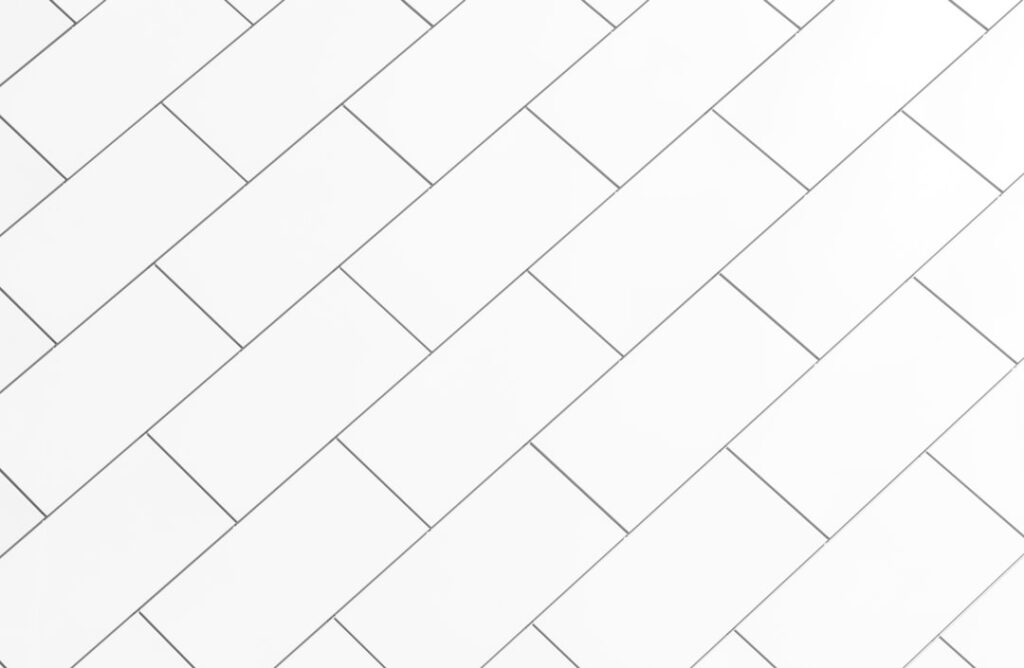
A sheet is a grid of small tiles held together by a backing material. The individual tiles are usually mini versions of the traditional rectangular subway shape, commonly measuring around 1×2 inches or 1×3 inches, though you will also find brick, herringbone, and stacked layouts pre-arranged on the mesh. The most common sheet dimension is 12×12 inches, giving you roughly one square foot of coverage per sheet.
Because the spacing between tiles is factory-set, your grout lines stay consistent without hours of fiddling with tile spacers. Materials vary widely. You can find these mounted mosaics in glossy ceramic, matte porcelain, natural marble, glass, and even mixed-material blends that combine glass with stone for added depth. Glass versions catch light beautifully in a kitchen, while porcelain and ceramic hold up better in high-traffic wet areas.
Mesh-Mounted Versus Paper-Faced Backing
Two backing systems dominate the market, and knowing the difference matters. Mesh-mounted sheets have a fiberglass or nylon net bonded to the back of each tile. You set the sheet directly into thinset with the mesh facing the wall, and the mesh stays permanently embedded. This is the easier of the two for most homeowners.
Paper-faced sheets, by contrast, have paper glued to the front of the tiles. You press the tile face into the adhesive, wait for it to set, then wet and peel the paper off before grouting. Paper facing gives you a slightly tighter, cleaner front surface with no mesh showing through translucent glass, but it demands more patience and precise timing. For clear glass mosaics, paper-faced or a dot-mount system prevents the netting from being visible through the tile.
Where These Sheets Work Best
Kitchen backsplashes are the number one application. The area between countertops and upper cabinets is typically 15 to 18 inches tall, which sheets cover quickly. Bathroom shower walls, tub surrounds, and accent niches are also natural fits, since the smaller tiles conform to curves and corners better than large-format tile.
Consider these common uses:
- Kitchen backsplashes behind ranges and sinks
- Full shower surrounds and wet-room walls
- Decorative accent strips and border bands
- Fireplace surrounds and hearth facing
- Powder-room feature walls and vanity backsplashes
For flooring, choose porcelain sheets rated for foot traffic and verify the slip rating if you plan to use them on a shower pan. Mosaic sheets are excellent for shower floors because the numerous grout lines add traction and follow the slope to the drain.
Costs and How Much to Buy
Pricing spans a wide range depending on material. Basic ceramic sheets often run $8 to $15 per square foot, mid-grade porcelain and glass land around $15 to $30, and natural stone or premium designer blends can climb to $40 or more per square foot. A standard kitchen backsplash of 30 square feet might therefore cost anywhere from $250 to well over $1,000 in materials alone.
Always order 10 to 15 percent more than your measured area to account for cuts, breakage, and future repairs. Sheets from different production lots can vary slightly in shade, so buying enough up front and checking the lot number on each box protects you against mismatched tile later. Set aside a few extra sheets after the job for repairs down the road.
Tools and Materials for Installation
Getting the right supplies staged before you start keeps the project moving. Thinset mortar bonds the sheets to the wall, and for glass or stone you should use a white polymer-modified thinset rather than gray, since gray can telegraph through translucent tile and dull the color.
Plan on gathering:
- Notched trowel, typically a 3/16-inch V-notch for mosaic sheets
- White modified thinset for glass and stone, standard thinset for ceramic
- Wet saw or nippers for trimming edge pieces
- Unsanded grout for joints narrower than 1/8 inch
- Grout float, sponges, and a bucket for cleanup
- Level, tape measure, and a chalk line for layout
Unsanded grout is the standard choice for the fine joints found on most sheets, because sanded grout can scratch soft glass and stone and will not pack neatly into narrow lines.
Step-by-Step Installation Overview
Start with a clean, flat, dry surface. Kill the power at any outlets, remove cover plates, and snap a level reference line so your first row runs true. Small errors compound across a wall, so a few minutes of layout saves hours of frustration.
- Dry-lay several sheets on the counter to plan cuts and center the pattern.
- Spread thinset with the notched trowel over an area you can cover in about 15 minutes.
- Press each sheet into place, aligning the edge tiles so the grout gap between sheets matches the internal spacing.
- Use a grout float or a flat block to gently bed the sheet flush and even.
- Cut edge and outlet pieces with a wet saw, then let the thinset cure 24 hours.
- Apply grout, wipe diagonally with a damp sponge, and buff off haze once dry.
The trickiest part for beginners is keeping the seams between sheets invisible. Take time to nudge each sheet so the spacing across the joint exactly matches the spacing built into the mesh. Sealing natural-stone tile and its grout after curing protects against staining in kitchens and baths.
Pros, Cons, and Final Tips
The biggest advantage of buying tile in sheet form is speed and consistency. A backsplash that might take a full day with loose tile can be set in a couple of hours. The uniform spacing also means cleaner grout lines than most DIYers could achieve by hand. On the downside, the many grout joints require more sealing and cleaning over time, and matching sheet seams demands a careful eye.
Buy a sample sheet first and hold it against your cabinets and countertop under your actual kitchen lighting before committing to a full order. Check that all boxes share the same lot number, keep a wet sponge handy to catch thinset squeeze-out immediately, and never let grout haze fully harden before your final buff. With modest preparation, subway tile sheets deliver a durable, classic finish that looks like professional work at a fraction of the labor.
Prefer to explore on your own?
See how new flooring looks in your actual room in seconds — free, no signup.
Try the free Floor Studio →