
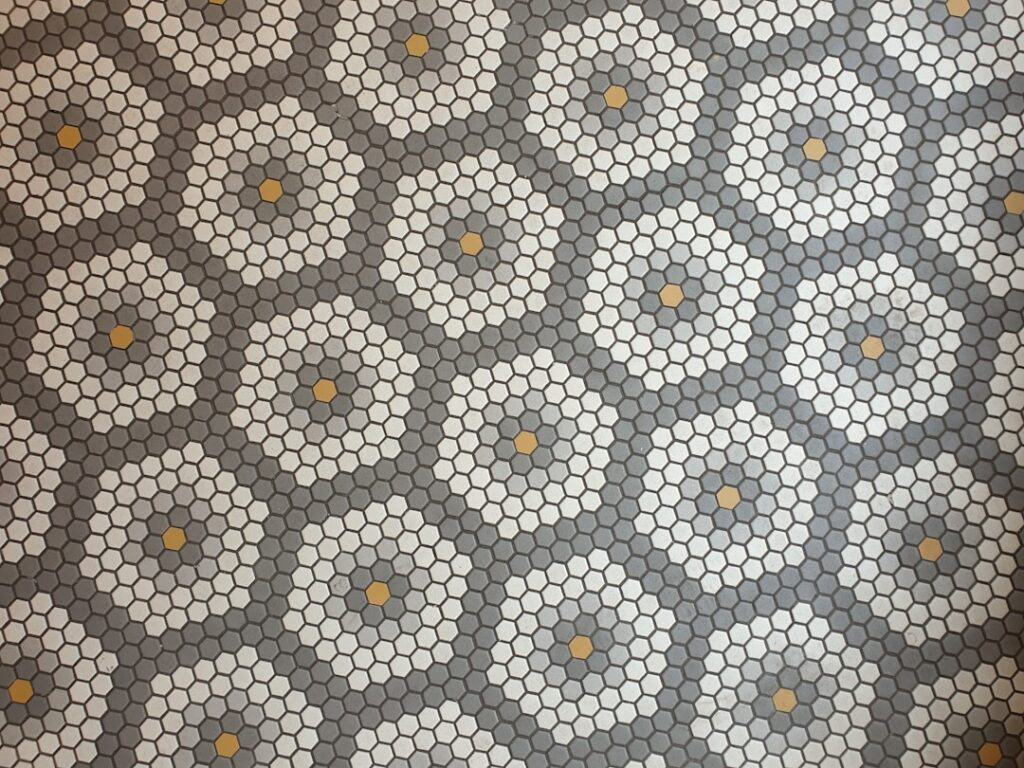
Hexagon bathroom floor tile is one of those classic choices that never looks dated, from 1920s penny-style mosaics to today’s large-format matte hexes. Beyond the timeless aesthetic, there is a practical reason designers keep specifying it for bathrooms: all those grout lines create traction underfoot, and the geometry hides minor floor irregularities better than square tile. If you want a floor that reads as intentional and high-end without a huge budget, the humble hexagon is a remarkably versatile starting point.
Part of our Bathroom Remodeling & Flooring guide — explore the full guide →
Why Hexagons Work So Well in Bathrooms
The six-sided shape brings a few concrete advantages to a wet room. First, the abundance of grout lines gives bare feet grip, which matters most where water pools. A small hexagon mosaic in a shower floor is far less slippery than a large smooth tile. Second, the interlocking geometry disguises a floor that is slightly out of square, common in older homes, because the eye reads pattern rather than straight reference lines.
Aesthetically, hexagons carry both vintage and modern weight. A small white marble hex with dark grout evokes a classic subway-era bathroom, while a large matte gray porcelain hex feels thoroughly contemporary. That range is why the shape survives every design cycle.
Sizes and Their Effect
Hexagon tile spans a huge size range, and the size you choose dramatically changes the look and the practicality.
- 1-inch mini hex (penny-style): classic, high grip, ideal for shower floors. Comes on mesh sheets.
- 2-inch hex: the traditional bathroom-floor standard, balancing grip and a clean look.
- 4 to 8-inch hex: a modern, bolder statement with fewer grout lines.
- Large-format 10-inch-plus hex: dramatic and contemporary, best on large, flat floors.
For a standard bathroom floor, 2-inch hexes are the safe, timeless choice. For shower pans, drop to 1 or 2-inch mosaics so the tile conforms to the slope toward the drain and provides traction.
Material Options
Hexagons come in nearly every material, and each suits a different priority.
Porcelain and Ceramic
The workhorse choice. Porcelain is dense, waterproof, and durable, available in stone and cement looks. Expect $3 to $10 per sq ft. This is what I specify for most bathroom floors.
Natural Marble and Stone
Gorgeous and luxurious, but porous and requiring sealing. Marble hex runs $8 to $20 per sq ft and needs a penetrating sealer to resist water spotting and staining.
Cement and Encaustic
Bold patterned options with rich color, though they too need sealing and gentle cleaning.
Grout Color Changes Everything
With hexagon tile, the grout is a major design decision because there is so much of it. High-contrast grout, such as charcoal against white tile, emphasizes the geometric pattern and gives a graphic, vintage look. Matching grout, tone-on-tone with the tile, mutes the pattern for a subtle, seamless field.
For durability in a bathroom, I recommend a quality stain-resistant grout in a mid-tone that hides dirt. Pure white grout on a floor looks stunning on day one and gray within a year of foot traffic unless you seal it diligently. An epoxy grout costs more but resists staining and never needs sealing, which is worth considering for a shower floor.
Installation Considerations
Hexagon tile, especially mosaic sheets, installs differently from large square tile.
- Start with a flat, waterproofed substrate. Bathroom floors need proper moisture protection, and shower floors need a sloped, waterproofed pan.
- For mosaic sheets, dry-lay several sheets first and adjust so the seams between sheets disappear into the pattern.
- Back-butter and set the tile into thinset, keeping the mesh sheets aligned so the grout gaps stay uniform across seams.
- Use tile spacers or the built-in mesh spacing to keep joints consistent, typically 1/16 to 1/8 inch.
- Grout once the thinset cures, working the grout fully into every joint and cleaning haze promptly.
The trickiest part is keeping sheet-to-sheet seams invisible. Take your time aligning them, because a misaligned seam creates an obvious line across an otherwise seamless field.
Cost to Tile a Bathroom Floor
For a typical 40 to 50 sq ft bathroom floor, budget realistically:
- Material: $3 to $20 per sq ft depending on tile
- Thinset, grout, waterproofing: $1 to $3 per sq ft
- Professional installation: $8 to $15 per sq ft, higher for small mosaics due to labor
Small hexagons take longer to set than large tile, so labor runs on the higher end. All-in, a small bathroom floor commonly lands between $600 and $1,500.
Keeping It Looking New
Sealed grout and the right cleaner keep a hex floor sharp. Use a pH-neutral tile cleaner and avoid acidic products, which erode grout and etch natural stone. Reseal grout and any stone tile every one to two years. A quick weekly wipe keeps grout lines from darkening.
Whether you lean vintage or modern, hexagon bathroom floor tile delivers a floor with genuine character, useful traction, and a timeless quality that outlasts trends. Choose porcelain for durability, pick your grout color deliberately, and seal what needs sealing, and you will have a floor that looks intentional and holds up for decades.
Sizes, Materials, and Slip Resistance
Hexagon tile comes in a wide range of sizes, and the scale changes both the look and the practicality. Small penny-round and one-inch hexes, often sold on mesh sheets, create a classic vintage bathroom look and, importantly, pack in lots of grout lines that add slip resistance underfoot, a real safety plus on a wet bathroom floor. Larger hexagons read more modern and cover ground faster with less grout to clean. Porcelain and ceramic are the most practical materials for a bathroom floor, while marble hexes deliver a high-end look at the cost of more maintenance.
For a shower floor especially, the smaller mosaic hexes conform to the slope toward the drain far better than large tiles.
Installation Tips
Setting hexagon tile is a bit more involved than a simple square grid. Sheet-mounted mosaics speed things up dramatically, but you must stagger and align the sheets carefully so the seams between sheets disappear into the overall pattern rather than showing as a visible grid line. Dry-lay a section first and plan your cuts at the walls for symmetry. Use a white or matching thinset under light or translucent tiles like marble so it does not show through, and pick a grout color deliberately: a contrasting grout emphasizes the geometric honeycomb shape, while a matching grout lets the tile color dominate. Take extra care keeping the surface flat as you set, since the many small facets make lippage more noticeable than with big tiles.
Prefer to explore on your own?
See how new flooring looks in your actual room in seconds — free, no signup.
Try the free Floor Studio →

