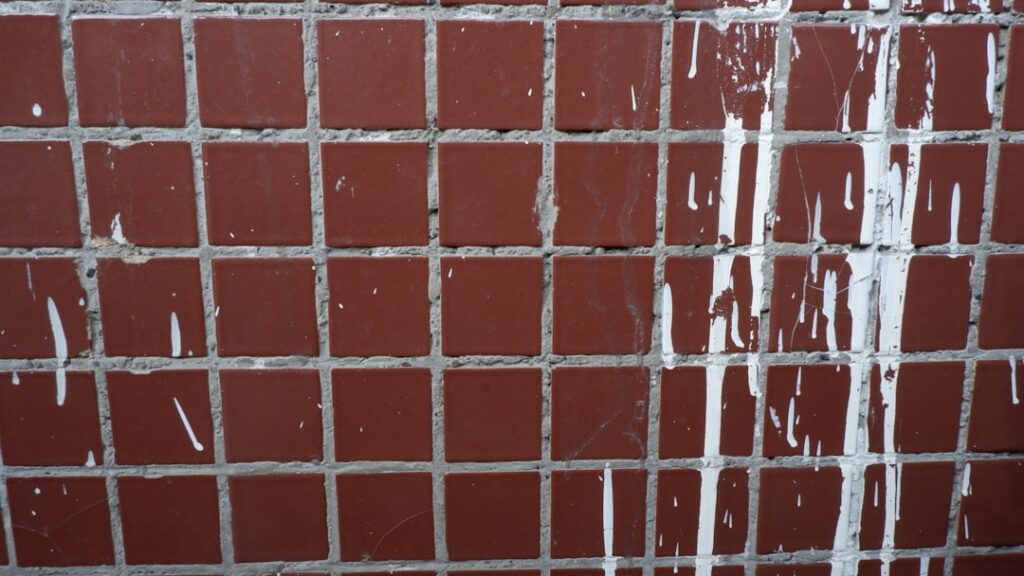
Learning how to apply grout to tile is the difference between a tile job that looks professional and one that screams weekend amateur. Grouting is the final step that locks tiles in place, seals out water, and turns a field of loose tiles into a finished surface. It is also where impatient DIYers most often go wrong, hazing their tile, cracking joints, or leaving lumpy lines. The good news is that grouting is genuinely learnable, and with the right tools and a steady pace you can get crisp, uniform joints on your first try. This guide walks through the entire process from mixing to sealing.
What You Need Before You Start
Gather everything first so you are not hunting for a sponge with grout stiffening on the tile. You will need grout (sanded for joints wider than 1/8 inch, unsanded for narrower), a rubber grout float, two clean buckets, a large grout sponge, clean water, a margin trowel or drill with a mixing paddle, and lint-free cloths for the final polish. Nitrile gloves protect your hands, since grout is caustic and dries out skin fast.
Before grouting, confirm the thinset under your tile has cured for at least 24 to 48 hours. Grouting over uncured thinset traps moisture and can cause cracking. Scrape any thinset that squeezed up into the joints so the grout has room, and vacuum the joints clean of dust and debris.
Step 1: Mix the Grout
Pour cool water into your bucket first, then add grout powder gradually while mixing. Working powder into water, rather than the reverse, prevents dry clumps at the bottom. Mix to a smooth, peanut-butter consistency that holds a ridge without slumping. If it is soupy, it will shrink and crack; if it is crumbly, it will not pack the joints.
Here is the step most beginners skip: let the mixed grout slake, or rest, for 5 to 10 minutes, then remix briefly. Slaking lets the chemicals fully activate and gives you a stronger, more workable grout. Mix only what you can use in about 30 minutes, because grout has a limited working time before it stiffens in the bucket.
Step 2: Float the Grout Into the Joints
Scoop grout onto the tile with the float and spread it diagonally across the joints, holding the float at roughly a 45-degree angle. Working diagonally is key because it packs grout into the joints without dragging it back out, which happens if you push parallel to the lines. Press firmly and make several passes from different directions to fill every joint completely, leaving no gaps or air pockets.
Work in manageable sections of about 3 to 4 square feet at a time, especially on a hot day or with fast-setting grout. Once a section is packed, hold the float nearly perpendicular and scrape off the excess with firm diagonal strokes, clearing the bulk of the grout from the tile face.
Step 3: Tool and Clean the Joints
Timing is everything for the cleanup. Wait until the grout firms up and hazes over, usually 15 to 30 minutes depending on temperature and humidity. Test a joint with a finger; it should feel firm, not wet and smeary. Then dampen your sponge, wring it nearly dry, and wipe the tile in gentle, diagonal strokes. Rinse the sponge often in your clean water bucket and change the water when it turns cloudy.
Do not flood the surface with water. A soaked sponge pulls grout out of the joints and dilutes the color, leaving weak, uneven lines. Use light passes to shape each joint into a smooth, slightly concave line. Two or three careful wipes across the whole area beat one aggressive scrub.
Step 4: Remove the Haze
As the grout continues to cure, a thin cloudy film called grout haze appears on the tile. Once the surface is dry, usually after a few hours, buff it off with a clean, dry microfiber or cheesecloth. If a stubborn haze remains after a day, a dedicated grout haze remover clears it, though you should never use one on unsealed natural stone without checking compatibility first.
Avoid walking on floor tile or getting the joints wet for at least 24 hours so the grout can cure undisturbed. Rushing this stage is a common reason joints crack or crumble weeks later.
Step 5: Seal the Grout
Cementitious grout is porous and will absorb water and stains unless you seal it. Wait for the grout to cure fully, typically 48 to 72 hours, then apply a penetrating grout sealer with a small applicator brush or bottle tip, wiping any sealer off the tile face before it dries. In showers, kitchens, and other wet areas, sealing is essential to prevent mildew and discoloration. Epoxy grout is the exception and needs no sealing, but it is trickier to apply and worth its own project.
Common Mistakes to Avoid
Now that you know how to apply grout to tile, sidestep the errors that ruin otherwise good work. Do not mix grout too wet, do not clean too soon or with a soaking sponge, and do not grout expansion joints or the corner where tile meets tub or countertop, which should be flexible silicone caulk instead. Keep your sponge water clean, work in small sections, and give every stage the time it needs. Follow that pace and you will get tight, even, professional-looking joints that seal your tile and last for decades.
Choosing the Right Grout for the Job
The grout you pick shapes both the look and the longevity of your tile, so choose before you start. Sanded grout contains fine aggregate that resists shrinking and cracking in joints 1/8 inch and wider, making it the standard for most floors and walls. Unsanded grout is smoother and better for narrow joints under 1/8 inch and for delicate surfaces like polished marble and glass, which sanded grout can scratch.
Epoxy grout is a step up in performance, virtually waterproof, stain-resistant, and needing no sealing, which makes it excellent for showers, backsplashes, and countertops. The trade-off is a higher price, a shorter working time, and a trickier application, so many first-timers stick with cementitious grout and seal it well. Whichever you use, color is a big decision: a matching grout blends the joints for a seamless field, while a contrasting color frames each tile and turns the grout lines into a design element.
Buy a little more grout than the coverage chart suggests, and mix consistently from bag to bag if you need more than one, since even small differences in water ratio can shift the cured color. Getting these choices right up front means the effort you put into learning how to apply grout to tile pays off with joints that look great and hold up for the long haul.
Prefer to explore on your own?
See how new flooring looks in your actual room in seconds — free, no signup.
Try the free Floor Studio →