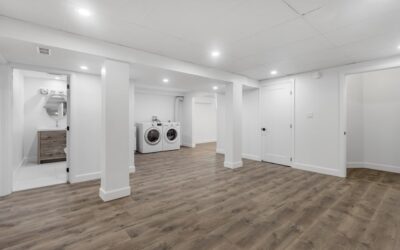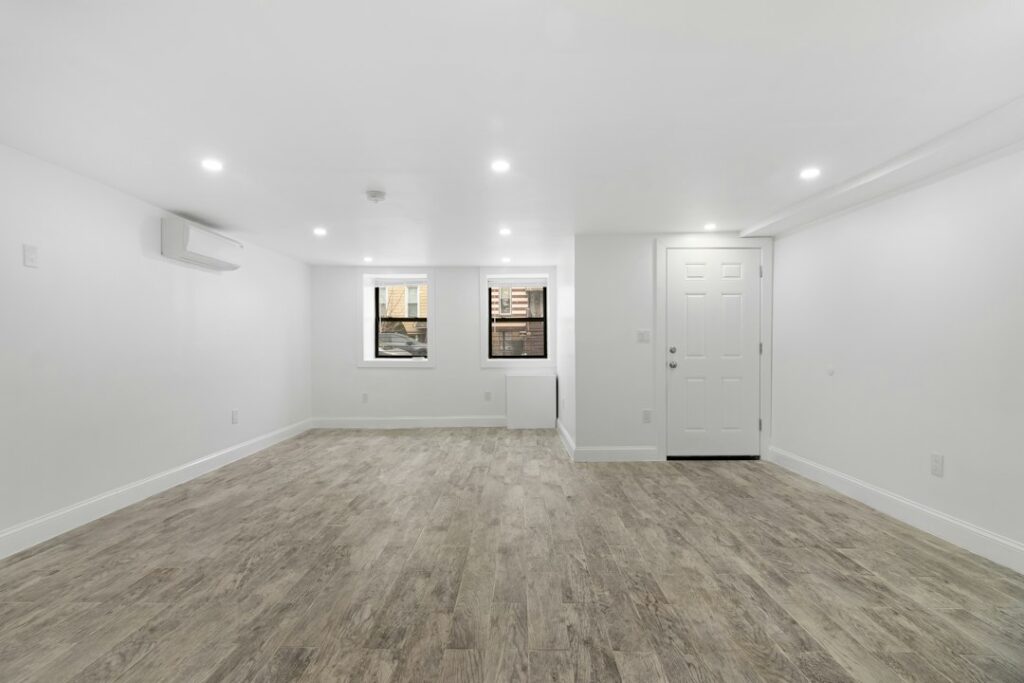
The fastest way to ruin a finished basement is to cover a damp concrete wall with fiberglass batts and drywall. Within a few years the paper facing grows mold, the insulation sags and the room smells musty. Knowing how to finish basement walls properly starts with the concrete itself: confirm it stays dry, seal and insulate it with materials that tolerate moisture, then build the finished surface on top.
The full sequence for poured or block concrete looks like this: fix any water problems, test for moisture, seal the wall if needed, install rigid foam insulation directly against the concrete, build a stud wall or attach furring strips, run electrical boxes, hang drywall, tape and mud, then paint and trim. Some homeowners skip the stud wall and attach drywall over foam with furring strips, while others choose finished-concrete treatments that skip drywall altogether. Each path is covered here so you can pick the one that suits your basement and budget.
How to Finish Basement Walls: Start With Moisture
Concrete is porous. Even a basement that never floods can wick moisture from the soil through the walls, and warm, humid indoor air condenses on cool concrete in summer. Every finishing decision depends on how much water you are dealing with.
Look first for obvious signs: efflorescence (white, chalky deposits), damp patches, peeling paint, water lines on walls, puddles after storms or a musty smell. Outside, check that gutters drain at least 4 to 6 feet from the house and that soil slopes away from the foundation. Many basement moisture problems disappear once gutters and grading are fixed.
The Plastic Sheet Test
Tape a 2 by 2 foot square of clear plastic sheeting tightly to the wall on all four edges and leave it for 48 to 72 hours. If moisture appears between the plastic and the concrete, water is coming through the wall. If moisture forms on the room side of the plastic, the issue is humid indoor air condensing. Test several walls, including low spots and corners.
Active leaks, cracks that let water in, or standing water must be fixed before any finishing. That may mean exterior drainage corrections, crack injection, an interior drain tile system and sump, or professional waterproofing. Run a dehumidifier to keep relative humidity below about 50 to 60 percent. If you find existing mold larger than about 10 square feet, hire a mold remediation professional rather than tackling it yourself, and fix the moisture source before any cleanup.
Safety Checks Before You Start
- Asbestos and lead. Older basements may have asbestos in floor tile, adhesive, pipe insulation, old wall coatings or joint compound, and paint in homes built before 1978 may contain lead. Test suspect materials before sanding, scraping or demolishing anything.
- Wires and pipes. Before drilling into concrete or fastening into existing walls, check for buried conduit, plumbing and gas lines. Turn off the breaker for nearby circuits and confirm power is off with a non-contact voltage tester. Never test live circuits.
- Dust. Drilling and cutting concrete creates silica dust. Use a drill with dust collection or mist the area, wear an N95 or better respirator and clean up with a HEPA vacuum.
- Permits. Finishing a basement often requires a building permit, especially when adding walls, electrical or a bedroom with egress requirements. Check with your local building department before you begin.
Sealing the Concrete
If the wall passes the moisture test or only shows minor dampness, a masonry waterproofing coating can add protection. Clean the wall, remove efflorescence with a stiff brush, patch small cracks with hydraulic cement, then apply a masonry sealer per the label with good ventilation. A sealer is not a fix for active leaks, and it does not replace drainage. Think of it as a backup layer.
Choosing a Wall System
Option 1: Rigid Foam Plus a Stud Wall
This is the most common and flexible approach. Rigid foam insulation board, usually extruded polystyrene or foil-faced polyisocyanurate, is glued directly to the concrete with foam-compatible adhesive. Seams are taped and gaps sealed with spray foam, creating an insulated, moisture-tolerant layer with no cold surface for condensation. A 2×4 or 2×3 stud wall is then built just in front of the foam, with a pressure-treated bottom plate on the concrete floor. The cavity holds wiring and can take additional insulation if your climate calls for it. The full framing process is covered in our guide to framing a basement wall.
Option 2: Direct-Applied Foam With Drywall
To save floor space, glue rigid foam to the wall, then fasten 1×3 or 2×2 furring strips over the foam into the concrete with masonry screws or powder-actuated fasteners. Drywall attaches to the furring. This gives you a thinner wall but less room for electrical boxes and plumbing, so plan outlet locations with shallow boxes or surface-mounted options.
Option 3: Finished Concrete
Some people choose to finish a basement with concrete walls left exposed: cleaned, sealed and painted with masonry paint, or covered with paneling, wainscoting or planks. This works in dry utility rooms and workshops, though it gives little insulation. Our separate guide on finishing basement walls without drywall walks through those coverings.
Tools and Materials
- Rigid foam boards (1 to 2 inches thick depending on climate) and foam-compatible adhesive
- Foil tape for seams and canned spray foam for gaps
- Pressure-treated bottom plates, studs or furring strips
- Hammer drill, masonry bits and concrete screws or a powder-actuated fastening tool
- Circular saw, level, chalk line and laser or string line
- Moisture-resistant drywall, screws, joint tape and compound
- Safety glasses, hearing protection, N95 respirator and gloves
Step-by-Step: Foam and Stud Wall Finishing
- Prep the wall. Clean dust and loose paint, patch cracks and let the wall dry.
- Install foam. Cut boards to fit floor to joist, apply adhesive in vertical beads, and press tight to the concrete. Leave a small gap at the floor if your basement has occasional dampness. Tape seams and foam the top gap at the rim joist.
- Insulate the rim joist. Fit foam pieces into each joist bay and seal edges with spray foam. Rim joists are a major source of air leaks.
- Frame the wall. Snap a line about 1/2 inch out from the foam. Fasten a pressure-treated bottom plate to the slab and a top plate to the joists, then install studs 16 inches on center. Leave a small gap between studs and foam so the wall does not wick moisture.
- Fireblock and plan utilities. Seal gaps at the top plate and around penetrations as local code requires. Mark locations for outlets, switches and lights.
- Rough-in electrical. A licensed electrician should run new circuits and outlets and make connections. Turn off the breaker and confirm power is off with a non-contact voltage tester before working near any existing wiring.
- Inspection. If a permit is required, schedule framing and electrical inspections before closing the walls.
- Hang drywall. Use moisture-resistant drywall and keep the bottom edge about 1/2 inch off the floor. Fasten with drywall screws into studs.
- Tape and mud. Apply paper or mesh tape at joints, then three coats of joint compound, feathering each coat wider. Sand lightly between coats.
- Prime, paint and trim. Prime with a drywall primer, paint, and install baseboard. Composite or PVC baseboard resists moisture better than wood in basements.
Troubleshooting
Condensation on foam seams. Gaps or untaped seams let humid air reach cold concrete. Retape and seal with spray foam.
Wall feels damp or smells musty after finishing. A moisture source was missed. Check humidity, gutters, grading and plumbing, and run a dehumidifier. Persistent problems may need opening part of the wall.
Fasteners will not hold in block walls. Hollow cores make anchoring tricky. Fasten into the mortar joints or solid webs, or use anchors rated for hollow block.
Cost Ranges
Materials for foam, framing and drywall often run roughly $3 to $8 per square foot of wall area for DIY, depending on foam thickness and finishes. Professional wall finishing commonly costs about $25 to $60 or more per linear foot of wall, or more if waterproofing, electrical work and permits are included. Full basement finishing projects with ceilings, flooring and electrical vary widely, often tens of thousands of dollars for a typical basement.
When to Call a Licensed Professional
Call a waterproofing contractor for active leaks, recurring water or wide cracks; a structural engineer for bowing, leaning or stair-step cracked walls; and a mold remediation pro for mold over about 10 square feet. All new circuits, outlets and lighting should be installed by a licensed electrician, and plumbing changes by a licensed plumber. Permits are often required for basement finishing, and bedrooms need code-compliant egress windows. Test for asbestos and lead before disturbing old materials, and hire licensed abatement professionals if they are present.
Frequently Asked Questions
What is the best way to insulate basement concrete walls?
Rigid foam board glued directly to the concrete, with taped seams, is the most reliable method. It insulates and resists moisture without creating a cold surface for condensation.
Do I need a vapor barrier on basement walls?
Rigid foam usually acts as the vapor control layer. Avoid adding plastic sheeting behind drywall, which can trap moisture between layers.
Can I put drywall directly on concrete walls?
No. Drywall touching concrete absorbs moisture and grows mold. Install foam and furring strips or a stud wall first.
Do I need a permit to finish basement walls?
Often yes, especially for new walls, electrical work or bedrooms. Check with your local building department before you start.
How long does it take to finish basement walls?
A DIYer can often insulate, frame and drywall a typical basement in several weekends, not counting inspections and drying time for mud and paint.