
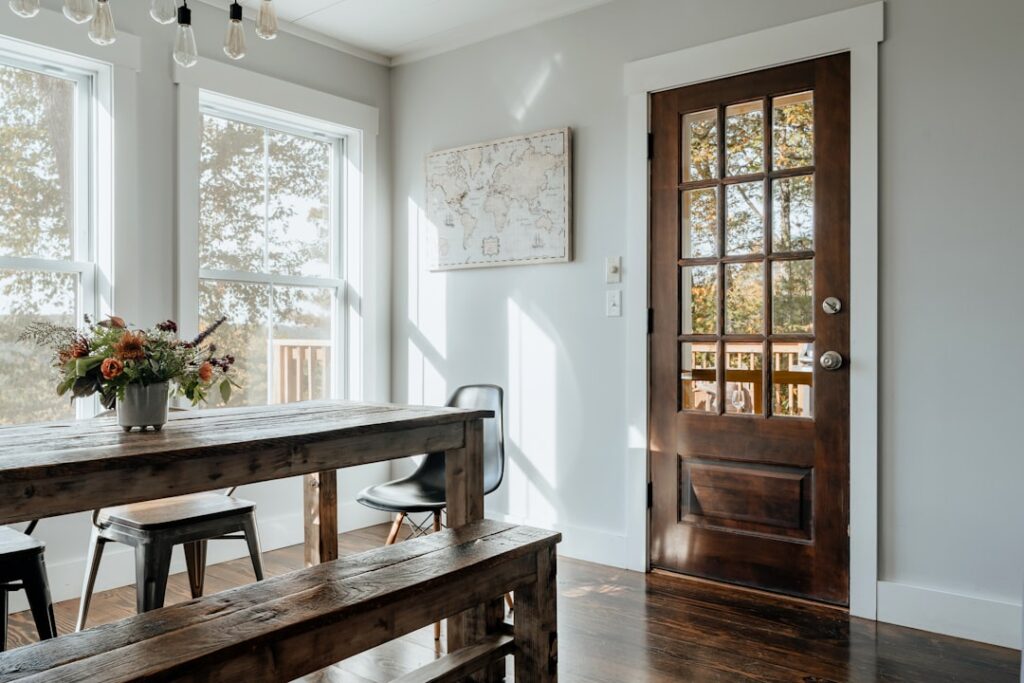
A door that latches with a soft click and holds any position you leave it in is the mark of a careful installer — and it is absolutely a weekend-DIY skill. Learning how to hang an interior door comes down to one idea: the hinge side rules everything. Get the hinge jamb dead plumb in both directions and shimmed solid, and the rest of the job is just chasing even gaps. Rush it, and you get the classic haunted-house door that swings itself shut. A prehung unit takes a first-timer two to three hours; a slab swap into an existing frame takes about the same once you have done one. Here is the professional sequence for both.
Part of our Windows & Doors guide — explore the full guide →
Tools and Materials
- 4-foot level (a 2-foot level lies over a 80-inch jamb) and a hammer
- Cedar or composite shims — a $6 bundle covers two doors
- 15-gauge finish nailer or hammer and 8d finish nails; 2-1/2 in. screws
- Utility knife, flat pry bar, tape measure
- For slab work: chisel, router or hinge template, drill with 2-1/8 in. hole saw and 1 in. spade bit, hand plane
Budget-wise, a hollow-core prehung runs $90 to $180, a solid-core prehung $180 to $320, and pro installation adds $150 to $350 per opening — which is exactly why this job is worth learning.
Check the Opening First
Before the door comes out of its packaging, measure the rough opening: it should be about 2 inches wider and 2 to 2-1/2 inches taller than the slab (34 x 82-1/2 inches for a 32-inch door). Check the floor for level across the opening. If one side is higher — common in older homes — you will trim that jamb leg by the difference so the head stays level; otherwise your gap along the top will taper visibly. Check the wall for plumb, too. If the wall itself leans, a jamb set truly plumb will protrude slightly on one side, called being “out of cross-leg.” Small amounts get absorbed by the casing; more than 1/4 inch and you should split the difference between plumb and the wall plane, or the door will appear crooked even though it works perfectly.
Installing a Prehung Door
- Prep the opening. Remove old casing and the old frame if present — cut the jamb legs in half with a reciprocating saw and pry the pieces out. Pull all old nails.
- Set the unit in place. Leave the retaining bracket or shipping nails in so the slab stays closed. Center the unit in the opening on the finished floor.
- Plumb the hinge jamb. This is the whole job. Hold your 4-foot level on the hinge jamb face and edge. Shim behind the top hinge first, then the bottom hinge, then the middle — always in pairs of shims driven from opposite sides so the jamb stays flat, not tilted. Nail through jamb and shims with two nails at each hinge location.
- Drive one long screw per hinge. Replace one short screw in each hinge with a 2-1/2-inch screw that bites the trimmer stud. This carries the door’s weight for the next 50 years and pulls a slightly proud jamb tight.
- Open the door and set the latch side. With the hinge side fixed, swing the door and adjust the latch jamb to it: shim at the latch-strike height and near top and bottom until the gap between slab and jamb is a consistent 1/8 inch — the thickness of a nickel — top to bottom.
- Set the head gap. Aim for 1/8 inch across the top. If it tapers, the hinge jamb is not plumb; fix it there, not by forcing the head.
- Test before trimming. The door should swing freely and stay put at any angle. A door that drifts means the hinge jamb leans out of plumb in the swing direction — adjust now, because casing locks everything in.
- Score and snap shims flush, then case the opening. Nail casing with a 3/16 to 1/4 inch reveal on the jamb edge.
Hanging a Slab in an Existing Frame
Replacing just the door means transferring the old door’s geometry. Lay the old and new slabs side by side, hinge edges up, tops aligned, and mark hinge locations with a knife, not a pencil — a knife line is a fact, a pencil line is an opinion. Score the hinge outlines with the leaf itself as a template, then chisel or rout the mortises to the leaf’s exact thickness, about 1/8 inch deep, so the hinge sits flush. Set the gains slightly shy and test; a proud hinge causes binding, an over-deep one causes a sprung door that resists closing.
Bore the lockset next: a 2-1/8-inch hole saw through the face (drill from both sides to prevent blowout) centered 36 inches from the floor at your backset — 2-3/8 inches is standard residential. Drill the 1-inch latch bore into the edge, install the latch, and mortise its faceplate flush. Finally, plane the latch edge to a 2- to 3-degree back bevel so the leading corner clears the jamb as it closes. Hang it on the pins and check the gaps; plane high spots with long, full-length passes rather than local scrubbing, which leaves waves.
Gap Targets and What They Diagnose
Pros read a hung door like a report card. Target gaps: 1/8 inch at hinge side, latch side, and head; 1/2 to 3/4 inch at the floor (more if carpet is coming). A gap that widens toward the top on the latch side means the hinge jamb bottom kicked out — re-shim the lowest hinge. Rubbing at the top latch corner usually means the top hinge shims compressed or the screw missed the stud. A latch that will not catch means the strike plate needs to move; close the door slowly, watch where the latch bolt meets the strike, and move the plate the offending 1/16 inch — or bend the strike tab slightly for tiny corrections.
The Self-Closing (or Self-Opening) Door Fix
A door that swings on its own is out of plumb in the swing direction, and there is a five-minute cheat if you do not want to re-shim: remove one hinge pin, lay it on concrete, and give the middle of the pin one modest hammer tap to introduce a slight bend. Reinstall. The added friction holds the door anywhere. It is a Band-Aid — the honest fix is plumbing the jamb — but every trim carpenter alive has used it, and on a rental or a low-stakes closet it is entirely respectable.
Common First-Timer Mistakes to Avoid
Four errors account for most callbacks. Nailing the jamb without shims behind the nails — the jamb bows inward at every fastener and the door binds in a wavy frame, so every nail should pass through a shim pair. Trusting the rough opening to be plumb and just centering the unit — framing is routinely 1/4 inch out, and the level, not the opening, is the reference. Setting the latch-side gap before the hinge side is finished — any later hinge adjustment throws the latch gap off, so the sequence is hinge jamb, then everything else. And removing the shipping bracket too early, which lets the slab swing while you work and pulls the frame out of square; keep the slab pinned shut until the hinge side is nailed. A fifth, subtler one: driving the long hinge screws home with an impact driver at full torque, which can yank the jamb out of plumb — run them snug with a drill clutch, check the level, then stop.
Finishing Touches Worth Doing
Paint or seal all six sides of the slab, including top and bottom edges; unsealed edges drink humidity and cause the seasonal sticking people wrongly blame on the hinges. Use three hinges on any solid-core door — at 45 to 60 pounds, two hinges will sag within a couple of years. If small kids slam doors in your house, swap in a $4 pack of felt bumpers on the stop and consider hinge-side pinch guards. And keep the shim scraps: six months from now, when seasonal movement opens a hairline latch problem, a single shim behind the strike-side stop is usually the entire repair.


