Learning how to install smart thermostat hardware yourself can save you the $100 to $200 an electrician or HVAC tech charges, and for most forced-air heating and cooling systems it is a genuine 30-to-60-minute project. A smart thermostat like a Nest, Ecobee, or Honeywell Home unit pays for itself through scheduling and remote control, often cutting 8 to 15 percent off heating and cooling bills. This guide walks you through the entire process safely, including the wiring detail that trips up more people than any other: the C-wire.
- How to Install Smart Thermostat — Before You Start: Check Compatibility
- Understanding the C-Wire
- Tools and Materials You Need
- Step 1: Turn Off Power at the Breaker
- Step 2: Remove the Old Thermostat and Label Wires
- Step 3: Mount the New Base Plate
- Step 4: Connect the Wires
- Step 5: Snap On the Display and Restore Power
- Step 6: App Setup and Wi-Fi Connection
- Common Mistakes to Avoid
- When to Call a Professional
- Testing Your System After Install
- Getting the Most From Your Smart Thermostat
How to Install Smart Thermostat — Before You Start: Check Compatibility
Not every system works with every thermostat. Smart thermostats are designed for low-voltage 24-volt systems, which covers the vast majority of US homes with central heating and air. They are not compatible with high-voltage 120V or 240V line-voltage systems that run electric baseboard heaters or some older setups. If your existing thermostat has thick wires with wire nuts and a warning label about 120 volts, stop; you need a line-voltage-specific model instead.
Most manufacturers offer an online compatibility checker. You remove your thermostat cover, photograph the wire terminals, and enter the lettered terminals you see (R, W, Y, G, C, and so on). Do this first so you do not discover a problem halfway through.
Understanding the C-Wire
The single biggest hurdle is the common wire, or C-wire. Smart thermostats need continuous power to run their displays, Wi-Fi radios, and sensors. Older mechanical and simple digital thermostats did not, so many homes wired before roughly 2010 have no C-wire connected at the thermostat. When you pull the old unit off, look for a wire in the C terminal.
If there is no C-wire, you have three options. First, many bundles include a small C-wire adapter that installs at the furnace control board. Second, some systems have an unused wire tucked in the wall that you can repurpose as the common. Third, Ecobee and some others include a Power Extender Kit that adds power over existing wires. Nest can run without a C-wire on some systems by trickle-charging, but this can cause frustrating dropouts, so adding a true common is always the more reliable path.
Tools and Materials You Need
- A small Phillips and flathead screwdriver
- Your smartphone with the manufacturer’s app downloaded
- Masking tape and a pen for labeling wires
- A drill with a small bit for new anchor holes, plus a level
- Optional: a voltage tester and a C-wire adapter if needed
Step 1: Turn Off Power at the Breaker
This is not optional. Even though the system is low voltage, shorting the wrong wires can blow a fuse on your furnace control board or damage the new thermostat. Go to your electrical panel and switch off the breaker labeled for the furnace, air handler, or HVAC. Confirm the system is dead by turning the thermostat to heat or cool and verifying nothing kicks on.
Step 2: Remove the Old Thermostat and Label Wires
Pull the old thermostat face off its base. Before you disconnect anything, photograph the wiring exactly as it sits. Then use the small labels included with your new thermostat, or masking tape, to mark each wire with the letter of the terminal it currently occupies, not the wire color. Colors are not standardized, so the terminal letter is what matters. Once labeled, loosen each terminal screw and free the wires. Wrap the bundle around a pencil so it does not fall back into the wall cavity.
Step 3: Mount the New Base Plate
Feed the wires through the opening in the new base plate. Hold it against the wall, use a level to get it straight, and mark the screw holes. If the old anchor holes do not line up, drill new pilot holes and insert the wall anchors provided. Most kits include a trim plate to cover marks or holes left by the larger old thermostat, which saves you from patching and painting.
Step 4: Connect the Wires
Match each labeled wire to the corresponding letter terminal on the new thermostat base. Common terminals include R or Rc (power), W (heat), Y (cooling), G (fan), and C (common). Insert the stripped wire end fully, and make sure no bare copper is touching an adjacent terminal, which would cause a short. For heat-pump systems you may also see O/B and auxiliary terminals; follow the model’s heat-pump wiring diagram carefully because these differ from standard furnaces.
Step 5: Snap On the Display and Restore Power
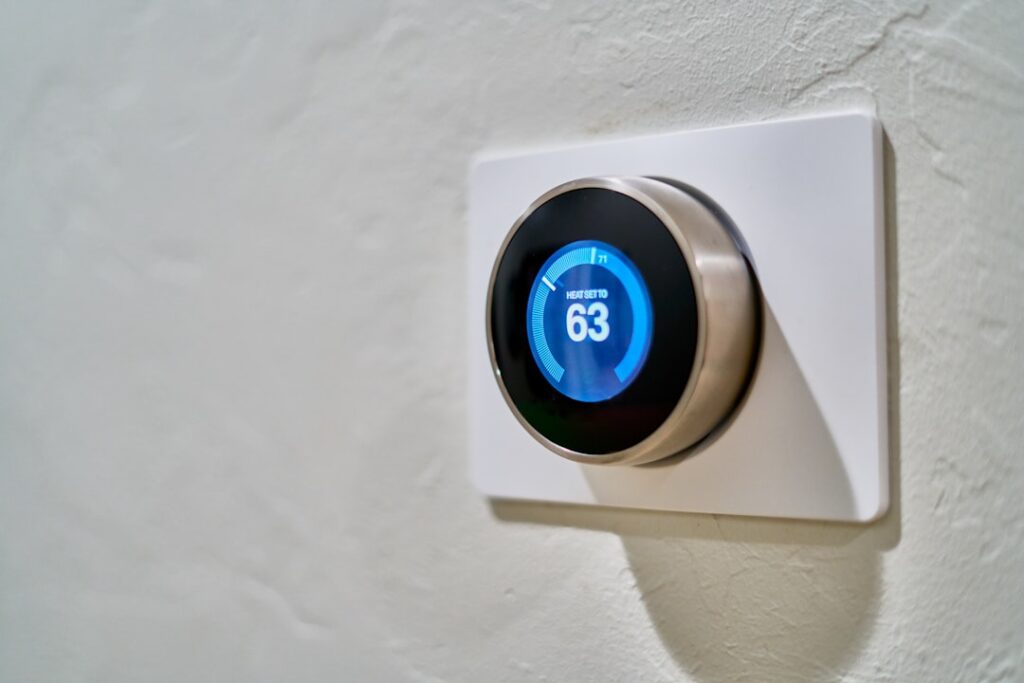
Once every wire is seated, gently press the thermostat display onto the base until it clicks. Return to the breaker panel and switch the HVAC circuit back on. The thermostat should boot up and walk you through initial setup on its screen.
Step 6: App Setup and Wi-Fi Connection
Open the manufacturer’s app, create an account, and follow the pairing prompts. The thermostat will ask which equipment it detected and may run a short test to confirm heating, cooling, and fan all respond. Connect it to your 2.4GHz Wi-Fi network; many smart thermostats do not support 5GHz bands, so if pairing fails, that is the first thing to check. Finish by building a schedule or enabling the learning mode that studies your habits over the first week.
Common Mistakes to Avoid
The most frequent error is skipping the breaker shutoff and shorting the R and C wires together, which pops the furnace’s low-voltage fuse. That fuse is a cheap 3-amp automotive-style blade fuse on the control board, so if your new thermostat is dead after install, check it before assuming the unit is defective. Another common slip is labeling wires by color instead of terminal letter, which leads to reversed connections. Finally, forcing a no-C-wire install and living with a thermostat that keeps dropping off Wi-Fi frustrates many people; installing the included adapter takes ten extra minutes and solves it permanently.
When to Call a Professional
Call an HVAC technician if you have a high-voltage system, a complex multi-stage or dual-fuel heat pump, or if you open the furnace and are not comfortable identifying the control board terminals for a C-wire adapter. A pro visit runs $100 to $250 but guarantees the wiring is correct and your equipment warranty stays intact.
Testing Your System After Install
Once the thermostat boots and connects, do not assume everything works just because the screen lit up. Run each mode deliberately. Set it to heat and raise the target several degrees above the current room temperature, then wait a minute or two for the furnace to fire and warm air to flow. Switch to cool and lower the target to confirm the compressor and blower respond. Test the fan-only setting to verify the blower runs independently. If a mode fails, the most likely cause is a wire in the wrong terminal, so power down and recheck against your labeled photo.
Heat-pump systems deserve extra attention because a reversed O/B setting will make the system heat when you want cooling and vice versa. If your heat pump blows cold when set to heat, the reversing-valve setting in the thermostat’s installation menu is almost certainly wrong. Most apps let you flip this in software without rewiring, so consult the model’s heat-pump configuration screen.
Getting the Most From Your Smart Thermostat
The hardware install is only half the value; the savings come from how you use it. Build a schedule that lowers heat and raises cooling setpoints while you sleep and while the house is empty during work hours, since even a few degrees of setback for eight hours a day meaningfully cuts energy use. Enable geofencing if the app offers it, so the system eases off when your phone leaves home and pre-conditions the house before you return. Take advantage of energy reports that show you exactly when your system runs hardest, and check whether your utility offers rebates for smart thermostats, which can knock $50 to $100 off the purchase price. Some utilities also pay you to enroll in demand-response programs that briefly adjust your setpoint during peak grid events.
With the power off, wires labeled by terminal, and a proper C-wire connection, installing a smart thermostat is well within reach for a careful DIYer. Take your time on the wiring photo and labeling, verify your Wi-Fi band, and you will have app-based control, energy-saving schedules, and remote access up and running the same afternoon.