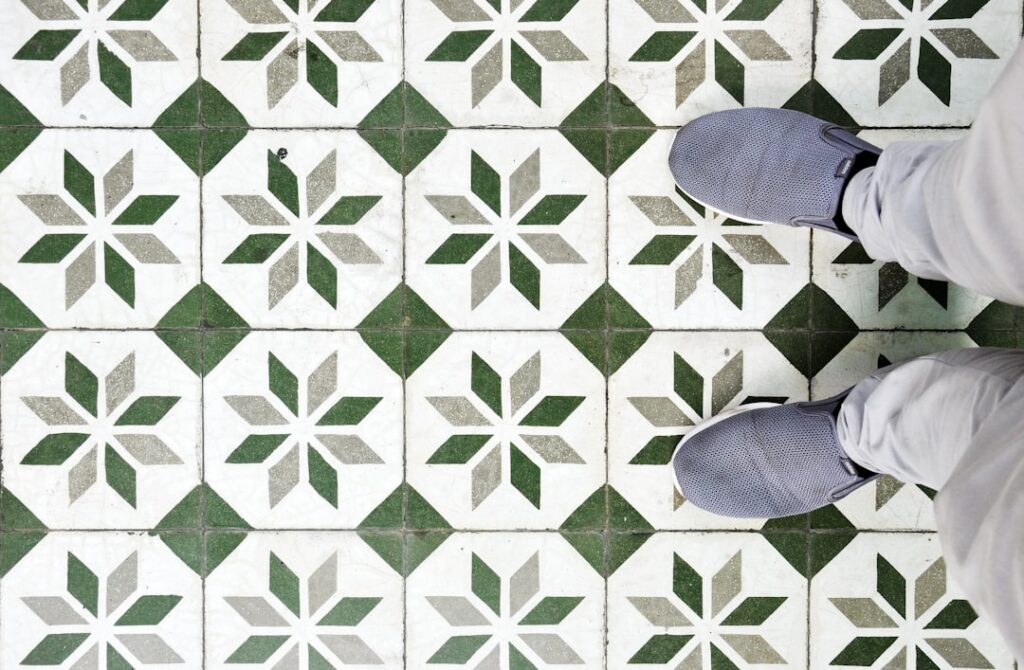
The single biggest mistake DIYers make is starting in a corner and working outward. Learning how to install vinyl tile flooring correctly begins with the exact opposite move: you find the center of the room and build toward the walls. Do that, and a slightly out-of-square room hides its flaws at the baseboards instead of leaving you with a sliver of tile down the most visible wall. Whether you are laying classic 12-inch vinyl composition tile (VCT) or thicker luxury vinyl tile (LVT) squares, the method below keeps your lines straight and your seams tight.
Part of our Tile & Grout guide — explore the full guide →
Gather Tools and Acclimate the Tiles
Before anything touches the floor, open the boxes and let the tiles sit in the room for 48 hours. Vinyl expands and contracts with temperature, and tiles installed cold will shift once the room warms up. Aim for a stable 65 to 85°F during and after installation.
You will need a chalk line, a tape measure, a framing square, a sharp utility knife with plenty of blades, a straightedge, and a 100-pound floor roller for glue-down tiles. For adhesive tile, add a notched trowel sized to the adhesive manufacturer’s spec, usually a 1/16-inch V-notch. Keep a rag and mineral spirits nearby for squeeze-out.
Prep the Subfloor First
Vinyl telegraphs everything underneath it. A nail head, a seam ridge, or a crumb of dried joint compound will show as a bump within weeks. Sweep, scrape, and then run your hand across the surface to feel for high spots.
For plywood or OSB subfloors, fill low spots and seams with a floor patch compound and sand smooth. Concrete must be clean, dry, and flat within 3/16 inch over 10 feet. Test concrete for moisture with a calcium chloride kit or a plastic-sheet test before committing, because trapped moisture will break the adhesive bond and lift your tiles.
Find the Center and Snap Your Layout Lines
Measure the midpoint of two opposite walls and snap a chalk line between them. Do the same for the other pair of walls. Where the two lines cross is your starting point, and a framing square confirms the intersection is a true 90 degrees.
Here is where planning pays off. Dry-lay a row of tiles from the center toward each wall without any adhesive. If the last tile at the wall ends up narrower than half a tile, shift your center line by half a tile in that direction. This simple adjustment turns a skinny, awkward border into a balanced one on both sides of the room.
Dry-Lay the Full Pattern
Take ten minutes to loose-lay a large section following your adjusted lines. This step catches problems while they are still free to fix. Check that pattern-matched or wood-look tiles run in a consistent direction, and confirm your grout-look spacing is even if you are using groutable LVT.
- Confirm border tiles are at least half-width on all four walls.
- Mix tiles from several boxes to blend any shade variation between lots.
- Mark your control lines with a pencil so you can re-snap if the chalk smudges.
Adhesive vs. Peel-and-Stick
Two installation methods dominate, and the tile you bought dictates which one you use. Full-spread adhesive applied with a trowel gives the strongest, longest-lasting bond and is standard for VCT and commercial-grade LVT. Peel-and-stick tiles carry a pre-applied adhesive backing; you pull a paper liner and press them down.
For troweled adhesive, spread only as much as you can cover before it skins over, typically a quarter of the room at a time. Many acrylic vinyl adhesives require a “tack” period of 15 to 30 minutes until the adhesive turns clear and grabs a fingertip without stringing. Peel-and-stick skips the wait but demands a spotless, primer-sealed subfloor because the thin factory adhesive is far less forgiving of dust.
Set the First Tiles Along the Lines
Place your first tile precisely in the intersection of the chalk lines, aligning two edges with two lines. Set the next tile snug against it, then work outward in a pyramid or stair-step pattern rather than completing one full row at a time. Stepping the pattern keeps you from trapping yourself in a corner and helps every tile reference a line, not just its neighbor.
Drop each tile straight down rather than sliding it into place, since sliding pushes adhesive up into the seams. If you are using groutable tile, insert your spacers now to hold consistent grout-look joints, usually 1/8 inch. Press firmly, and after every few square feet, roll the section with the floor roller to seat the tiles and force out air pockets.
Cut the Border and Odd Shapes
Vinyl tile cuts cleanly with a utility knife; there is no need for a wet saw. To fit a straight border piece, lay a loose tile directly on top of the last full tile, set a second tile against the wall as a guide, and mark the cut line. Score the face with your knife against a straightedge and snap the tile along the line.
For pipes, door casings, and outside corners, make a paper or cardboard template first, trace it onto the tile, and cut with the knife. Leave a hairline gap at the walls; baseboard or quarter-round will cover it.
Common Layout Mistakes to Avoid
Even experienced DIYers stumble on a handful of repeat offenders. Ignoring a small twist in the room and trusting the wall as square is the most common, and it produces a border that grows from one inch to three inches across a single run. Always trust your chalk lines over the walls.
Two other traps deserve attention. Spreading too much adhesive at once lets it cure past its tack window, so tiles sit on a dead film that never bonds. And forgetting to blend tiles from multiple boxes leaves a visible shade block in the middle of the floor, since dye lots vary subtly between production runs. Pull from four or five boxes at random as you work and the color evens out naturally.
Grout, Roll, and Cure
If your tiles are groutable, remove the spacers and apply the manufacturer’s vinyl-specific grout, working it into the joints with a rubber float and wiping the excess before it hazes. Standard cementitious grout can crack over flexible vinyl, so use the flexible product made for the job.
Give the floor its full cure before heavy traffic or wet cleaning. Most glue-down installations want 24 hours before foot traffic and 72 hours before you replace furniture or wash the floor. Rushing this step is the last chance to ruin an otherwise perfect job. Knowing how to install vinyl tile flooring is really about patience at three points: acclimation, layout, and cure. Respect all three and the floor will look sharp for years.
Prefer to explore on your own?
See how new flooring looks in your actual room in seconds — free, no signup.
Try the free Floor Studio →