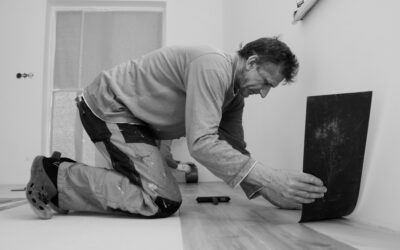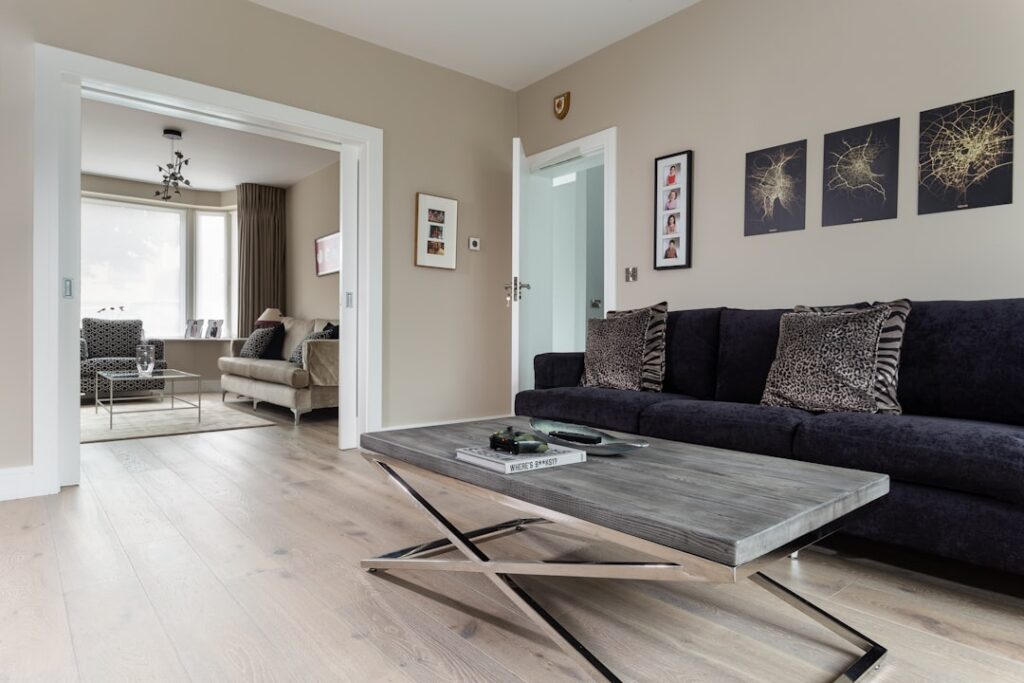
The first plank is the most expensive plank in any wood floor install. Get the starting row crooked, miss a moisture check, or skip acclimation, and the next 800 square feet pay for that mistake — sometimes immediately, often months later when the gaps appear or the boards start cupping. Knowing how to lay wooden flooring properly is less about brute carpentry skill and more about doing five or six unglamorous prep steps in the right order. Skip none of them, take the install slow, and a competent DIYer can produce a floor that looks indistinguishable from a contractor’s work.
Pick the Install Method First
Three methods cover almost every project. Floating click is fastest, works with engineered wood and laminate, and forgives a slightly uneven slab when paired with the right underlayment. Glue-down is the gold standard for engineered wood over concrete — quietest underfoot and most stable in dry climates. Nail-down (or staple-down) is reserved for solid hardwood over plywood subfloors above grade.
Your existing subfloor and your wood product determine the method, not preference. A solid 3/4-inch oak board cannot float. A 12mm engineered click plank cannot be nailed.
Tools You Will Actually Use
- Tapping block and pull bar — non-negotiable, around $20 each at Home Depot
- Spacers (10mm) for perimeter expansion gaps
- Compound mitre saw or table saw with a fine-tooth (60T+) blade
- Jigsaw for door jambs and pipe cuts
- Moisture meter (Lignomat or Wagner Orion) — borrowed or rented works fine
- Pneumatic flooring stapler or cleat nailer for nail-down (rent at $40 to $60 per day)
- Notched trowel and adhesive for glue-down
- Knee pads, dust mask, hearing protection
Step 1 — Acclimate the Wood
Stack the unopened boxes flat in the install room for 5 to 7 days for solid hardwood, 3 to 5 days for engineered. The HVAC must be running at the home’s normal living conditions — 60 to 80 °F, 35 to 55% relative humidity. Skipping this step is the single most common cause of failed wood floors. Wood that arrives at 12% moisture content and gets installed before reaching the room’s equilibrium will gap or cup within months.
Step 2 — Prep the Subfloor
Sweep, vacuum, and inspect. The substrate must be flat to 3/16 inch in 10 feet (or 1/8 inch in 6 feet for glue-down engineered). High spots get sanded or planed; low spots get filled with self-leveller like Mapei Novoplan 2 over a primed surface.
Measure subfloor moisture. For plywood: 9 to 14% moisture content using a pin meter, no more than 2 to 4% difference between flooring and subfloor. For concrete: in-situ probe under 75% RH, or calcium chloride under 3 lbs per 1,000 sq ft per 24 hours for glue-down.
Install a vapour retarder on slab work — 6-mil polyethylene under floating floors, or a manufacturer-approved adhesive like Bostik GreenForce that incorporates moisture suppression for glue-down.
Step 3 — Plan the Layout
Measure the room and divide by board width to confirm the last row will not be a sliver under 50mm wide. If it is, rip the first row narrower so the last row matches. Run boards perpendicular to the longest wall for the most expansive look, or parallel to floor joists if that is the dominant structural line.
Open at least three boxes simultaneously and shuffle planks to mix grain, colour, and grade. Stagger end joints by at least 12 inches between adjacent rows. Avoid “H” patterns where joints align two rows apart.
Step 4 — Lay the First Row
Set 10mm spacers along the starting wall. Most starting walls are not perfectly straight, so snap a chalk line 10mm out from the wall’s average and lay the first row to that line. Tongue side faces the wall on click systems; groove side faces the wall on traditional T&G.
Drop the first plank, then click or align the second using the tapping block — never strike the board directly with a hammer. The first row sets the alignment for everything that follows.
Step 5 — Continue Across the Floor
For floating click installs, angle each plank into the long edge first, then drop or tap into the end joint. Keep the tapping block snug against the tongue, not the groove edge.
For glue-down, work in 4- to 6-foot sections. Spread adhesive with the manufacturer-specified notch trowel (commonly 1/16 by 1/16 by 1/32 inch U-notch), set boards into the wet glue with the open time per the can, and roll with a 100 lb three-section roller within 30 minutes.
For nail-down, top-nail the first three rows by hand near the wall (where the stapler cannot fit), then switch to the pneumatic stapler at 6- to 8-inch intervals once you have working clearance.
Step 6 — Finish the Last Row and Doorways
Rip the last row to width minus the 10mm expansion gap. Use a pull bar to draw the planks tight into the previous row. Cut around door jambs by undercutting the jamb with a flush-cut saw and slipping the board underneath rather than scribing around it.
Install thresholds at room transitions, refit skirting, and add quarter-round or scotia if the skirting was not lifted.
Common Mistakes to Avoid
- Skipping acclimation — causes gapping or cupping
- Skipping moisture testing on slab — leads to mould and adhesive failure
- No expansion gap — causes peaking and buckling
- Striking boards directly with a hammer — damages tongues and voids warranty
- Mixing fewer than three boxes — creates patches of similar tone
Bottom Line
Knowing how to lay wooden flooring is mostly about discipline. Acclimate, test, level, plan, and only then start cutting. The actual install runs faster than most people expect — 200 to 400 square feet per day for a careful DIYer — and the floor that results will outlast every renovation that follows.
Prefer to explore on your own?
See how new flooring looks in your actual room in seconds — free, no signup.
Try the free Floor Studio →