A nail hole takes thirty seconds to fill and yet somehow still shows through the paint in half the homes you walk into. Learning how to patch nail holes in drywall properly is less about effort than about two details almost everyone skips: pressing the wall flat before filling, and spot-priming before painting. Get those right and the repair genuinely disappears — no shiny dots, no gray ghost circles, no little craters catching light at sunset. Here is the full method, plus the spackle-versus-joint-compound decision and fixes for the holes that refuse to behave.
Part of our Paint & Walls guide — explore the full guide →
Spackle vs. Joint Compound: Which to Grab
For nail and screw holes, lightweight spackle is the right tool. It comes pre-mixed in small tubs ($4 to $8), shrinks very little, dries in 15 to 30 minutes, and sands with a couple of passes. DAP DryDex (the pink-to-white color-changing version) and 3M Patch Plus Primer are the hardware-store standards — the 3M product even builds in primer for small repairs.
Joint compound (“mud”) is the better call when you are facing dozens of holes plus dings and scuffs across a whole room, or when you need to skim a larger area. It costs less per volume, spreads and feathers beautifully, but shrinks more (plan on two coats), and dries slower — 2 to 24 hours depending on humidity and type. What to avoid: toothpaste and bar-soap hacks (they shrink, discolor, and repel paint) and caulk (it cannot be sanded and leaves a permanent smear-dimple). For a typical picture-hanging cleanup, a small tub of lightweight spackle handles everything.
Tools and Materials
- Lightweight spackle or joint compound
- 1.5- or 2-inch flexible putty knife
- Screwdriver handle or the putty knife butt (for dimpling)
- Fine sanding sponge or 220-grit paper
- Stain-blocking primer (spray cans like KILZ or Zinsser Cover Stain are perfect for spots)
- Matching wall paint and a small roller or brush
- Damp rag and a drop cloth if you’re doing a whole room
The Five-Step Method
- Prep the hole. Pull any remaining nail or anchor. Here is the skipped step that matters most: nail holes are rarely just holes — the nail’s exit raises a tiny volcano rim of drywall paper and gypsum around the opening. Press that rim flat by denting it slightly inward with the rounded butt of a screwdriver handle or a quick twist of the putty knife corner. Fill over an un-flattened rim and you get a bump that no amount of paint hides.
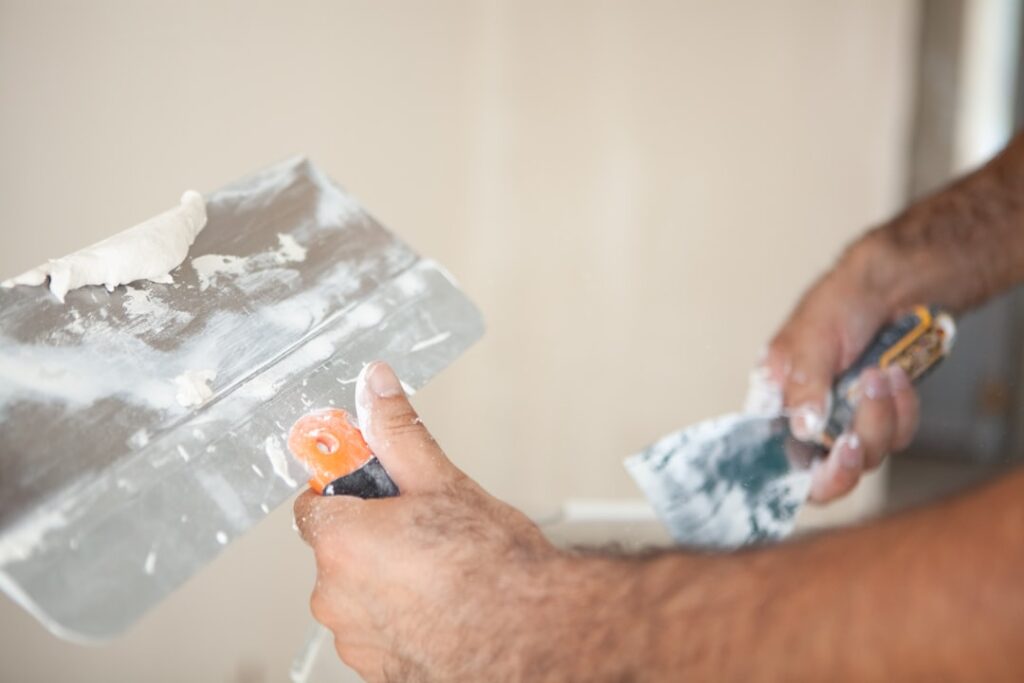
- Fill. Load a small amount of spackle on the putty knife and swipe across the hole at a 45-degree angle, pressing filler in. Then make a second, near-flat pass to scrape excess off, leaving the patch flush or a hair proud. Wipe surrounding smears with a damp rag now — dried haze creates texture differences later.
- Let it dry, then assess. Follow the tub’s dry time (color-change spackle removes the guessing). Deep holes and most joint-compound repairs shrink slightly as they dry, leaving a faint dish. If you can feel a dip with your fingertip, apply a thin second coat. Two thin coats beat one thick one every time — thick fills crack and take forever to dry.
- Sand lightly. A few gentle circles with a fine sanding sponge levels the patch. You are polishing, not grinding — aggressive sanding scuffs the surrounding paint and fuzzes the drywall paper. Run your palm across it; your hand finds ridges your eyes miss. Wipe off dust with a barely damp cloth.
- Spot-prime, then paint. This is the step that separates invisible repairs from polka-dot walls. Raw spackle is more porous than painted drywall, so paint applied directly over it dries flatter, creating dull spots called flashing that show at every lighting angle. Dab or spray a thin coat of primer over each patch, let it dry (usually 30 to 60 minutes), then paint. Feather the paint a few inches beyond the patch — or better, roll corner to corner on that wall section if the existing paint has aged and shifted color.
Special Cases
Screw holes and popped nails. If a fastener backed out of a stud, refill alone will fail — drive a drywall screw an inch above or below the pop to re-anchor the panel, dimple both spots, and fill.
Anchor holes. Plastic anchors leave 1/4- to 1/2-inch holes. Pull the anchor (pliers, or push it through into the cavity), then treat holes up to about 1/2 inch the same way with two coats. Larger than that, use a self-adhesive mesh patch and joint compound.
Textured walls. Fill flush as normal, then mimic the texture before priming: dab with a damp sponge for orange-peel, or use a spray-can texture product (Homax and others, about $15 to $20) for knockdown, flattening lightly with the knife after it tacks up.
Dozens of holes at move-out. Work in a grid so you don’t miss any: fill everything first, sand everything second, then prime all patches in one pass. A whole apartment’s worth of nail holes is a two-hour job with this batching, versus an evening doing them one at a time.
Mistakes That Give Patches Away
- Skipping primer — the number one cause of visible patches; those dull circles are flashing, not bad spackle.
- Overfilling and leaving a mound, then trying to sand it flat through hardened filler.
- Not flattening the raised rim before filling, sealing a bump under the surface.
- Touch-up paint from an old can on aged walls — paint shifts color as it cures over years; if the touch-up shows, repaint the full wall section to a natural break.
- Rushing recoat times, which traps moisture and causes cracking or peeling later.
Matching the Paint: The Last 10 Percent
Even a perfectly filled and primed patch fails if the paint pass is careless. Flat and matte finishes are the most forgiving — touch-ups blend almost invisibly. Eggshell and satin are moderately fussy, and semi-gloss walls essentially require repainting to a natural break like a corner or door casing, because sheen differences show more than color differences. Always dab or roll rather than brush-stroke touch-ups, since roller stipple matches the surrounding texture while brush marks catch light. If you do not have the original paint, take a chip (a quarter-sized flake from behind a switch plate works) to a paint store for color matching, and buy the same sheen. And for renters: patch and touch up with the landlord’s actual leftover paint if any exists in the garage or utility closet — a mystery “close enough” white almost always shows and invites deposit disputes anyway.
The Bottom Line
Flatten, fill, second-coat if needed, sand lightly, prime, paint. Total working time per hole is under five minutes across two sessions, and the material cost for a whole house’s worth of holes is about $15. Do the primer step even when you’re tempted to skip it — the difference between a repair you can find with a flashlight and one you can’t is a sixty-second dab of primer, and once you’ve seen the results, walls full of shiny spackle dots will bother you in everyone else’s house too.