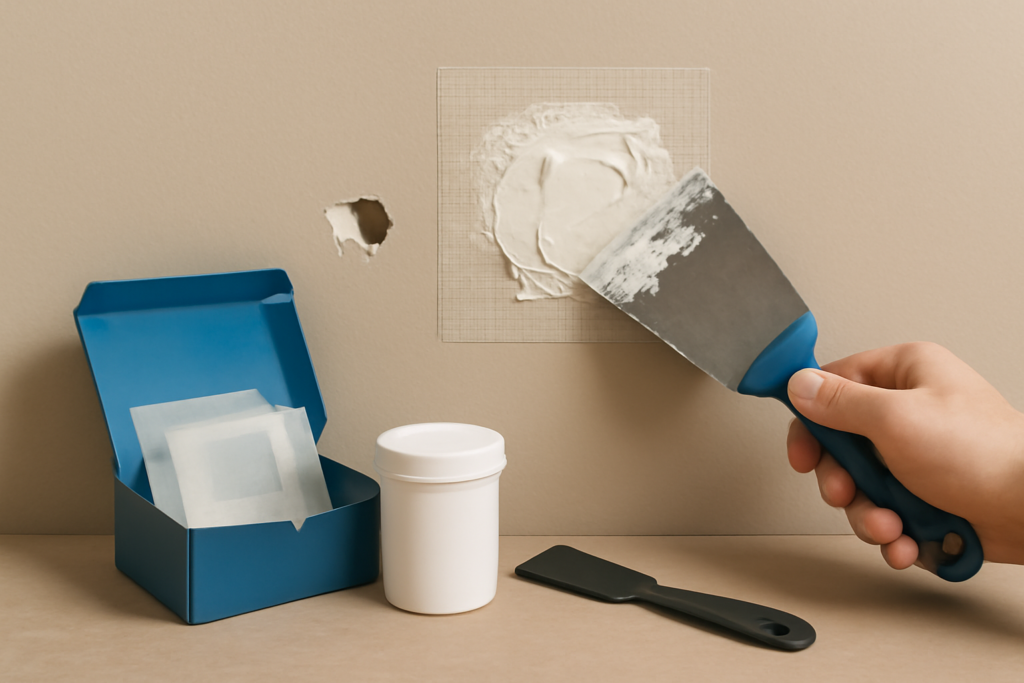
The patch-kit aisle is where a $6 problem gets solved with a $25 purchase, or a $25 problem gets “solved” with a $6 one that cracks by spring. A drywall patch kit bundles the patch, compound, and applicator for a specific hole size — and picking the right style of kit matters more than picking the right brand. This guide sorts the market into its four kit types, names the best product in each, walks through using them correctly, and flags the damage no kit can fix.
- The Four Types of Patch Kits
- Best Kits by Category
- Best for small holes: 3M Patch Plus Primer ($6 to $9)
- Best mesh kit: 3M High Strength Small Hole Repair Kit ($12 to $16)
- Best plug kit: DAP Eclipse Rapid Wall Repair Patch ($10 to $14 per patch)
- Best all-in-one: Homax Drywall Patch Kit ($12 to $18)
- How to Use a Mesh Patch Kit Correctly
- Kit Compound Is the Weak Link
- Ceiling Holes: A Special Case
- Shelf Life and Storage
- What No Kit Can Fix
- A Sensible Home Repair Stash
The Four Types of Patch Kits
Kit shopping goes faster once you see the shelf as four designs rather than forty products. Price is a poor sorting signal here — a $22 all-in-one box and a $6 mesh patch may repair the identical hole — so identify the design first, then pick the best-made example of it. Each type has a natural size range it handles well and a boundary where it quietly fails:
- Spackle-and-tool kits — a tub of lightweight filler with a putty knife and sanding pad. For nail holes and dings under 1/2 inch.
- Adhesive mesh patch kits — a stick-on aluminum/fiberglass screen plus compound. The workhorse for 1-to-6-inch holes like doorknob strikes.
- Plug or pop-in kits — a pre-cut drywall plug with adhesive flanges or clips that seats into a hole you trim to a template. For clean 2-to-4-inch holes, strongest against re-impact.
- All-in-one repair kits — patch, compound, knife, and sandpaper in a box; convenient for renters and one-time fixes, but you pay double for the bundle.
Above roughly 6 inches, kits stop being the answer — larger openings need backer boards or a California patch, methods covered in our companion drywall patch guide, with raw materials that cost less than most kits.
Best Kits by Category
Best for small holes: 3M Patch Plus Primer ($6 to $9)
A lightweight spackle with primer blended in, so small fills can be painted in 30 minutes without flashing. The 4-in-1 applicator version includes a putty knife cap and sanding pad. For nail holes, anchor holes, and dings, nothing on the shelf works faster.
Best mesh kit: 3M High Strength Small Hole Repair Kit ($12 to $16)
Pairs a 4-inch self-adhesive metal-center patch with high-strength compound that resists the shrink-and-crack cycle of cheap kit mud. Handles doorknob holes and impacts up to about 3 inches with room to feather. The 6-inch Large Hole version ($15 to $20) stretches the same system to 5-inch damage.
Best plug kit: DAP Eclipse Rapid Wall Repair Patch ($10 to $14 per patch)
A genuinely clever design: a rigid patch with a pressure-sensitive adhesive border that bonds to the wall — no compound, no sanding, paint-ready in minutes. The 2-inch and 4-inch sizes are ideal for rentals and fast turnarounds. The trade-off is a very slight surface build you can find with raking light, so use it in low-scrutiny locations or feather a skim coat over it anyway.
Best all-in-one: Homax Drywall Patch Kit ($12 to $18)
Mesh patch, compound, knife, and sanding pad in one box. Nothing exceptional, everything adequate — the right grab for someone who owns no tools and needs one hole gone this weekend.
How to Use a Mesh Patch Kit Correctly
Kit instructions are written for the best case; this sequence survives the real one, and it takes two short sessions rather than the “30 minutes” the box promises. Trim loose paper and push broken gypsum back into the wall plane so nothing sits proud. Wipe dust off the surrounding paint — adhesive mesh fails on chalky surfaces. Center the patch and press the edges down hard. Then coat in thirds: a tight first coat pressed through the mesh with a 4-to-6-inch knife, a second coat feathered 4 to 6 inches past the patch after drying, and a wide third coat that ramps to nothing. Sand with the kit’s pad or 220-grit, prime, then paint. The single most common kit failure is one thick coat instead of three thin ones — thick kit compound shrinks overnight and prints a mesh-grid shadow through the paint.
Kit Compound Is the Weak Link
Most bundled compounds are small tubs of soft, premixed mud chosen for shelf life rather than performance. Two upgrades transform any kit. First, buy a 4-inch and a 10-inch knife ($10 total) instead of the flimsy plastic paddle included. Second, for anything bigger than a doorknob hole, skip the kit tub and mix a cup of setting-type compound — Easy Sand 45 runs about $10 for an 18-pound bag that will outlive your house. It sets chemically in 45 minutes, shrinks almost none, and lets you stack all three coats in an afternoon. Keep the kit’s mesh patch; replace its mud.
Ceiling Holes: A Special Case
Kits behave differently overhead. Gravity pulls wet compound off vertical mesh, so ceiling repairs favor either the rigid-plug designs (DAP Eclipse holds itself while adhesive cures) or setting-type compound, which stiffens fast enough to stay put through the first coat. Popcorn and textured ceilings add a matching step afterward, and any hole from a plumbing leak means confirming the leak is actually fixed and the surrounding board is dry and firm before anything sticks to it — press around the hole, and if the drywall flexes or crumbles, cut back to sound material instead of patching the symptom. For anything overhead larger than a fist, treat it as a cut-and-replace job rather than kit territory; falling patches are a uniquely discouraging failure mode.
Shelf Life and Storage
Half-used kits age poorly, which is worth knowing before you buy the family pack. Premixed spackle and compound tubs dry out and grow mold once opened — smooth the surface, add a thin film of water before sealing, and expect six to twelve months of usable life. Adhesive mesh patches keep for years if the backing stays sealed, but the adhesive weakens in a hot garage; store them indoors. Setting-type powder is the survivor: kept dry in a sealed bucket, a bag of Easy Sand outlasts every premixed product in the aisle, one more argument for making it the backbone of your repair stash.
What No Kit Can Fix
Know the boundaries before you buy. Holes over 6 inches need structural backing that adhesive mesh cannot provide. Water-damaged drywall must be cut out — compound over a soft, stained panel just decorates the rot, and the stain bleeds through paint without a shellac primer. Cracks that keep returning at door corners or ceiling seams are movement problems; they need tape and setting compound, not spackle, and sometimes a framing look. Nail pops need re-screwing before filling. And textured walls need a texture step after patching, or the smooth spot advertises the repair — aerosol texture matching is covered in our drywall texture guide. For any of these bigger scenarios, the methods in our drywall repair guide beat anything in a blister pack.
A Sensible Home Repair Stash
If you own a home, skip the one-hole kits and assemble the $35 permanent version: a tub of 3M Patch Plus Primer, three 6-inch adhesive mesh patches, a bag of Easy Sand 45, a 4-inch and 10-inch knife, a sanding sponge, and a small can of stain-blocking primer. That stash repairs every hole under 6 inches your house will produce for the next decade, at a marginal cost per repair of about two dollars — and everything in it stores in a single shoebox on the utility shelf, ready the evening the doorknob finally wins. The all-in-one kits earn their keep for renters and one-off fixes; for everyone else, the patch is cheap, the compound is cheap, and the skill — three thin coats, feathered wide, primed before paint — is free.