Texture is the most regional finish decision in American housing: walk into a Phoenix tract home and the walls wear heavy knockdown, a Boston colonial is plaster-smooth, and a 1978 ranch anywhere still hides its ceilings under popcorn. Drywall texture exists for two honest reasons — it hides imperfect taping, and it sets a style — and choosing one means trading between those jobs. This guide compares every common texture type, how each is applied, what pros charge, and how to match an existing texture when a patch leaves a smooth scar in the middle of it.
Part of our Paint & Walls guide — explore the full guide →
- Why Texture Exists (and Why Smooth Costs More)
- Sprayed Textures: Orange Peel, Knockdown, Popcorn
- Hand Textures: Skip Trowel, Slap Brush, Sand Swirl
- Smooth: Level 5 and the Modern Look
- Application: Hopper Guns, Cans, and Rollers
- Matching Texture on a Repair
- Painting Textured Surfaces
- Choosing: A Quick Decision Guide
Why Texture Exists (and Why Smooth Costs More)
A textured surface scatters light, and scattered light forgives. Joint humps, screw ghosts, and taping ripples that would glare through flat paint on a smooth wall vanish under an eighth-inch of sprayed compound — which is why production builders texture nearly everything: it lets them stop finishing at Level 3 instead of Level 4 or 5 and save real labor per house. Smooth walls invert the economics. With no camouflage, the taping must be perfect and often skim-coated entirely, so smooth is simultaneously the plainest look and the most expensive one. That single trade-off — labor in the finish versus texture over it — explains almost every wall in the country.
Sprayed Textures: Orange Peel, Knockdown, Popcorn
Orange peel
If a builder-grade home has texture on the walls and you cannot name it, it is almost certainly this. The default American wall texture: thinned joint compound sprayed through a hopper gun, drying as a fine pebbled skin resembling citrus rind. It hides minor flaws, wipes clean reasonably well, and reads as nearly smooth from six feet away. Spray pattern is controlled by air pressure and mud thickness — fine, medium, and heavy splatter are all the same technique. Professional cost runs roughly $0.50 to $1.00 per square foot over new drywall.
Knockdown
Sprayed like heavy orange peel, then flattened (“knocked down”) with a wide drywall knife or trowel 10 to 15 minutes later, leaving mottled flat islands over the surface. It is the dominant texture across the Sun Belt — Texas, Arizona, Florida — hides more sin than orange peel, and adds a faint Mediterranean character. Cost runs $0.60 to $1.25 per square foot professionally. Timing is the skill: knock down too early and it smears, too late and it will not flatten.
Popcorn
The heavily bumped “acoustic” ceiling texture of 1960s-80s construction, sprayed from a mix containing polystyrene or vermiculite aggregate. It deadened sound and skipped ceiling finishing entirely, which is why builders loved it — and it is dated, catches dust, and cannot be cleaned or easily painted. One hard warning: popcorn applied before the mid-1980s may contain asbestos, so test ($30 to $60 lab kit) before scraping anything. Removal of non-asbestos popcorn runs $1 to $3 per square foot and is among the messiest jobs in remodeling.
Hand Textures: Skip Trowel, Slap Brush, Sand Swirl
Skip trowel
Applied by hand with a curved-blade trowel skipping thin compound across the surface, leaving irregular rounded islands with open space between. This is the artisan texture — genuinely irregular, strongly associated with Mediterranean and Southwest high-end homes, and priced accordingly at $1 to $2.50 per square foot because it is slow, skilled work. Its machine-sprayed cousin is often mislabeled knockdown; true skip trowel shows the trowel’s arc.
Slap brush (crow’s foot, stomp)
A rolled coat of thin compound is stomped with a round stippling brush on a pole, leaving fan-shaped bursts across the ceiling — a common ceiling texture in the Midwest, cheap to apply and superb at hiding joist-line shadows. DIY-friendly: brush, pole, and a bucket of thinned mud, roughly $0.50 to $1 per square foot professionally.
Sand swirl and comb
Perlite- or sand-loaded compound brushed in overlapping half-circle arcs (swirl) or raked in patterns (comb). Regional and largely historic — you match them during repairs more often than you choose them new.
Smooth: Level 5 and the Modern Look
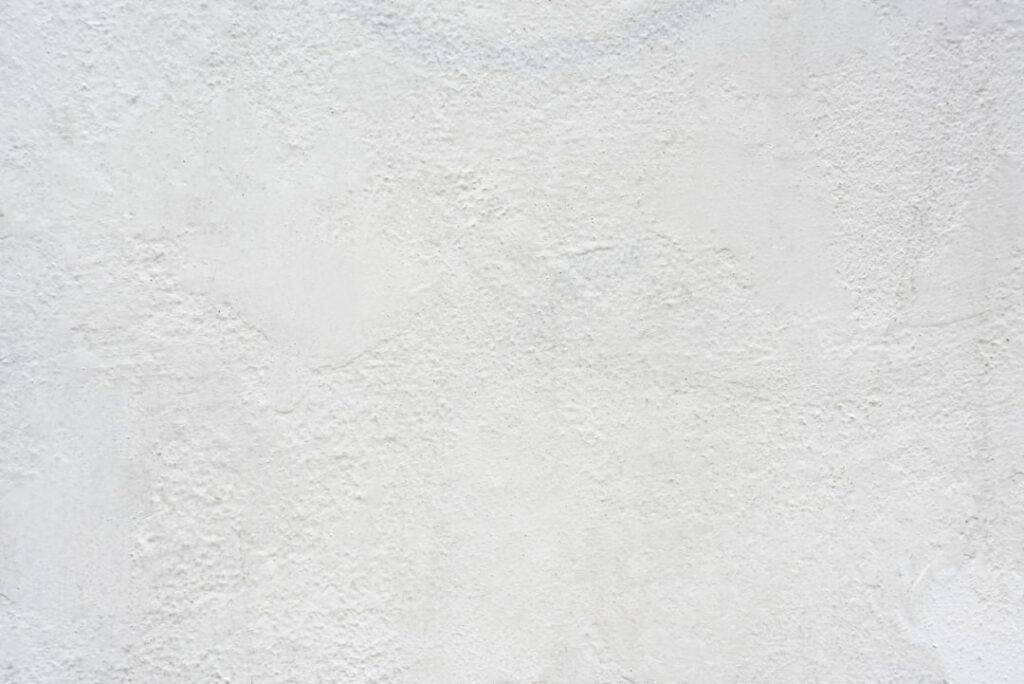
Smooth wall — the standard in high-end new construction and most pre-war housing — is technically a Level 5 finish: full tape and three coats, then a thin skim coat of compound over the entire surface, sanded flat. It photographs beautifully, suits modern and traditional interiors alike, and shows everything: expect $1.50 to $3 per square foot for professional Level 5 work, roughly double a textured finish. If you are converting textured walls to smooth, the path is skim-coating over the existing texture (two to three passes) rather than sanding it off, and a power sander with vacuum pickup earns its rental — see our drywall sander guide before committing to hand-sanding a whole room.
Application: Hopper Guns, Cans, and Rollers
Pros spray texture with a hopper gun fed by an air compressor — rentable as a kit for $40 to $75 a day, with all-purpose joint compound thinned to a pancake-batter consistency as the material. Practice on cardboard until the pattern is consistent, mask everything (texture travels), and work in overlapping passes from a consistent distance. For small areas, aerosol texture cans ($10 to $20) in orange peel, knockdown, and popcorn patterns handle patches up to a few square feet; adjustable-nozzle cans like Homax Pro Grade are markedly better than the fixed ones. Roll-on texture — compound applied with a thick-nap roller and optionally knocked down — is the no-compressor DIY route for whole walls, slower but very controllable.
Matching Texture on a Repair
Texture matching is the step that exposes patches — a perfect drywall patch under a mismatched texture still reads as damage. The sequence that works: finish and prime the patch first (texture adheres differently to bare mud than to primer), test your aerosol or hopper pattern on cardboard beside the wall until droplet size matches, then apply from the same distance, deliberately overlapping a soft, irregular border into the surrounding texture rather than stopping at the patch’s square edge. For knockdown, spray, wait ten minutes, and knock down with a knife wiped clean between passes. Old texture has usually darkened; paint the whole wall after matching, or the fresh area will show as a bright spot even with the pattern dead-on.
Painting Textured Surfaces
Texture changes the paint job that follows it. Always prime fresh texture — sprayed compound is thirsty, and unprimed texture drinks the first coat of paint unevenly. Choose sheen deliberately: flat and matte flatter texture by softening its shadows, while eggshell and satin sharpen every bump, and semi-gloss on knockdown reads busy in daylight. Use a thicker roller nap than smooth walls take — 3/4 inch for orange peel and knockdown, up to 1 inch for heavy stomp — so paint reaches the valleys, and expect 10 to 20 percent more paint per coat than the can’s smooth-wall coverage estimate. Back-roll after spraying for the same reason.
Choosing: A Quick Decision Guide
Selling soon in a textured market? Match the local default — knockdown in the Sun Belt, orange peel most other places — because buyers read the regional norm as “finished.” Chasing a modern, high-end look and budget allows? Smooth Level 5, no substitute. Hiding an imperfect ceiling cheaply? Slap brush or heavy stomp does it for the price of a brush. Renovating a popcorn-era house? Test for asbestos, then scrape or skim to knockdown or smooth — it is the single most rejuvenating texture change in remodeling. Texture is also the last decision before paint in a full drywall installation, so settle it before priming: the finish level you tape to depends on the texture going over it, and nobody wants to discover they built Level 3 walls for a Level 5 look. Pick the texture first, finish to match, and the walls will carry the room quietly for decades.