Marble looks effortless until the day a glass of red wine sits on it for ten minutes and leaves a dull etched ring. Knowing how to polish marble countertops the right way saves a $4,000 slab from looking like a bargain bin special. The process is simpler than most homeowners assume, but the wrong polish or a too-aggressive pad can scar the surface in ways that only a professional restorer can repair.
Part of our Countertops guide — explore the full guide →
Understand What Polishing Actually Means
Polishing marble is not the same as cleaning it. Polishing physically realigns the calcium carbonate crystals at the surface, restoring reflectivity. Honing creates a flat matte finish. Sealing adds a barrier that resists staining. Most everyday dullness on marble comes from etching, which is mild acid burn from lemon juice, vinegar, tomato, or wine.
If your stone has scratches you can feel with a fingernail, you need diamond pads and water. If the surface looks foggy but feels smooth, a polishing powder will do the job. Diagnosing the problem before reaching for a product saves time and prevents over-correction.


Gather the Right Supplies
For routine polishing you need a quality marble polishing powder like MB-11 from MB Stone Care or Tenax Tepox AF. A soft microfiber pad attached to a low-rpm variable speed polisher (around 1,500 rpm) handles most kitchens in under an hour. For deeper restoration, a set of diamond hand pads from 200 grit through 3,000 grit ($60 to $120 a set on Amazon) flattens and refines the surface.
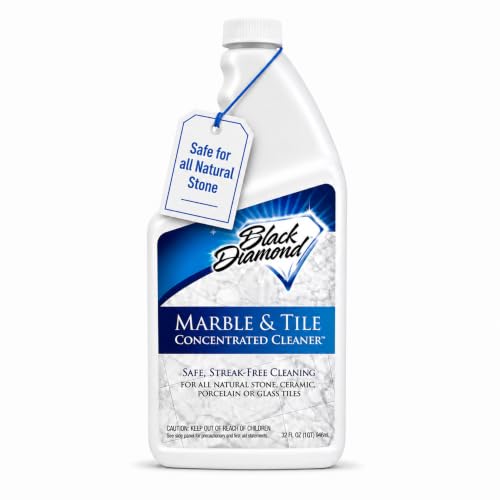
Other supplies include distilled water in a spray bottle, several lint-free white cotton towels, blue painter’s tape, and pH-neutral stone cleaner like Granite Gold Daily Cleaner. Avoid any product with citrus, vinegar, or ammonia in the ingredients.
Prep the Countertop Thoroughly
Clear everything off the slab and wipe it down with pH-neutral cleaner. Dry with a clean microfiber towel. Inspect under raking light from a flashlight held nearly parallel to the surface; this reveals etches and scratches the eye misses under overhead lighting.
Tape off backsplashes, under-mount sink edges, and adjacent cabinetry with painter’s tape. Marble polishing produces a fine slurry that will stain wood and grout if it dries before cleanup.
Apply Polishing Powder for Light Etching
Sprinkle about one teaspoon of polishing powder directly on the etched area. Spritz with distilled water until you have a creamy paste. Working in three-foot sections, run the polisher with a damp white pad in slow overlapping circles for two to three minutes per square foot.
Keep the pad flat and the surface wet. A dry pad generates heat that can scorch the stone or melt the polishing compound. Wipe with a damp towel every minute or two to check progress. The reflectivity should return gradually; chasing perfection in one spot creates an obvious bright patch surrounded by dull stone.
Hand Polishing for Small Spots
For a single etch ring or small dull patch, skip the machine. Apply powder and water with a folded microfiber towel, then rub in tight circles using firm pressure for three to five minutes. This is the safest approach for honed marble where high-gloss machine polishing would create a visible shiny island.
If the etch is deep enough to feel, start with a 400-grit diamond hand pad, move to 800, then 1,500, and finish with 3,000. Keep water flowing the entire time. This is the same sequence professionals use, and it explains how to polish marble countertops back to a like-new state without removing the slab.
Rinse, Dry, and Inspect
Rinse the entire countertop with distilled water and a fresh microfiber. Dry completely. Re-inspect under raking light. Any remaining haze usually responds to a second pass with the powder. Two passes are common; three suggests the etching went deeper than powder can fix and warrants a call to a stone restoration company.
Resist the temptation to test with water beading at this stage. The sealer step has not happened yet, so water absorption tests will read worse than they should.
Reseal After Every Polish
Polishing removes a microscopic layer of stone, which also removes any sealer that was on top. Apply a fresh coat of impregnating sealer such as Aqua Mix Sealer’s Choice Gold or DuPont StoneTech BulletProof. Pour a small puddle, spread evenly with a clean rag, let it dwell for the time stated on the label (usually 5 to 15 minutes), then buff dry with a fresh towel.
Wait 24 hours before using the surface for food prep. A sink-edge water test the next morning confirms the seal: water should bead up rather than darken the stone within a few minutes.
Maintenance That Prevents Future Polishing
Wipe spills the moment they happen, especially anything acidic. Use trivets under hot pans, cutting boards for any food prep, and coasters for glasses. Clean daily with a stone-safe cleaner; never reach for the bottle of all-purpose spray under the sink.
Reseal once a year for honed marble and every two years for polished marble. Track the date on a kitchen calendar. The five minutes a year you spend on sealer is the cheapest insurance policy a marble counter ever gets.
When to Call a Professional
Cracks, deep gouges, large stained sections, or seam separations are not DIY repairs. A trained marble restorer brings industrial wet polishers, full diamond grit progressions, and color-matched epoxies. Expect to pay $8 to $20 per square foot for a full restoration; that runs about $400 to $1,000 for an average kitchen island.
For everyday dullness and the inevitable etch ring, the steps above will keep the stone looking the way it did the day it was installed. Once you understand how to polish marble countertops, the surface stops feeling like a delicate luxury and starts feeling like a workhorse you can actually trust.