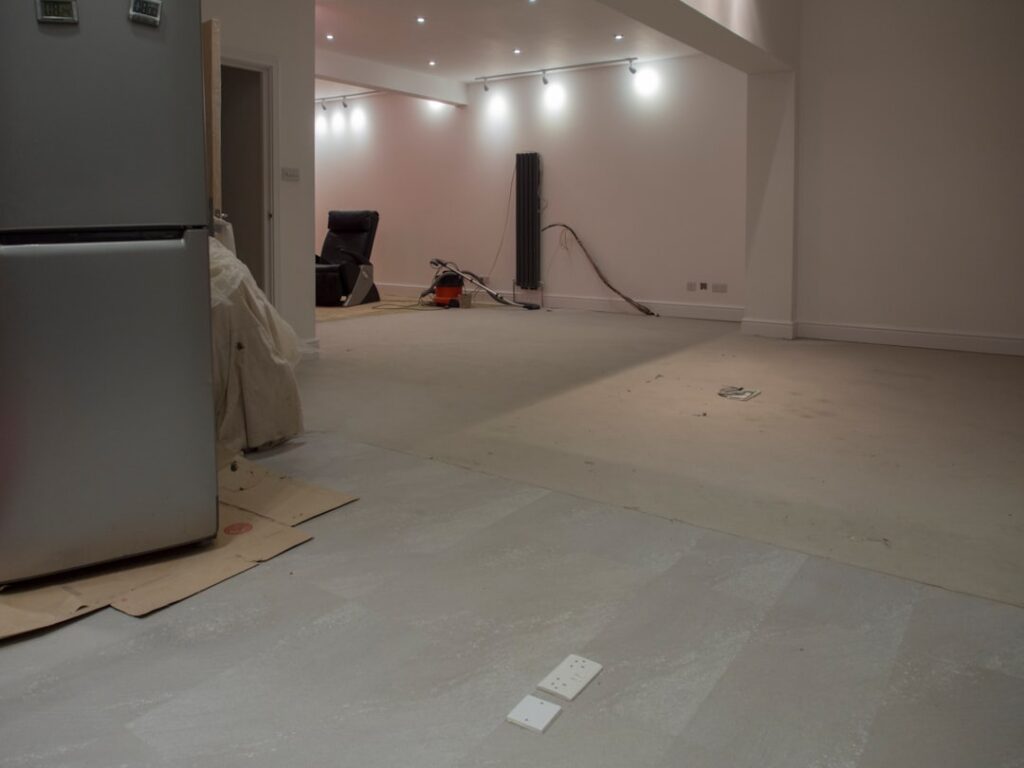
Figuring out how to remove glued vinyl flooring is mostly a battle against adhesive, and how hard that battle gets depends on the glue type, the substrate, and — critically — the age of the floor. Before you touch a scraper, you need to know one thing: if the floor was installed before roughly 1985, it may contain asbestos, and disturbing it improperly is a genuine health hazard. We will cover the safe removal process for modern glued vinyl and the hard stop that applies to older material.
- Stop: The Asbestos Question Comes First
- Gear Up: PPE and Prep
- Method 1: Cut, Peel, and Pull
- Method 2: Heat to Soften the Bond
- Method 3: Adhesive Removers and Warm Water
- Removing From Different Subfloors
- Final Cleanup and Getting to Bare
- Estimating Time and Difficulty
- Disposal and Cleanup
- Know When to Call a Pro
Stop: The Asbestos Question Comes First
Vinyl sheet flooring, the felt or paper backing under it, and old 9-inch and 12-inch vinyl-asbestos tiles from before the mid-1980s can contain asbestos in the material and in the black adhesive (called cutback) beneath them. Asbestos is only dangerous when disturbed and released into the air — which is exactly what sanding, grinding, or dry-scraping does.
If your floor predates 1985 or you simply do not know its age, do not dry-scrape, sand, or aggressively demo it. Send a small sample to an accredited lab for testing, or have a licensed abatement professional evaluate it. If it tests positive, professional abatement is the correct and often legally required path. This article’s DIY methods apply only to floors you have confirmed are asbestos-free.
Gear Up: PPE and Prep
Even asbestos-free adhesive removal is dusty, fumey work. Wear:
- An N95 or better respirator for dust, and an organic-vapor respirator if using solvent adhesive removers
- Safety glasses and knee pads
- Gloves rated for the chemical remover you choose
Ventilate the room well, remove baseboards and trim, and clear the space. Have contractor bags, a sturdy floor scraper, a putty knife, and a shop vac ready.
Method 1: Cut, Peel, and Pull
Start mechanically. Use a utility knife to score the vinyl into 6- to 12-inch strips. Grab an edge with a putty knife or pliers and pull at a low angle. Sometimes the vinyl top layer peels away and leaves the felt backing and adhesive stuck to the floor — that is normal, and the backing is the harder part. Work strip by strip so you keep momentum and can bag debris as you go.
Method 2: Heat to Soften the Bond
Stubborn sheet vinyl and its adhesive release far more easily with heat. Move a heat gun or even a hair dryer across a section on low to medium, warming the vinyl and softening the glue, then push a wide floor scraper under the softened material at a shallow angle. Keep the heat moving so you never scorch or smoke the vinyl. Heat is especially effective on the felt backing and residual adhesive that scraping alone leaves behind.
Method 3: Adhesive Removers and Warm Water
For the glue that clings after the vinyl is gone, chemistry helps:
- Warm soapy water soak: On water-based (non-cutback) adhesives, laying warm wet towels or mopping on hot water and letting it sit softens the glue so it scrapes off. Work in small sections so it does not dry out.
- Citrus or soy-based adhesive removers: These low-odor products are applied, given dwell time per the label, then scraped. They are gentler on you and the substrate than harsh solvents.
- Mineral spirits (spot use): For tenacious residue, a solvent can cut it, but ventilate well and keep sources of ignition away.
Follow every scraping pass with a rag to lift the loosened glue before it re-hardens.
Removing From Different Subfloors
The substrate changes your approach. On concrete, you can be more aggressive and can use a floor scraper or a rented power scraper, then dissolve remaining residue. On plywood or OSB, be careful — gouging the wood creates a poor surface for the next floor, and soaking wood subfloors with water can swell them. If the underlayment is cheap and glued badly, it is sometimes faster to remove the whole underlayment sheet and install fresh than to fight the adhesive off it.
Final Cleanup and Getting to Bare
Once the bulk is off, scrape the surface flat, vacuum thoroughly with a shop vac, and wipe down to remove dust and remover residue. Run a straightedge across the floor to find any glue ridges or high spots that would telegraph through new flooring. Grind or sand only if you have already confirmed the material is asbestos-free. The goal is a clean, flat, dry, contaminant-free substrate ready for whatever comes next.
Estimating Time and Difficulty
Set realistic expectations before you start, because glued vinyl removal is one of the more grueling flooring jobs. A small confirmed-safe bathroom might come up in a few hours; a large kitchen or a whole basement can eat a full weekend of physical labor, especially if the felt backing and residue fight you. Difficulty rises sharply with the age of the adhesive, the porosity of the subfloor, and the size of the area. Renting a power floor scraper for a concrete slab can cut hours off the job, while a plywood subfloor slows you down because you cannot be as aggressive.
Disposal and Cleanup
Bag debris as you generate it so you are not walking through a field of sharp, sticky scraps. For confirmed asbestos-free material, standard construction-debris disposal usually applies, but check your local rules for resilient flooring. If any material was suspect and you had it tested, keep documentation. Give the room a final shop-vac pass, wipe residual remover with clean rags, and let the substrate dry fully before laying anything new. Rushing new flooring onto a damp or glue-ridged surface undoes all your hard work.
Know When to Call a Pro
DIY removal is realistic for modern, confirmed asbestos-free glued vinyl over a forgiving subfloor. Call in professionals when the floor is pre-1985 or untested, when the adhesive is the black cutback type, when you are dealing with a large area, or when the residue simply will not release. Knowing how to remove glued vinyl flooring safely means respecting that one rule above all others: never dry-scrape or sand a floor that might contain asbestos. Test first, then work. Approach the job in the right order — verify the material is safe, gear up with proper PPE, remove the vinyl mechanically, soften stubborn residue with heat or the right remover, and finish with a flat, clean, dry substrate. Take breaks, keep the room ventilated, and do not rush the residue removal, because a glue ridge left behind will telegraph through whatever floor you install next. Done methodically, even a stubborn glued floor comes up and leaves you a solid surface to build on.
Prefer to explore on your own?
See how new flooring looks in your actual room in seconds — free, no signup.
Try the free Floor Studio →