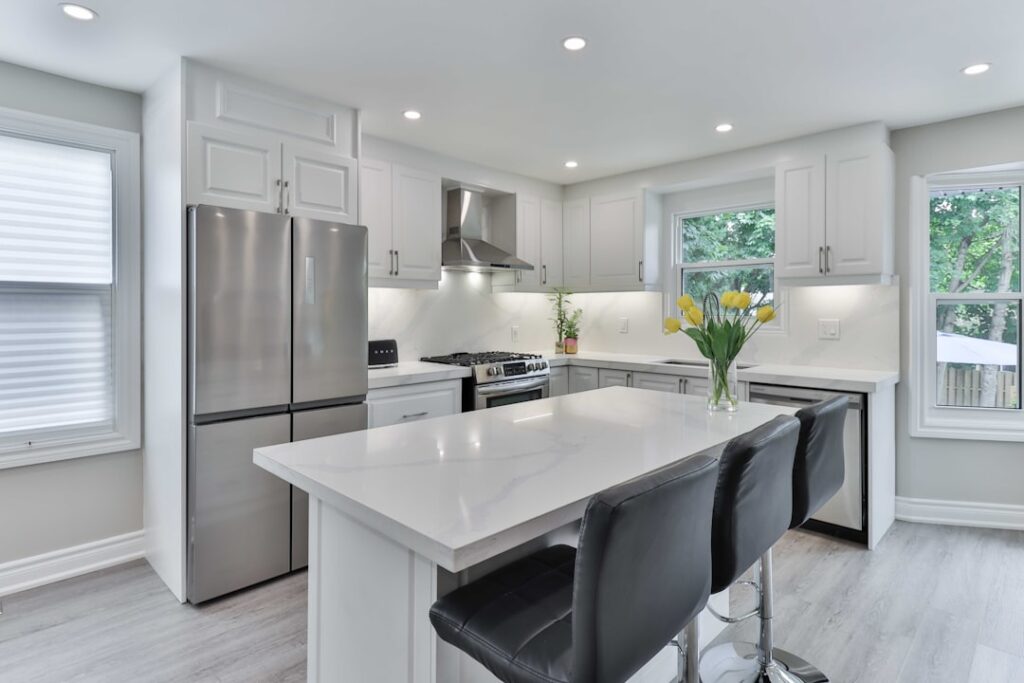
The single most common kitchen renovation regret has nothing to do with cabinet color or countertop material — it’s bad sequencing. Tearing out the old kitchen before the new cabinets arrive turns a 6-week project into a 14-week one, costs $300 a week in restaurant meals, and frays every relationship in the house. Learning how to renovate a kitchen properly means understanding the order of operations, where money should and shouldn’t go, and which decisions you can change later versus which lock you in for 25 years. This guide walks the full timeline from initial budget through punch list.
Part of our Kitchen Remodeling guide — explore the full guide →
- Setting a Realistic Budget
- Step 1: Plan Before You Demolish
- Step 2: Permits and HOA Approval
- Step 3: Demolition and Rough-In
- Step 4: Drywall, Paint, and Flooring
- Step 5: Cabinet and Countertop Installation
- Step 6: Backsplash, Appliances, Plumbing Trim
- Step 7: Punch List and Final Inspection
- Money-Saving Decisions That Don't Compromise Quality
- Frequently Asked Questions
Setting a Realistic Budget
National median kitchen renovation cost in 2026 sits around $28,000 for a midrange remodel and $78,000 for a major one, per Remodeling magazine. Allocate by category:
- Cabinets: 25-35% of budget
- Labor: 20-30%
- Appliances: 10-15%
- Countertops: 8-12%
- Flooring: 7-10%
- Lighting and electrical: 5-8%
- Plumbing and fixtures: 4-7%
- Backsplash, paint, hardware: 3-6%
- Permits and inspections: 1-3%
- Contingency: 10-15% (non-negotiable)
Skipping the contingency is the most expensive mistake first-time renovators make. Rotted subfloor, outdated wiring, and unexpected plumbing reroutes show up in roughly 70% of teardowns.
Step 1: Plan Before You Demolish
Before a single cabinet comes out, finalize three things on paper: the new layout (with appliance and outlet locations), the cabinet order with a confirmed delivery date, and the contractor schedule. Cabinets typically take 6-12 weeks from order to delivery. Custom cabinets stretch to 16-20 weeks. Demolition should not start until cabinets are within 7-10 days of delivery.
Get three written contractor bids on identical scope. Verify license numbers with your state contractor board, confirm insurance with a certificate sent direct from the carrier, and read at least five reviews including any one-star ratings. The cheapest bid is rarely the right one.
Step 2: Permits and HOA Approval
Permits trigger when you move plumbing, alter electrical circuits, change structural elements like load-bearing walls, or add square footage. A like-for-like cosmetic refresh — same layout, same locations — usually does not require permits. Pulling them when needed protects your home insurance and resale value. Skipping triggers $500-$5,000 in retroactive fees and potentially a forced demo.
Permit costs run $250-$1,500 depending on jurisdiction and scope. Plan 2-4 weeks for plan review.
Step 3: Demolition and Rough-In
Demolition takes 2-4 days for a typical 12×14 kitchen. Protect the rest of the house with plastic sheeting and zipper doors. Have a 10-yard dumpster on site. Once demo is complete, electricians and plumbers do their rough-in work — moving outlets, adding circuits for induction or convection ovens, and rerouting drain or supply lines for new sink locations. This phase usually takes 3-7 days. Inspections happen before walls close up.
This is also when you address surprises. Knob-and-tube wiring, galvanized supply lines, and asbestos in old vinyl tile mastic are common finds in pre-1980 homes. Budget the contingency here.
Step 4: Drywall, Paint, and Flooring
Drywall patches, taping, and primer take 4-7 days including dry time. Paint the ceiling and walls before flooring goes down to avoid drips. Flooring sequencing depends on type — hardwood and tile typically install before cabinets so the cabinets sit on top, while LVP and laminate float over the subfloor and install after cabinets to allow easier future replacement. Follow the cabinet manufacturer’s preferred sequence.
Step 5: Cabinet and Countertop Installation
Cabinets install over 2-4 days for a standard kitchen. Templating for stone countertops happens after cabinets are set and level. Quartz, granite, and solid-surface fabrication then takes 7-14 days. Plan to live without a countertop for 1-2 weeks unless you order a temporary plywood top from your installer.
Hire countertop installers who do their own templating with laser equipment. Cardboard templates are still common but produce more seams and gaps.
Step 6: Backsplash, Appliances, Plumbing Trim
Backsplash installs after countertops, typically 2-3 days for tile plus 1 day for grout cure. Appliances arrive and get hooked up. Plumbing trim — faucets, garbage disposal, dishwasher connection — finishes after the sink is in. Electrical trim including outlets, switches, under-cabinet lighting, and pendant fixtures wraps up the same week.
Step 7: Punch List and Final Inspection
Walk the kitchen with your contractor and document every issue: sticky drawers, misaligned doors, paint touch-ups, missed caulk lines. Hold back 10% of the contract until the punch list is complete. Schedule final inspection if permits were pulled. Most jurisdictions require a final electrical and plumbing sign-off before the project is officially closed.
Money-Saving Decisions That Don’t Compromise Quality
Several swaps save thousands without sacrificing the finished look:
- Stock cabinets with custom hardware: saves $4,000-$8,000 vs semi-custom
- Quartz remnants for an island top: $200-$600 vs $1,500+ for full slab
- Open shelving instead of upper cabinets on one wall: saves $1,200-$2,200
- Keep existing appliance locations to avoid plumbing and electrical reroutes
- Refacing existing cabinet boxes rather than replacing: saves 40-60%
Frequently Asked Questions
How long does a kitchen renovation take?
Plan for 6-12 weeks once demolition starts, plus 6-16 weeks of pre-construction lead time for cabinets and material orders.
Can I live in my house during the renovation?
Yes, but set up a temporary kitchen with a microwave, slow cooker, mini-fridge, and a portable induction burner in another room. Plan for 4-6 weeks without a working kitchen.
What’s the best time of year to renovate a kitchen?
Late winter through early spring (January-March) sees lower contractor demand and faster scheduling. Avoid late spring through summer when projects book out 8-12 weeks.
Should I act as my own general contractor?
Only if you have flexible time, comfort coordinating trades, and experience reading construction documents. Self-managing saves 12-18% of total cost but adds significant stress and risk.
What gives the best ROI in a kitchen remodel?
Midrange remodels recoup roughly 70-75% at resale, more than upscale remodels at 55-60%. Focus dollars on layout improvements, lighting, and quality cabinets rather than top-tier appliances unless you’re staying long-term.