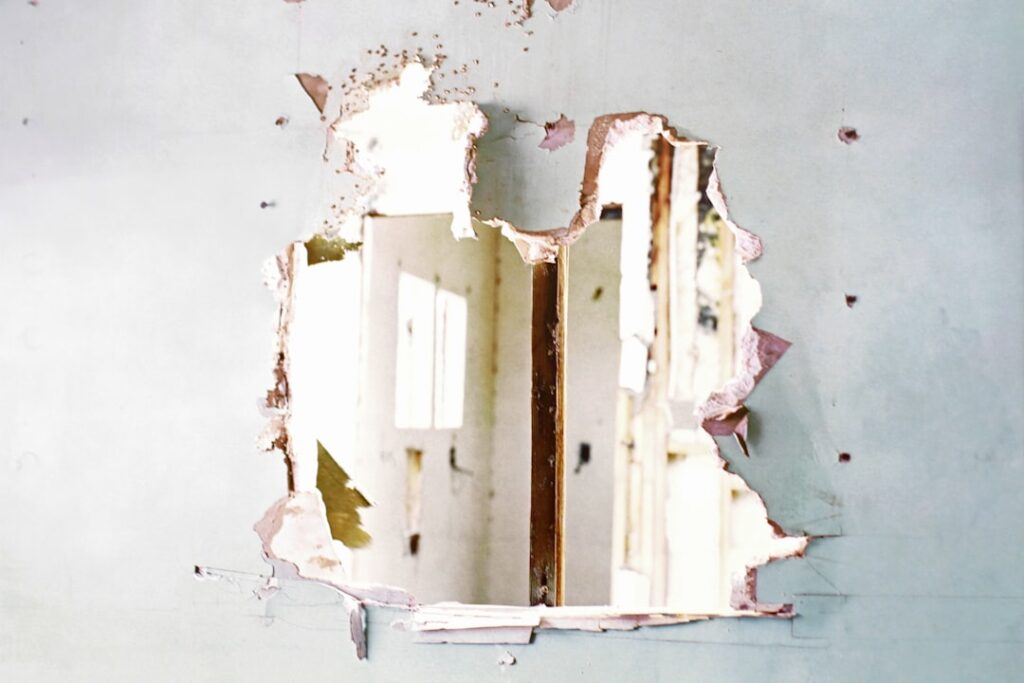
Moving out, rearranging a gallery wall, or taking down that TV mount leaves you staring at a constellation of holes — some pencil-sized, some ragged half-inch craters with plastic still stuck in them. Knowing how to repair drywall anchor holes properly means each one vanishes under paint in an afternoon, and knowing it badly means dimpled, flashing patches that catch light forever. The job splits into two skills: getting the anchor out without enlarging the damage, and filling what remains with the right product for the hole size. Here is both, anchor type by anchor type.
- Step 1: Remove the Anchor Cleanly
- Step 2: Prep the Hole
- Step 3: Fill by Hole Size
- Small holes, under 1/4 inch (screws, plastic anchors pushed through)
- Medium holes, 1/4 to 3/4 inch (threaded anchors, mollies, toggles)
- Clusters and torn-up areas over 1 inch
- Step 4: Sand, Prime, and Match the Paint
- How Long the Whole Job Takes
- The $20 Shopping List
- Matching Textured Walls
- Reusing the Same Spot
Step 1: Remove the Anchor Cleanly
How you extract the anchor determines how big a repair you face. Never just yank — a pried anchor drags a chunk of face paper with it and turns a 1/4-inch fill into a 2-inch patch.
Plastic expansion anchors
Thread a screw two or three turns into the anchor, grip the screw head with pliers, and pull straight out while rocking gently. Stubborn one? Switch to plan B: push it through. Place a Phillips screwdriver on the anchor and tap it into the wall cavity with a hammer. A recessed anchor pushed just below the surface can even be spackled over in place.
Self-drilling threaded anchors
These unscrew the way they went in. Seat a #2 Phillips bit firmly and turn counterclockwise slowly — they back out clean and leave a tidy threaded hole about 1/2 inch across.
Molly bolts
The flowered legs behind the wall mean mollies never pull out clean. Two options: tap the whole sleeve through into the cavity, or — the neater trick — remove the screw, score around the flange with a utility knife, grip the collar with needle-nose pliers and snap it off, then tap the barrel through with a screwdriver. You are left with a flat 5/16-inch hole instead of torn paper.
Toggle bolts
Easy: unscrew the bolt and the spring wing simply drops into the wall cavity, where it lives harmlessly forever. Snap-toggle straps snap off flush. Either way you have a clean 1/2-inch hole.
Step 2: Prep the Hole
Run your palm over each hole. Any raised paper lip or mushroomed gypsum edge will telegraph through the fill, so knock the crater rim flat — press it in with the butt of a screwdriver handle or shave it with a utility knife. Trim any loose face-paper flaps back to solid, stuck-down paper. Brush the dust out. This thirty seconds of prep is the difference between a repair that sands flush and a permanent bump.
Step 3: Fill by Hole Size
Small holes, under 1/4 inch (screws, plastic anchors pushed through)
Lightweight spackle is the tool — DAP DryDex ($6, dries pink-to-white) or 3M High Strength. Press it in with a 2 or 3-inch putty knife using a cross pattern (swipe vertically, then horizontally) so the hole fills fully instead of just skinning over. Scrape flush, let it dry 30 to 60 minutes, and apply a second thin pass, because spackle shrinks slightly. Sand lightly with 220-grit.
Medium holes, 1/4 to 3/4 inch (threaded anchors, mollies, toggles)
Straight spackle slumps into holes this size, and the wing or sleeve you pushed into the cavity means there is nothing behind the hole to hold it. Give the filler a backing: stuff the hole loosely with a scrap of paper towel or a wad of joint tape pushed just behind the face, or use a dab of setting-type compound (Durabond or Easy Sand 45, about $10 a bag) which hardens chemically and does not shrink or slump. Fill slightly proud, let it set, then skim a finish pass of regular compound or spackle over the top and feather it 2 to 3 inches wide. Setting compound is the pro move for every anchor hole when you have a whole wall of them — one bag handles fifty holes and each is done in two passes an hour apart.
Clusters and torn-up areas over 1 inch
A cluster of overlapping anchor holes — the classic TV-mount aftermath — sometimes needs a real patch. A self-adhesive mesh patch ($4 to $8) coated with two thin coats of compound handles up to about 4 inches; anything with crushed board behind it needs the cut-and-replace treatment covered in our full drywall repair guide. And if the holes came from anchors, the companion piece on how to install drywall anchors shows the types that leave less damage next time — snap toggles, notably, come out cleaner than mollies.
Step 4: Sand, Prime, and Match the Paint
Sand each repair with 220-grit on a block until your fingertips cannot find the edge — fingertips catch what eyes miss. Then prime the spots. Skipping primer is the number-one reason repairs stay visible: raw spackle and compound absorb paint differently than the surrounding painted wall, leaving dull “flashing” spots that appear only after the paint dries. Any stain-blocking or drywall primer works; even a light spray-can primer (Kilz, Zinsser, about $7) does the job on small spots.
Paint the patch with the original wall color. If the walls are more than a few years old, the touch-up may read slightly different due to fading — feather the paint out in an irregular shape rather than a hard square, or repaint corner to corner on prominent walls. Flat and matte sheens hide touch-ups well; eggshell and satin are less forgiving.
How Long the Whole Job Takes
Plan the work in passes across all holes at once rather than babysitting each one. A typical move-out wall with a dozen anchor holes runs: 20 minutes of extraction and prep, 10 minutes to fill everything with the first pass, a 45-minute set/dry window (run errands), 10 minutes for the skim pass, another dry window, then 20 minutes of sanding, spot-priming, and touch-up paint. Total hands-on time is about an hour; calendar time is an afternoon. Setting compound compresses the dry windows; lightweight spackle on small holes can honestly be painted in under two hours start to finish.
The $20 Shopping List
One small basket covers a whole apartment’s worth of anchor holes:
- DAP DryDex spackle, 8 oz — about $6
- Easy Sand 45 setting compound (if you have medium holes or many of them) — about $10 a bag
- 3-inch flexible putty knife — $6 to $10
- 220-grit sanding sponge — $4
- Spray primer (Zinsser or Kilz) — about $7
Skip toothpaste, soap, and the other viral “fills” — they shrink, never cure, and reject paint. The real products cost less than lunch and actually disappear.
Matching Textured Walls
On smooth walls, a sanded and primed patch vanishes. On textured walls — orange peel, knockdown, popcorn-adjacent — a smooth patch is a flat bald spot that reads from across the room, so the texture has to be rebuilt over the repair. Aerosol texture cans ($15 to $20, Homax and others) spray orange peel or knockdown patterns; test the spray pattern on cardboard first, mist it lightly over the cured patch, and for knockdown, wait about five minutes and flatten the peaks gently with a wide knife. For tiny anchor holes in texture, a simpler trick works: dab the final skim of spackle with a damp sponge or stipple it with a stiff brush before it dries, mimicking the surrounding pattern. Prime and paint over the cured texture like any other repair. It takes two practice passes to get convincing — burn them on the cardboard, not the wall.
Reusing the Same Spot
Planning to hang something new in the same place? Do not anchor into a spackled hole — filler has no grip strength. Either shift over an inch into solid board, or size up: a 1/2-inch snap toggle installed in the old toggle bore is often the cleanest solution of all, no patching required. For rentals, a strip of repairs done with setting compound, primer, and touch-up paint costs under $20 in materials and routinely saves a multiple of that in security deposit deductions — which, hole for hole, makes this the best-paying two hours of DIY there is.