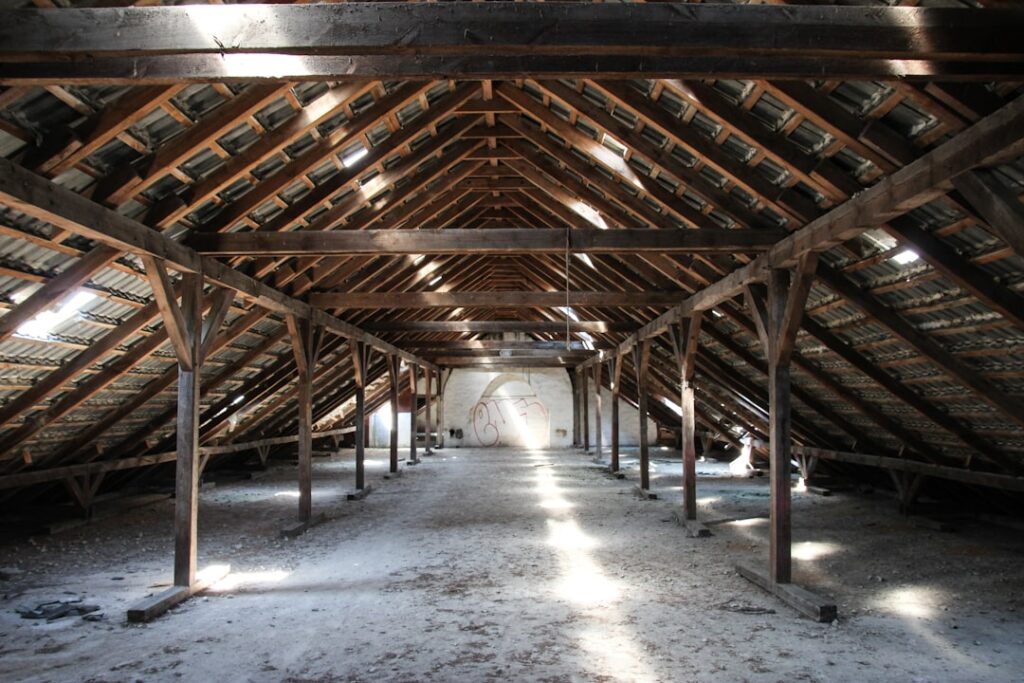
Running duct through an attic looks simple until you are up there in 120-degree heat trying to keep a floppy 8-inch flex run from sagging between the trusses. Done well, attic ductwork delivers quiet, even airflow to every room; done poorly, it robs you of capacity and drives up bills for the life of the system. Learning how to run ductwork in attic spaces the professional way comes down to a handful of principles: plan a clean trunk-and-branch layout, size every run for its airflow, support the flex so it never droops, and seal every joint with mastic. This guide walks through the whole process so a determined DIYer or an informed homeowner can get it right.
Before you cut a single collar, understand that this is code-governed work in many jurisdictions and may require a permit. Check locally first.
Plan the Layout First
Great duct runs start on paper, not in the attic. Sketch the attic footprint, mark the air handler location, and plan the shortest, straightest path from the supply plenum to each register below. The goal is a central trunk line, either a rigid sheet-metal duct or an insulated duct board, that runs down the middle of the attic with individual branch runs peeling off to each room.
Keep runs as short and direct as possible, because every foot of duct and every bend adds resistance. Avoid crossing over the top of an air handler where you can, minimize sharp turns, and never route a duct where a future foot could crush it. Locate the trunk where the attic is tallest so you have room to support the branches properly.
Size Each Run for Its Airflow
Duct diameter controls how much air a room gets, so sizing is not a place to guess. Ideally the system is engineered with a Manual J load and Manual D duct design, but these field-reference sizes cover most branch runs:
- 6-inch flex: roughly 100 CFM, small bedrooms and bathrooms
- 7-inch flex: roughly 150 CFM
- 8-inch flex: roughly 200 CFM, larger bedrooms and living areas
- 9- to 10-inch flex: 300 to 400 CFM for big open rooms
Match the total of all branches to the equipment, about 400 CFM per ton of cooling. The trunk must be large enough to feed every branch it serves, so it steps down in size as it passes each takeoff. Undersized duct is the most common attic mistake and the hardest to fix later.
Gather Materials and Tools
For a flex-and-trunk system you will need R-8 insulated flexible duct, a rigid or duct-board trunk, sheet-metal takeoff collars, register boots, panduit or nylon straps, foil-backed mastic tape, duct mastic sealant, sheet-metal screws, and support saddle straps. Tools include tin snips, a drill, a screwdriver, a utility knife, a caulk gun for the mastic, and a good work light.
Spec R-8 flex specifically. Code in most climate zones now requires attic supply and return ducts to hit R-8, and the thicker insulation prevents summer condensation from forming on the cold duct surface. Buy 10 to 15 percent more flex than your measured length so you can pull runs taut without stretching them thin.
Set and Connect the Trunk
Assemble the main trunk first and support it off the ceiling joists or trusses so it is stable and level. Connect it to the supply plenum at the air handler with screws and seal the joint with mastic. Then install a sheet-metal takeoff collar at each point where a branch will leave the trunk, fastening it with screws and sealing the collar-to-trunk seam completely.
Position takeoffs on the side or top of the trunk rather than the bottom, which improves airflow into each branch. Space them logically so the flex runs reach their registers without kinking or crossing over one another. A clean trunk with well-placed collars makes every branch that follows easier to run.
Run and Support the Flex Branches
This is where most attic jobs succeed or fail. Pull each flex run tight, because a taut duct has far less airflow resistance than a saggy one; compressed and drooping flex can cut a run’s capacity nearly in half. Support the duct every 4 to 5 feet with wide saddle straps at least 1.5 inches across, never thin wire or zip ties that pinch the liner.
Keep bends gentle, with a radius no tighter than one duct diameter, and never let a run kink at a turn. Where flex passes over a truss, cradle it so the framing does not crush the insulation. Leave a little service slack at each end for connections, but do not leave loops of extra duct coiled in the attic, since that just adds resistance.
Connect the Register Boots
Each branch terminates at a boot, the sheet-metal fitting that transitions from round duct to the rectangular register opening in the ceiling. Slide the inner liner of the flex over the boot collar and secure it with a panduit strap or clamp, then seal the connection with mastic. Pull the outer insulation and vapor jacket over the joint and strap it separately so the vapor barrier stays continuous and no cold metal is exposed.
Seal the boot to the ceiling drywall from the attic side so conditioned air cannot leak into the attic around the register. A well-sealed boot is the last defense against the leakage that plagues so many attic systems.
Returns Matter as Much as Supplies
New DIYers obsess over supply runs and neglect the return side, which is a costly mistake. The return path pulls air back to the air handler, and if it is undersized or leaky the whole system is starved no matter how well the supplies are built. A furnace or air handler needs a return large enough to feed the blower, generally sized so total return capacity matches the supply airflow of about 400 CFM per ton of cooling.
Never let a return duct pull air directly from the attic, because that drags in superheated, dusty, humid air and destroys efficiency. Seal return connections just as carefully as supplies, and make sure every room with a supply register has a return path back to the central return, whether through a dedicated duct, a transfer grille, or a door undercut. Balanced supply and return is what makes a system quiet and even.
Safety and Code Considerations in the Attic
Working in an attic is genuinely hazardous, so respect the environment before you start. Summer attic temperatures routinely exceed 120 degrees F, so schedule the work for early morning or a cool day, drink water constantly, and take frequent breaks to avoid heat exhaustion. Wear long sleeves, gloves, knee pads, and an N95 mask to protect against insulation fibers.
Only step on the ceiling joists or on planks laid across them, never the drywall between, and keep a work light on a stable perch. On the code side, remember that duct in an unconditioned attic must be insulated to at least R-8, joints must be sealed, and many jurisdictions require a permit and inspection for HVAC duct work. If your project ties into gas-fired equipment or affects combustion air, that is the point to bring in a licensed HVAC contractor rather than going it alone.
Seal, Insulate, and Test
Foil tape alone is not enough for a lasting seal. Brush duct mastic over every collar, joint, and seam, including the plenum connections, and let it cure. Where the vapor jacket has been opened, restore it with UL 181 foil tape so no insulation is exposed to attic air. Verify that no metal surface can sweat and that every run is fully wrapped to R-8.
Finish by testing airflow at each register and, ideally, running a duct leakage test to confirm the system is tight. Balance the branches with dampers so no room is starved or over-supplied. Follow these steps and you will understand not just how to run ductwork in attic spaces, but how to build a system that stays efficient, quiet, and comfortable for decades.