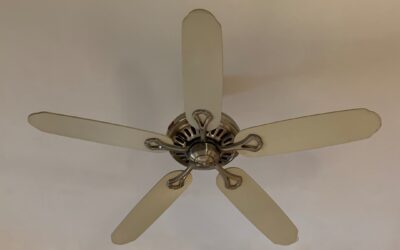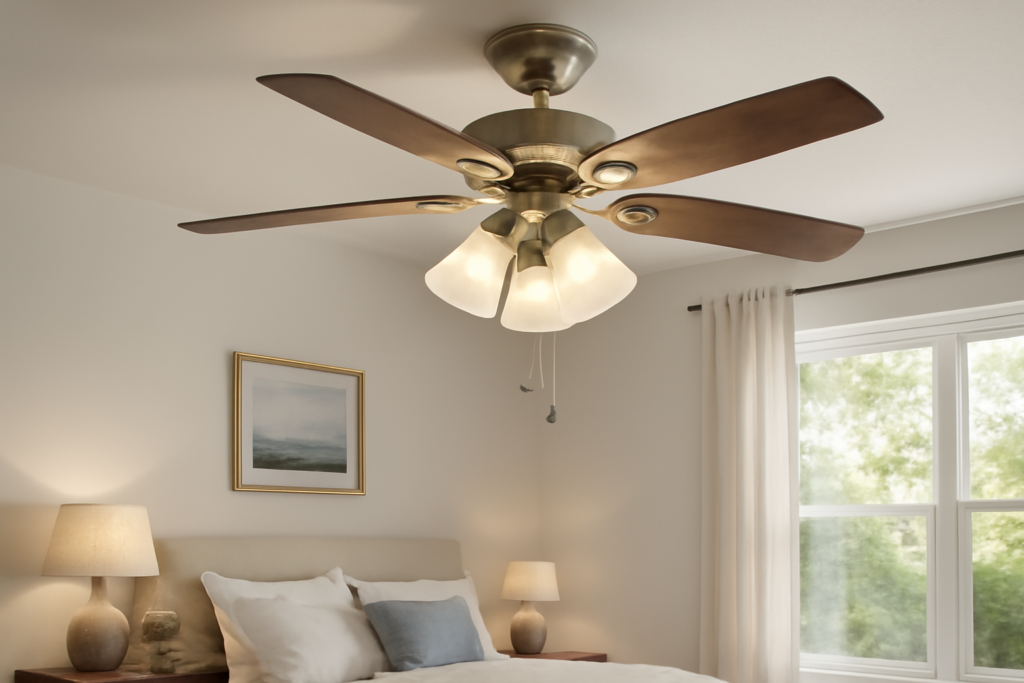
A Hunter ceiling fan light kit lets you add or upgrade the lighting on a ceiling fan, turning a fan-only fixture into a combined light-and-fan that does double duty in any room. Whether your existing fan came without a light, the old light kit failed, or you simply want brighter, more efficient LED illumination, adding the right kit is an affordable, straightforward project. Understanding compatibility, light-kit types, and installation basics ensures you pick a kit that fits your fan and lights your room well.
- Why Add a Light Kit
- Check Compatibility First
- Types of Light Kits
- LED Benefits and Light Output
- What a Hunter Light Kit Costs
- Tools and Safety Prep
- Installing the Light Kit Step by Step
- Controlling the Light
- Common Mistakes to Avoid
- Matching the Kit's Style to Your Fan
- Troubleshooting a New Light Kit
- Brightening Your Room
Why Add a Light Kit
Many ceiling fans are sold “light adaptable,” meaning they ship without a light but include a cap over a wiring port where a kit can be attached later. Adding a light kit turns a single-purpose fan into a fixture that both cools and illuminates—valuable in bedrooms, living rooms, and dining areas where you want overhead light without a separate fixture. If your fan already has an outdated light with dim halogen or incandescent bulbs, swapping to a modern LED kit brightens the room, cuts energy use, and often adds dimming and color-temperature control.
Check Compatibility First
The most important step before buying is confirming the kit will fit your fan. Hunter and other manufacturers use different mounting systems, so a universal kit isn’t guaranteed to work with every fan. Consider these compatibility points:
- Light-adaptable design: Your fan must be built to accept a light kit—look for a removable plate or cap on the bottom of the switch housing with wiring behind it.
- Brand-matched vs. universal: A Hunter-branded kit made for your specific fan model is the safest fit. Universal kits work on many fans but require checking the mounting method.
- Wiring connection: The fan needs a spare wire (usually blue) for the light. If your fan wasn’t wired for a light, adding one may not be possible without a light-adaptable design.
- Housing size and threads: The kit must physically mount to your fan’s switch housing.
Checking your fan’s model number against Hunter’s replacement-parts listings is the surest way to find a guaranteed-fit kit.
Types of Light Kits
Light kits come in several styles to match your fan and room:
- Bowl / dome kits: A single glass or frosted bowl that diffuses light broadly—simple and common.
- Multi-light branched kits: Several individual shades on arms for a more decorative, chandelier-like look.
- Integrated LED kits: A slim, low-profile module with built-in LEDs, often dimmable and offering selectable color temperatures. Modern and efficient.
- Bulb-based kits: Accept standard or candelabra bulbs so you can choose your own LED bulbs and replace them individually.
Bulb-based kits let you swap bulbs when they fail, while integrated LED modules are sleeker but require replacing the whole unit if the LEDs eventually die—though quality LEDs last many years.
LED Benefits and Light Output
Modern LED light kits are the smart choice for most homeowners. They use a fraction of the energy of incandescent bulbs, run cool, and last for years. Many integrated LED kits are dimmable and offer selectable color temperatures, letting you switch between warm 2700K light for a cozy feel and brighter 3000K to 4000K for task lighting. Check the lumen output to be sure the kit lights your room adequately—a bedroom may be fine with 800 to 1,000 lumens, while a larger living room benefits from 1,200 lumens or more. If you plan to use a wall dimmer, confirm the kit is dimmable and compatible.
What a Hunter Light Kit Costs
Light kits are inexpensive relative to a whole new fan. Basic bowl kits and bulb-based kits run $20 to $50. Integrated LED kits with dimming and color-selectable features cost $40 to $90. Decorative multi-light kits and premium designs reach $80 to $150. Compared with replacing an entire fan to get lighting, adding a kit for well under $100 is a bargain, and the LED efficiency pays back over time in lower energy bills.
Tools and Safety Prep
Installing a light kit needs only basic tools: a screwdriver, wire strippers or a wire nut, and a step ladder. The essential safety step is cutting power at the breaker, not just the wall switch, and confirming the power is off with a non-contact voltage tester before touching any wiring. Ceiling fan light circuits carry standard household voltage that can shock or injure, so never skip this verification.
Installing the Light Kit Step by Step
- Turn off the breaker for the fan circuit and verify power is off at the fan wiring.
- Remove the cap or cover plate on the bottom of the fan’s switch housing to expose the wiring port. You will typically find a black or fan wire, a blue light wire, a white neutral, and a ground.
- Connect the kit’s wires to the matching fan wires with wire nuts—light lead (often blue or black) to the fan’s blue light wire, white to white, and ground to ground.
- Gently tuck the wires into the housing and secure the light kit to the fan with the provided screws or threaded collar, making sure it seats evenly.
- Install the bulbs or LED module and the glass shade, then restore power and test the light and any pull chain or remote function.
Take care not to pinch wires when tightening the kit against the housing, and make sure the shade is snug so it doesn’t rattle when the fan runs.
Controlling the Light
Fan lights can be controlled several ways. Many kits include a pull chain for simple on/off. Others work with the fan’s included remote or wall control, letting you dim the light and change fan speed from one device. If your fan has a receiver in the housing, an integrated or compatible kit can tie into it. For homeowners who want app or voice control, some Hunter fans support smart controls—check whether your fan and kit support that before expecting it. When using a wall dimmer, ensure both the kit and the dimmer are rated for dimmable LED loads to avoid flicker.
Common Mistakes to Avoid
The top mistake is buying a kit that doesn’t fit—always confirm your fan is light-adaptable and match the mounting. Second is ignoring dimming compatibility and pairing a non-dimmable kit with a dimmer switch, causing flicker or buzzing. Homeowners also sometimes forget to kill the breaker, relying on the wall switch alone, which is dangerous. Finally, overtightening the shade or cross-threading the collar can crack glass or strip threads—snug is enough.
Matching the Kit’s Style to Your Fan
A light kit should look like it belongs on your fan, not like an afterthought. Match the kit’s finish to the fan’s motor housing—brushed nickel to brushed nickel, matte black to matte black—so the metals coordinate. Consider the fan’s overall style too: a sleek modern fan pairs best with a slim, low-profile integrated LED module, while a traditional five-blade fan suits a bowl kit or a branched multi-light design with decorative shades. Glass shade options range from clear and seeded to frosted and opal; frosted and opal diffuse the light more softly and hide the bulbs, while clear glass shows the bulbs and casts a brighter, sometimes harsher light. Choosing a shade and finish that echo the fan’s design makes the completed fixture look factory-original.
Troubleshooting a New Light Kit
If your newly installed light kit doesn’t work, run through the common causes before assuming a defect. First, confirm the breaker is back on and the wall switch is up, then check that the pull chain hasn’t been left in the off position. A light that doesn’t respond often has a loose wire nut—cut the power, re-open the connection, and make sure the light lead is firmly joined to the fan’s blue wire. If the light flickers on a dimmer, the kit or bulbs may not be dimmer-compatible; switch to dimmable LED bulbs or bypass the dimmer to test. A kit controlled by remote that won’t respond may need its receiver dip switches matched to the remote or fresh batteries in the handset. Most first-time light-kit problems come down to a loose connection, a chain left off, or a dimming mismatch rather than a faulty product.
Brightening Your Room
A Hunter ceiling fan light kit is an easy, budget-friendly way to add efficient, attractive lighting to a fan you already own. Confirm your fan is light-adaptable and matched to the kit, choose a dimmable LED option with enough lumens for your room, and follow safe wiring practice by killing the breaker first. In under an hour you can transform a fan-only fixture into a bright, energy-efficient light source that makes the whole room more comfortable and functional.