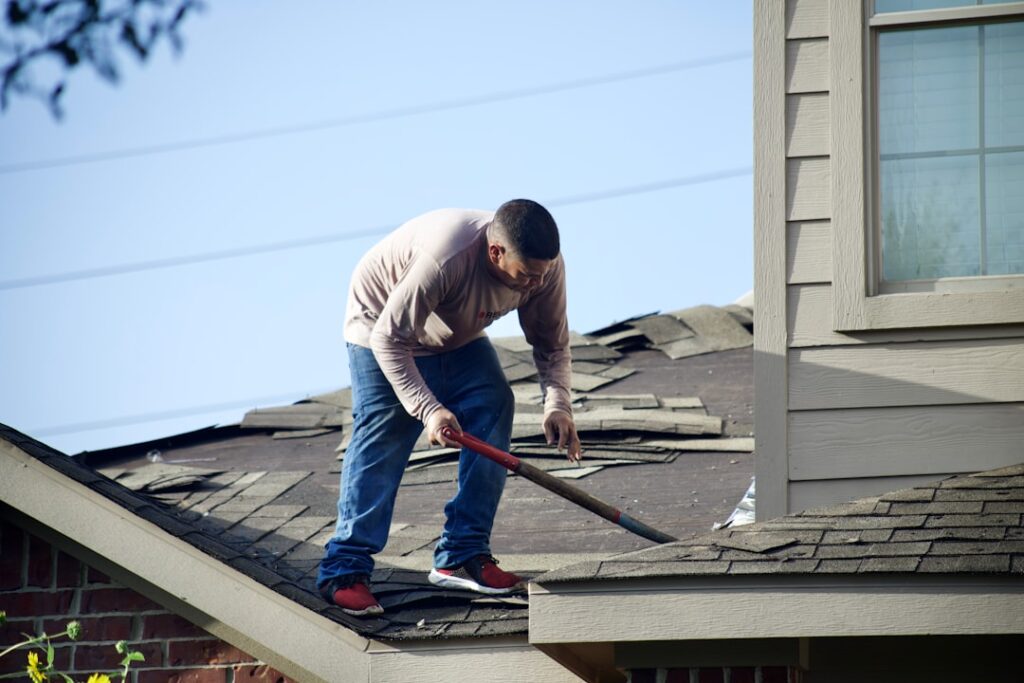
In a 130 mph gust, the roof of an average house experiences tens of thousands of pounds of net uplift — and for decades, the only things resisting that force were a few toenails driven at an angle through each rafter. Hurricane clips for roof framing fix that weak link. These stamped-steel connectors tie every truss or rafter to the wall’s top plate, multiplying uplift resistance several times over for about a dollar or two of hardware per connection. They’re code-required in high-wind zones for new construction, and they’re one of the most cost-effective retrofits an existing home in storm country can get.
Part of our Roofing guide — explore the full guide →
What Hurricane Clips Do
Wind moving over a roof behaves like air over a wing: it generates lift. Pressures spike at eaves, ridges, and corners, and once uplift exceeds the withdrawal strength of toenails — often just 200 to 400 pounds per connection — the roof structure starts to separate from the walls. Lose the roof, and the walls lose their bracing; whole-house collapse frequently follows.
A hurricane clip is a formed 18- or 20-gauge galvanized steel tie nailed to both the rafter (or truss chord) and the top plate, converting the connection from a friction joint into a mechanical one. A single Simpson Strong-Tie H2.5A, the most common residential clip, carries an allowable uplift load of roughly 400 to 600 pounds depending on lumber species; heavier ties like the H10A reach 900-plus pounds. Multiply by a connector at every framing member, 16 or 24 inches on center, and the whole roof-to-wall interface strengthens dramatically.
Common Clip Types
Manufacturers — Simpson Strong-Tie, MiTek/USP — make dozens of profiles, but a handful cover almost every house:
- H2.5A: the workhorse single-sided clip; wraps from the rafter face down onto the top plate. About $0.60 to $1.00 each.
- H1: a saddle-style tie that wraps over the top of the rafter and fastens to both plate faces; good where the rafter sits directly on the plate.
- H10A / H10S: a taller, stronger wrap tie for higher design wind speeds; roughly $1.50 to $2.50 each.
- H8: designed for retrofits where the clip must be installed from inside the attic against blocking.
- META / LSTA straps: flat straps used when the load path must continue from stud to plate or across stacked members.
Match the connector to the geometry: raised-heel trusses, birdsmouth rafters, and double top plates each favor different profiles. The manufacturer’s catalog lists tested loads per model — treat those numbers, not the general shape, as the spec.
Fastening Rules That Make or Break the Rating
Published clip capacities assume every nail hole is filled with the specified fastener. That’s the single most violated rule in the field. For most clips that means 8d x 1.5-inch joist hanger nails (0.131-inch diameter) — not roofing nails, not drywall screws, not deck screws. Structural screws such as Simpson SD9 or SD10 are the acceptable substitute and are far easier to drive in a cramped attic.
- Fill every round hole; diamond holes are optional/temporary placement holes.
- Drive fasteners flush, not overdriven — a torn steel edge loses capacity.
- Install a clip on the same side of the wall at each member, and never bend a clip to fit twice; one re-bend cycle is the limit before the steel work-hardens.
- In coastal salt air, use stainless steel or ZMAX (G185 galvanizing) clips and matching fasteners; standard G90 clips corrode fast within 3,000 feet of saltwater.
New Construction Installation
On a new build or full reframe, clips go on as trusses are set, before sheathing hides the connection. The framer nails one clip at each truss-to-plate intersection — both ends of every truss, both walls. On gable ends, add connectors along the gable top plate and consider gable-end bracing, since those walls fail by hinging inward. At 24-inch truss spacing, a 2,000-square-foot single-story home needs roughly 80 to 100 clips: perhaps $150 in hardware and a few hours of labor. It is by far the cheapest moment in a house’s life to install them, which is why the Florida Building Code and IRC high-wind provisions (required in many areas where design speeds exceed 115 to 140 mph) simply mandate it.
Retrofitting an Existing Roof
Older homes — generally pre-1990s outside Florida, pre-2002 in much of it — usually have toenailed roofs. Two retrofit routes exist:
From the attic
Where the top plate is accessible at the eaves, a right-angle drill or palm nailer lets you install H2.5A or H8 clips from inside. It’s miserable, low-clearance work at the very edge of the attic where insulation is deep and headroom is a foot or less, but it’s fully DIY-able. Budget a full weekend for an average house and $200 to $400 in clips, screws, lighting, and knee pads. A palm nailer ($60 to $100) or an impact driver with structural screws is essentially mandatory; there’s no room to swing a hammer.
During a reroof or soffit work
With sheathing edges or soffits open, a contractor can reach the rafter-plate joint from outside. Florida’s code actually requires this: on homes in the wind-borne debris region, a reroof over a toenailed structure triggers mandatory roof-to-wall retrofit up to a cost cap. Contractor pricing runs $400 to $1,500 for attic-access retrofits and more when soffit removal is involved — still cheap next to a $200,000 roof-loss claim.
Where the joint is truly unreachable, a code-approved alternative is a bead of AFG-rated structural adhesive (such as approved fluropolymer foam adhesives applied along the rafter-to-deck joint); it’s recognized in some jurisdictions but clips remain the gold standard.
Insurance Discounts and Verification
In Florida, a wind mitigation inspection (Form OIR-B1-1802, typically $75 to $150) documents your roof-to-wall attachment, and the difference between “toenail” and “clip” or “single wrap” categories commonly changes windstorm premiums by hundreds to thousands of dollars per year. Alabama, Louisiana, South Carolina, and Texas coastal insurers offer similar credits, and clips are a required element of IBHS FORTIFIED Silver and Gold designations. Photograph your installed clips before insulation goes back — inspectors need visual proof of clip type and nail pattern.
Mistakes to Avoid
The failure patterns are consistent: clips installed with too few nails or the wrong nails; clips on the rafter but missing the plate (fastened into end grain or sheathing); skipping every other truss to save time, which halves the system capacity; and ignoring the rest of the load path — a clipped roof on unanchored walls just moves the failure plane down. If you’re retrofitting seriously in hurricane country, think in terms of the full chain: roof deck nailing, roof-to-wall clips, wall-to-foundation anchors. Hurricane clips are the middle link, they cost about as much as a pizza per dozen, and after the storm they’re the reason your roof is still where you left it.
A Practical Attic Retrofit Plan
If you’re doing the attic retrofit yourself, treat it like the expedition it is. Go in the early morning before the attic heats past 90°F, and work in sessions of an hour or less — heat exhaustion in a confined space is the real hazard of this job. Bring a headlamp plus a corded work light, a piece of plywood to kneel on across the joists, a dust mask rated N95 or better, and eye protection, because you’ll be driving fasteners overhead in fiberglass rain. Pull the insulation back from the eave in one bay at a time, install the clip, photograph it, and push the insulation back before moving on so you never lose track of which bays are done.
Count your connections before buying anything. Walk the attic perimeter and tally rafter or truss heels on both eave walls; add the gable ends if your plan includes strapping there. Buy 10 percent extra clips and a full pound of extra structural screws — dropped fasteners vanish into insulation forever. Where a heel is blocked by a truss web, plumbing vent, or electrical run, don’t force a standard clip; that’s what offset patterns like the H2.5T or a flat LSTA strap are for, and skipping one connection out of forty matters far less than bending a clip into uselessness. When you finish, leave a note in the attic near the hatch listing the clip model, fastener type, and install date, and file the photos with your insurance documents. The wind mitigation inspector who eventually verifies the work will credit you for every connection they can see and identify — organized documentation is worth real premium dollars.