A backsplash is one of the highest-impact upgrades in a kitchen, and the good news is you do not need a designer budget to get a designer result. The best inexpensive backsplash ideas use clever materials and smart layouts to deliver the look of a custom kitchen for a few hundred dollars or less. Because a backsplash covers a relatively small area, usually around 30 square feet, even modest per-square-foot savings add up to a genuinely affordable project you can often finish in a weekend. Here are the approaches that give you the most style for the least money.
Part of our Kitchen Remodeling guide — explore the full guide →
Peel-and-Stick Tile: The Fastest Win
If speed and budget are your priorities, peel-and-stick backsplash tiles are hard to beat. These self-adhesive sheets come in vinyl, gel, and metal-look versions that mimic subway tile, marble mosaic, and metro patterns. At roughly $5 to $12 per square foot and requiring no thin-set, grout, or special tools, you can cover an entire kitchen for under $150. They are ideal for renters, since many peel off cleanly, and for anyone who wants a Saturday-afternoon transformation. The key to a convincing result is a clean, dry, smooth wall and careful alignment of the first row, which sets the line for everything above it.
Classic Ceramic Subway Tile
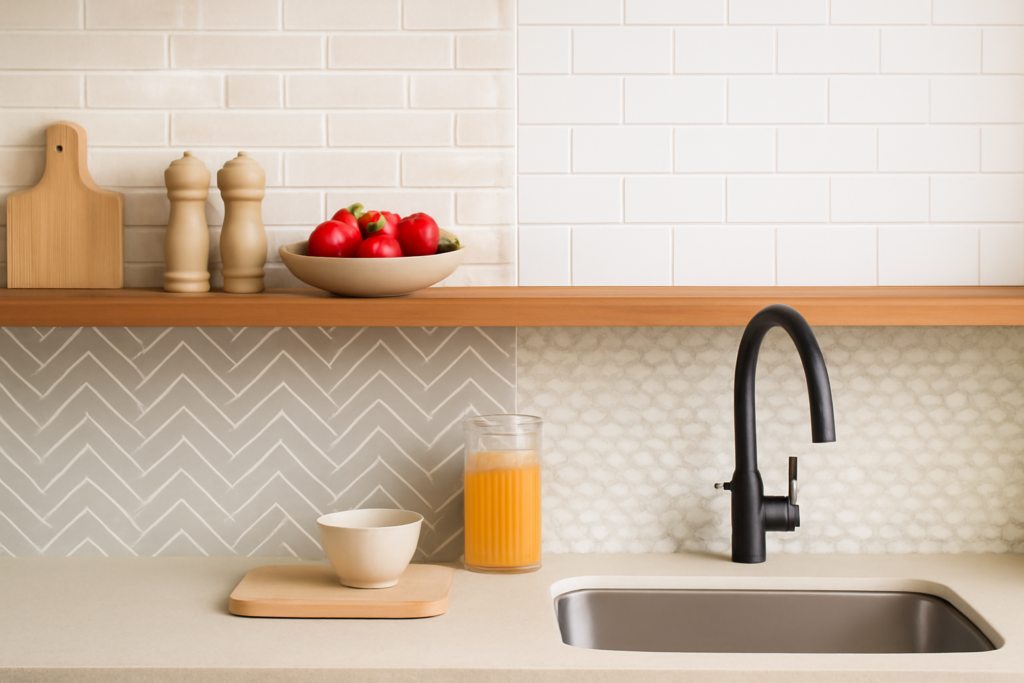
Real tile does not have to be expensive. Plain white 3-by-6-inch ceramic subway tile is one of the cheapest tiles on the market, often $0.20 to $0.60 per tile, which works out to just $2 to $4 per square foot. Set in a classic offset brick pattern with a contrasting gray grout, it looks timeless and clean. For a small material investment plus a bag of thin-set and grout, a DIYer can tile a full backsplash for well under $200. Change the layout to vertical stacked or herringbone to make even the most basic tile feel custom.
Beadboard and Paneling
Not every backsplash has to be tile. Beadboard paneling, painted in a durable semi-gloss, gives a cottage or farmhouse kitchen instant charm for a fraction of tile’s cost. A 4-by-8-foot sheet of MDF or PVC beadboard runs about $20 to $40 and covers a large section of wall. Seal it well and use a wipeable paint so it holds up to kitchen splatter. This idea works especially well in cottage, coastal, and traditional kitchens where the vertical lines add texture without pattern.
Budget Ideas at a Glance
- Peel-and-stick tile — $5 to $12/sq ft, no tools, renter-friendly.
- White ceramic subway tile — $2 to $4/sq ft, timeless, DIY-easy.
- Beadboard or PVC paneling — $20 to $40 per sheet, farmhouse charm.
- Tin or faux-metal panels — vintage character, lightweight, easy to cut.
- Painted or stenciled wall — under $30, use a stencil and semi-gloss paint for a faux-tile look.
- Thin brick veneer — warm, textured, $5 to $10/sq ft for a statement wall.
Make Cheap Materials Look Expensive
The secret to a budget backsplash that does not look budget is in the details, not the material cost. Grout color matters enormously: a crisp gray or charcoal grout against white tile reads as intentional and high-end, while sloppy white-on-white can look flat. Layout matters just as much; a herringbone or vertical stack turns a $2 tile into a talking point. And finishing edges cleanly with a metal trim strip or bullnose tile, rather than leaving raw cut edges, is the single detail that separates a professional-looking job from an obvious DIY one.
Lighting is the finishing touch. Under-cabinet LED strips, which cost $20 to $40, wash light down the backsplash and make even inexpensive tile glow, dramatically raising the perceived quality of the whole kitchen.
What to Avoid on a Tight Budget
A few shortcuts backfire. Skipping wall prep is the most common; peel-and-stick and tile both need a clean, smooth, grease-free surface, or they will lift and look uneven. Choosing the very cheapest peel-and-stick with a thin, flimsy backing often reads as plastic up close, so spend a little more for a textured or gel version. And avoid trendy patterns you will tire of quickly; a classic subway or simple marble-look mosaic ages far better than a bold graphic tile you chose only because it was on clearance.
More Budget Materials Worth Considering
Beyond the headline options, a few other affordable materials deliver strong results. Thin brick veneer panels bring warmth and texture for a farmhouse or industrial kitchen, and at $5 to $10 per square foot they cost far less than a real masonry wall while installing with construction adhesive over a weekend. Faux tin or pressed-metal panels, a nod to vintage kitchens, are lightweight, easy to cut with tin snips, and create an unexpected focal point for well under $100. And do not overlook paint: a durable semi-gloss with a tile stencil can mimic a patterned backsplash for the price of a quart, roughly $25, which is the cheapest transformation available if you are willing to put in the careful stenciling.
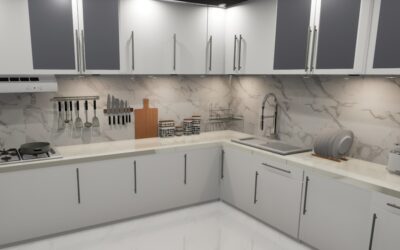
For a bit more money but still firmly in budget territory, large-format porcelain or ceramic tiles in a stone or marble look cover the wall with fewer grout lines and a more seamless, upscale appearance. Because bigger tiles go up faster and leave less grout to clean, they can actually save labor time even if the per-tile cost is slightly higher. Whichever material you pick, buy an extra 10 to 15 percent to cover cuts and mistakes, and keep a few spare pieces afterward so a future chip or crack is an easy fix rather than a hunt for a discontinued product.
Which Idea Fits Your Kitchen
The right inexpensive backsplash idea depends on your situation. Renters and speed-seekers should reach for peel-and-stick. Homeowners who want lasting value and do not mind a weekend of tiling get the best return from real ceramic subway tile with a smart grout color. Farmhouse and cottage kitchens shine with beadboard, and anyone wanting warmth can lean on thin brick veneer. Whatever you choose, spend your effort on clean edges, deliberate grout, and good lighting, because those finishing details are what make an affordable backsplash look like it cost far more than it did.