
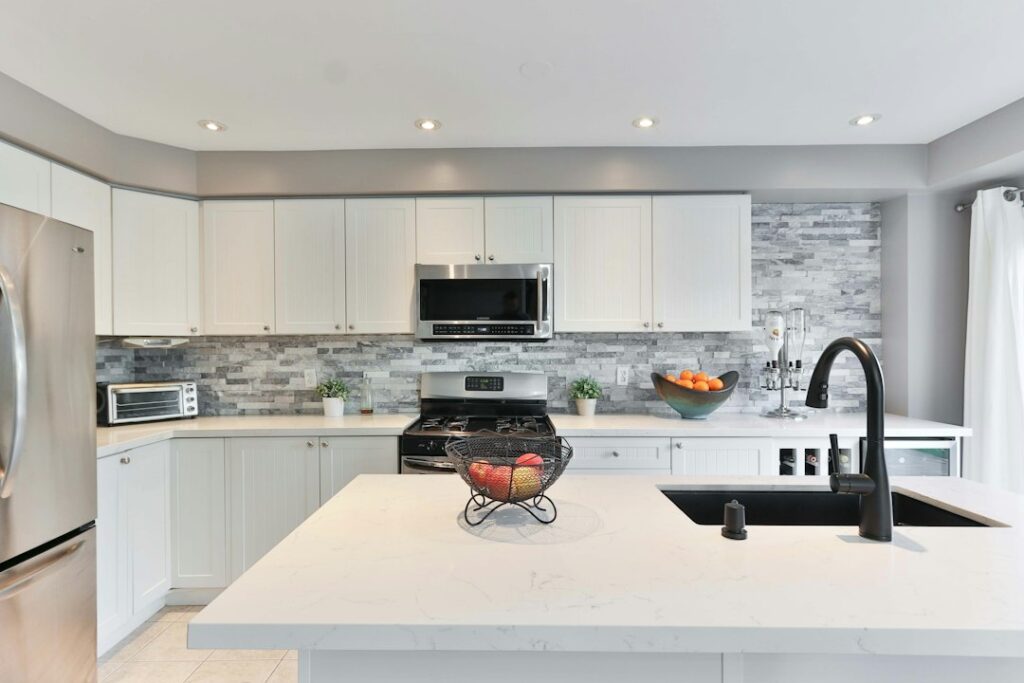
A full custom tile backsplash installed by a pro runs $25 to $50 per square foot once you add labor, mortar, and grout, which is why so many kitchens sit unfinished for years. The good news is that the best cheap kitchen backsplash ideas deliver 90 percent of that high-end look for as little as $1.50 to $6 per square foot, and most are weekend DIY projects you can finish before the paint on your cabinets even dries. In rental flips and forever homes alike, a smart material choice matters far more than a fat wallet.
Part of our Kitchen Remodeling guide — explore the full guide →
The average kitchen backsplash covers only 30 to 40 square feet, so even a modest per-foot savings adds up fast. Below are the twelve approaches that consistently look custom, hold up to grease and steam, and keep your total spend under $200 for the whole run.
- Peel-and-Stick Tile: The Fastest Win
- Real Ceramic Subway Tile on a Budget
- Beadboard and Paneling
- Painted Faux Tile
- Ideas Ranked by Price Per Square Foot
- Tin and PVC Ceiling Tiles Turned Sideways
- Reclaimed and Salvaged Materials
- Pro Tips to Make Any Budget Backsplash Look High-End
- Tools and Prep That Keep Costs Down
- Estimating Materials Without Overbuying
Peel-and-Stick Tile: The Fastest Win
Peel-and-stick tile has come a long way from the flimsy vinyl squares of the 1990s. Today’s gel-based versions from brands like Smart Tiles and STICKGOO run $6 to $9 per 10-inch sheet, mimic real subway tile or marble mosaic, and press onto any clean, smooth wall in seconds. A standard 30-square-foot backsplash costs around $80 to $110 in materials and installs in about three hours with nothing more than scissors and a utility knife.
The gel dimension gives these tiles a surprising amount of depth, so from three feet away nobody can tell they are not grouted ceramic. They handle heat behind a range and wipe clean with a damp cloth. Just make sure your wall is smooth first, because peel-and-stick telegraphs every bump and old grout line underneath.
Real Ceramic Subway Tile on a Budget
Do not assume real tile is off the table. Plain white 3×6 ceramic subway tile costs just $0.15 to $0.30 per tile at big-box stores, which works out to roughly $2 to $3 per square foot. The material is genuinely cheap; labor is what inflates the quote. Do the setting yourself with $20 of premixed mastic, a $15 notched trowel, and a $12 bag of grout, and your entire backsplash lands under $130.
Subway tile is forgiving for first-timers because the straight-stack or offset brick pattern hides small alignment errors. Rent a manual tile cutter for $15 a day rather than buying a wet saw, and you will only need it for the handful of edge cuts around outlets.
Beadboard and Paneling
For a cottage or farmhouse kitchen, a sheet of primed MDF beadboard runs about $22 for a 4×8 panel, covering a huge area for pennies per square foot. Cut it to height, glue it up with construction adhesive, nail the top and bottom, then caulk and paint it in a semi-gloss enamel that shrugs off splashes. The vertical grooves add texture that flat drywall never delivers.
PVC beadboard is the upgrade worth considering near a sink, since it is completely waterproof and costs only a few dollars more per panel. Either way, a durable enamel topcoat in a color like creamy white or sage green is what sells the custom look.
Painted Faux Tile
Zero-dollar walls become tiled walls with paint and a stencil. Prime the drywall, roll on a base coat, then use a large tile stencil ($15 to $25) and a contrasting color to create a Moroccan or geometric pattern. Seal it with two coats of water-based polyurethane so grease wipes right off. The whole project costs about $40 in supplies and turns a blank wall into a focal point.
Ideas Ranked by Price Per Square Foot
Here is how the most popular budget options stack up on raw material cost, so you can match a look to your wallet:
- Painted faux tile: $1.00 to $1.50 per sq ft
- Ceramic subway tile (DIY): $2.00 to $3.00 per sq ft
- Beadboard paneling: $1.50 to $2.50 per sq ft
- Tin or PVC ceiling tiles: $3.00 to $5.00 per sq ft
- Peel-and-stick gel tile: $3.50 to $6.00 per sq ft
- Reclaimed pallet wood: free to $2.00 per sq ft
Tin and PVC Ceiling Tiles Turned Sideways
Decorative ceiling tiles, both real pressed tin and lightweight PVC lookalikes, make a stunning backsplash when mounted on the wall instead. A 2×2-foot Fasade panel costs $12 to $18 and snaps together with visible or hidden seams. The embossed patterns catch light beautifully behind under-cabinet lighting, giving a vintage or industrial vibe that reads as far more expensive than it is.
PVC versions are the practical choice near heat and moisture because they will not rust or dent. Cut them with regular scissors or tin snips, adhere with silicone, and finish the edges with matching trim molding for a polished result.
Reclaimed and Salvaged Materials
Some of the most striking cheap kitchen backsplash ideas cost almost nothing because they start with salvage. Pallet wood, disassembled and sanded, creates a warm shiplap look for the price of a few hours’ labor. Leftover flooring planks, whether laminate or luxury vinyl, glue up horizontally for a rich wood-tone accent that resists moisture better than raw lumber.
Broken tile from a clearance bin or a demo project becomes a one-of-a-kind mosaic when you nip it into random shapes and set it in white grout. Check restore centers and marketplace listings, where partial boxes of designer tile sell for a fraction of retail because they are not enough to finish a floor but are plenty for 35 square feet of wall.
Pro Tips to Make Any Budget Backsplash Look High-End
The difference between a cheap backsplash that looks cheap and one that looks custom usually comes down to three details. First, finish the edges properly. Raw tile edges or unbound panel ends scream DIY, so use bullnose trim, metal Schluter strips ($8 to $12 per length), or a clean bead of color-matched caulk at every termination.
Second, run the backsplash all the way to the underside of the upper cabinets rather than stopping short. A full-height run behind the range, sometimes up to the vent hood, looks intentional and expensive. Third, keep your grout or caulk color consistent and clean; a crisp bright-white line or a deliberate dark contrast line does more for the finished look than the tile itself.
Where to Splurge and Where to Save
If your budget stretches a little, put the extra dollars behind the range where the eye lands most and where heat demands durability. Use the truly cheap material, like painted faux tile or basic beadboard, on the less visible runs beside the refrigerator or under a window. Mixing tiers this way lets you land a designer look for well under $200 while directing your spending where it shows.
Tools and Prep That Keep Costs Down
Part of what keeps a budget backsplash truly cheap is doing the prep yourself and not renting or buying tools you can borrow. For nearly every option on this list, the essential kit is modest: a tape measure, a level, a utility knife, a caulk gun, painter’s tape, and a putty knife. Tile projects add a notched trowel and a grout float, both under $15, and a $15-a-day rented tile cutter for the handful of edge cuts. Skip buying a wet saw for a one-time 35-square-foot job; the rental or a manual snap cutter handles subway tile fine.
Wall prep is where DIYers either save money or create problems. Wipe grease off the existing wall with a degreaser, since kitchen walls carry an invisible film that ruins adhesion for peel-and-stick and mastic alike. Fill any dents or old anchor holes with spackle and sand them flush, because thin materials telegraph every imperfection underneath. Turn off the power and pull the outlet covers, and use outlet spacers or box extenders so your faceplates sit flush over the new surface thickness. A little masking tape along the countertop and cabinet edges keeps your lines crisp and your cleanup fast, which matters when you are finishing the whole job in one afternoon.
Estimating Materials Without Overbuying
Buying the right quantity keeps your budget tight. Measure the height from countertop to the underside of the upper cabinets and multiply by the run length to get your square footage, then add 10 percent for waste, cuts, and future repairs. For a standard kitchen that lands around 30 to 40 square feet. Round up to whole boxes or sheets, since dye lots and batch colors can vary if you have to buy more later.
Whichever of these cheap kitchen backsplash ideas you choose, the project rewards a single free afternoon with a transformation that guests always notice. Measure your run, add 10 percent for waste and cuts, prep the wall until it is smooth and clean, and you will finish with a backsplash that looks like it cost five times what you actually paid.


