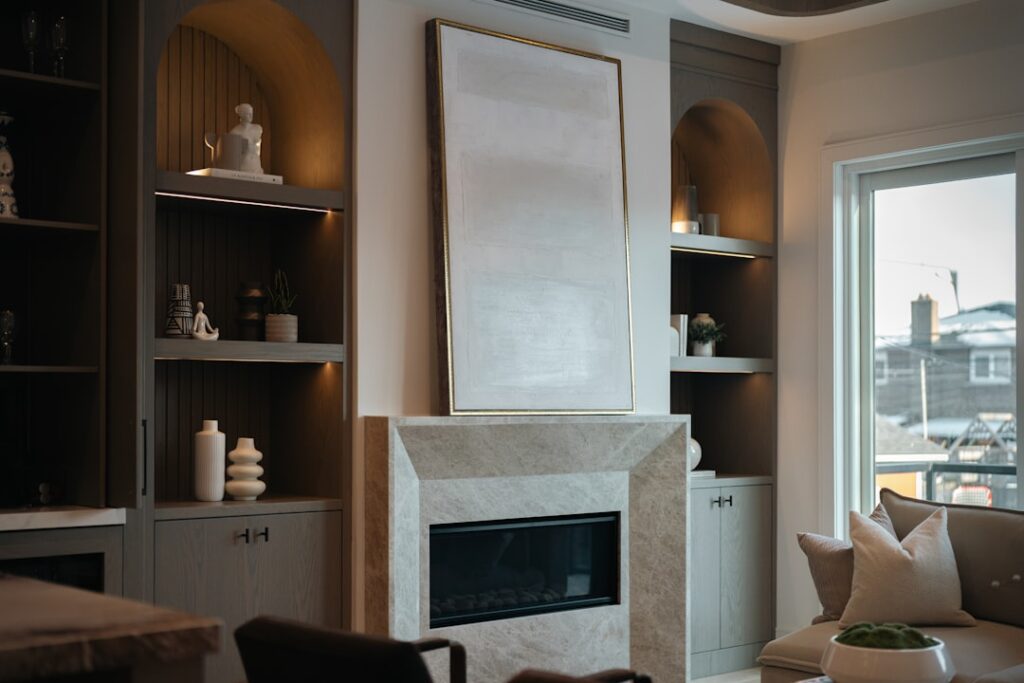
Most rooms wear flat white drywall or, worse, popcorn texture from the 1970s. Smart diy cheap ceiling ideas can replace either look in a weekend, often for under $200 in materials. The trick is matching the right technique to your existing surface — popcorn ceilings need different prep than smooth drywall, and old plaster handles weight differently than modern gypsum board. Done right, a fresh ceiling makes a 12×12 room feel custom-built without touching the walls or floor.
I’ll walk through the eight ceiling upgrades I’ve used on real projects, ranked by total cost and difficulty, plus the corner-cutting tips that save the most money without making the work look cheap.
- 1. A Fresh Coat of Ceiling-Specific Paint ($30 to $50)
- 2. Cover Popcorn With Drywall ($150 to $250 for a 12×12 Room)
- 3. Plank Ceiling With Tongue-and-Groove ($1.50 to $3 per sq ft)
- 4. Faux Wood Beams ($60 to $200 per beam)
- 5. Bead Board Ceiling Panels ($1 to $2 per sq ft)
- 6. Stenciled or Patterned Ceilings ($40 to $100)
- 7. Tin Ceiling Tiles ($3 to $12 per sq ft)
- 8. Drop Ceiling Tile Replacement ($1 to $3 per tile)
- Prep Tips That Save Money
- Tools You'll Need for Most Projects
- Mistakes to Avoid
- FAQ
1. A Fresh Coat of Ceiling-Specific Paint ($30 to $50)
The cheapest fix is also the most overlooked. A flat ceiling paint with built-in mildewcide hides years of yellowing and minor stains. Behr Ceiling Paint, Kilz Ceiling, and Sherwin-Williams Eminence run $30 to $40 per gallon and cover roughly 350 sq ft per coat.
For maximum visual lift, choose a slightly cooler white than your walls. The contrast makes the ceiling read as cleaner and pushes the eye upward. Use a 1/2-inch nap roller and an 18-inch frame on a pole — you’ll cut painting time in half.
2. Cover Popcorn With Drywall ($150 to $250 for a 12×12 Room)
Popcorn ceilings made before 1980 may contain asbestos — test before scraping. The cheapest fix that doesn’t require remediation is screwing 1/4-inch drywall directly over the popcorn into the ceiling joists. Use 1-5/8-inch drywall screws, 16 inches on center, and skim-coat the seams with setting compound. Total time: one weekend with a helper. Cost: about $150 in drywall and mud.
This adds 1/4-inch to the ceiling thickness, which won’t affect crown molding or door clearance. Skip the popcorn-removal route unless you’ve confirmed no asbestos and have time for the wet-scrape mess.
3. Plank Ceiling With Tongue-and-Groove ($1.50 to $3 per sq ft)
One of the highest-impact looks for the money. Pine or hemlock T&G planks come in 8-foot lengths from any home center. A 12×12 room runs about $250 to $400 in lumber. Install with 18-gauge nails into the ceiling joists or onto 1×3 furring strips run perpendicular to the joists.
For a true budget version, look at the home center’s “shiplap” 6-inch planks for under $20 a bundle. Stagger seams, paint white or stain natural, and you’ve got a cottage-style ceiling for $200 to $300.
4. Faux Wood Beams ($60 to $200 per beam)
Box beams transform flat ceilings into something that reads as architectural. Build a U-channel from 1×6 or 1×8 pine ($25 to $40 in lumber), screw a 2×2 cleat to the ceiling joists, and slip the U-channel over the cleat. Stain with Minwax Special Walnut or Provincial for a Restoration Hardware look.
One main beam down the center of an 8×10 room runs about $60. A pair of beams flanking the center costs $120 to $200. Pre-made faux beams from EZ Beams or AZ Faux Beams run $80 to $250 per 8-foot section if you’d rather skip the build.
5. Bead Board Ceiling Panels ($1 to $2 per sq ft)
4×8 bead board panels (cheap MDF or birch plywood with milled grooves) install with a brad nailer over existing drywall. Run them perpendicular to the ceiling joists, nail every 12 inches, caulk seams, and paint. For a 12×12 room, expect $80 to $150 in panels and about $30 in trim.
Bead board is forgiving — it hides minor ceiling waves and old textures that would show through paint or skim coat.
6. Stenciled or Patterned Ceilings ($40 to $100)
If your ceiling is already smooth and clean, a stenciled pattern adds custom character. Cutting Edge Stencils and Royal Design Studio sell large-format wall and ceiling stencils for $40 to $80. Add a quart of contrasting paint and a stencil brush, and a single panel section turns into a focal point. Not a fast project — expect 4 to 6 hours per room — but the materials cost is minimal.
7. Tin Ceiling Tiles ($3 to $12 per sq ft)
Pressed-metal ceiling tiles deliver high-end Victorian or industrial looks. Real tin tiles run $8 to $15 per sq ft. PVC and faux-tin alternatives from American Tin Ceilings and Decorative Ceiling Tiles run $3 to $7 per sq ft and look nearly identical from below. They glue or staple to existing drywall using construction adhesive.
Best for small rooms — entryways, powder rooms, breakfast nooks — where the cost per sq ft stays manageable.
8. Drop Ceiling Tile Replacement ($1 to $3 per tile)
If your basement has builder-grade white acoustic tiles, swap them for textured or coffered tiles. Armstrong, USG, and Genesis sell drop-in replacements that look nothing like office-park tiles. A 12×12 basement uses about 36 tiles — at $2 each, that’s $72 for a complete refresh. No tools needed beyond a step ladder.
Prep Tips That Save Money
- Cut painter’s tape at the wall-ceiling joint before painting — saves 30 minutes of cleanup
- Always prime stained ceilings with Kilz Original or BIN before topcoat — 1 coat of primer saves 2 coats of paint
- Run a damp microfiber over any ceiling before painting or installing — dust ruins adhesion
- Rent a 4-foot drywall lift for $40 a day if you’re doing drywall over popcorn — saves your shoulders
- Buy materials at the end of the season — home centers discount ceiling tiles, beams, and trim 20 to 40% off in January
Tools You’ll Need for Most Projects
- Cordless drill or impact driver
- 18-gauge brad nailer or 16-gauge finish nailer
- Stud finder for ceiling joists
- Laser level or chalk line
- Step ladder and 4 to 6-foot work platform
- Caulk gun and paintable caulk
- 1/2-inch nap roller and an 18-inch frame
Mistakes to Avoid
Skipping the joist hunt is the biggest one. Anything heavier than a panel — beams, tin tiles, full bead board — needs to anchor into joists or proper furring. Glue alone fails after 3 to 5 years.
The other common error is mismatched seams. Stagger T&G plank joints, end-trim panels in the same room from the same dye lot, and run patterns parallel to the longest wall. Symmetry matters more than the underlying material.
FAQ
What’s the cheapest way to cover a popcorn ceiling?
1/4-inch drywall screwed over the popcorn — about $150 in materials for a small bedroom. No scraping, no asbestos exposure, smooth surface in a weekend.
Can I install a ceiling project alone?
Paint, yes. T&G plank or full drywall sheets really need a helper or a drywall lift. Bead board panels and box beams are manageable solo with a brad nailer.
How much weight can a drywall ceiling hold?
Drywall alone holds almost nothing — every fixture or feature must anchor to ceiling joists or proper backing. Plan layout around joist locations.
Will a new ceiling help with sound?
Bead board, plank, and tin add minimal sound dampening. For real noise reduction, install resilient channel and 5/8-inch drywall — that’s a different project.
Can I paint over a textured ceiling?
Yes, with a thicker nap roller (3/4-inch) and a quality flat ceiling paint. The texture stays visible but appears uniform after one or two coats.