
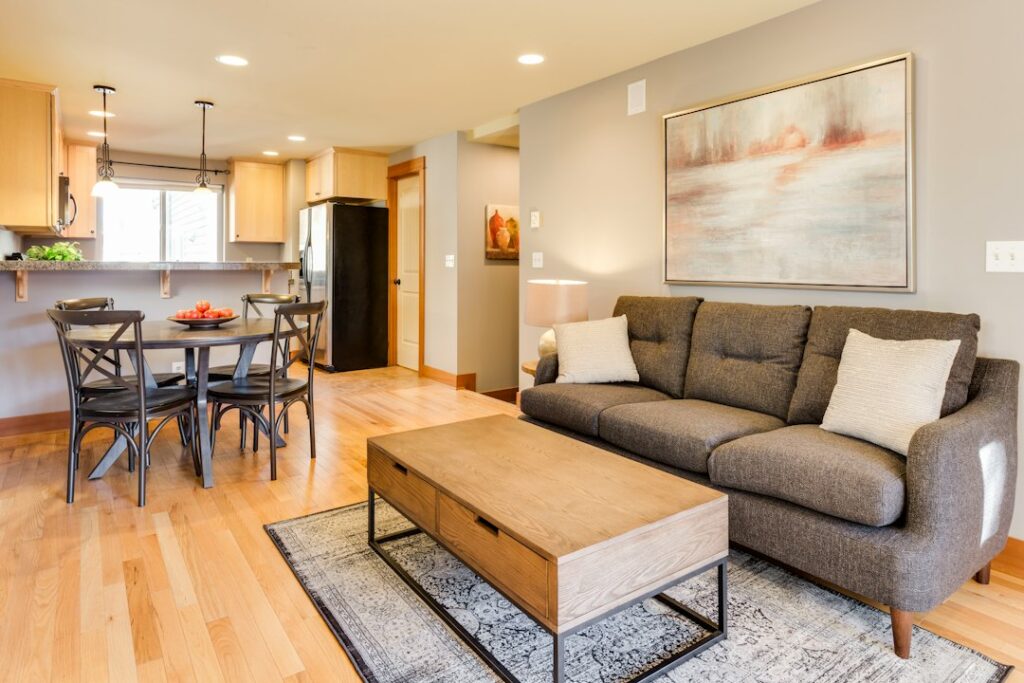
Scraping a textured ceiling is messy, slow and, in older homes, potentially dangerous. If you want to cover a popcorn ceiling instead, you have five realistic options: encapsulating paint, glue-up ceiling tiles, plank or panel systems, a new layer of drywall, and beadboard or tongue-and-groove boards. Each one leaves the texture in place, sealed behind a new surface, so you avoid the dust and the risk of disturbing old materials.
The right choice depends on your budget, ceiling height, skills and how much the popcorn has already been damaged. Paint is the cheapest and fastest. Drywall gives the cleanest modern look. Tiles and planks sit in between and are the most forgiving for DIYers. Before any of these, though, you need to know what is in that texture.
- Before You Cover a Popcorn Ceiling: Test First
- Ways to Cover a Popcorn Ceiling at a Glance
- Option 1: Encapsulating Paint
- Option 2: Glue-Up Ceiling Tiles
- Option 3: Planks and Ceiling Panel Systems
- Option 4: Drywall Over Popcorn
- Option 5: Beadboard and Tongue-and-Groove
- Ladder Safety and Overhead Work
- Electrical Fixtures and Smoke Alarms
- Troubleshooting
- Cost Ranges
- When to Call a Licensed Professional
- Frequently Asked Questions
Before You Cover a Popcorn Ceiling: Test First
Popcorn texture applied before the early 1980s may contain asbestos, and paint on ceilings in homes built before 1978 may contain lead. Covering a ceiling is often the safest approach precisely because it avoids disturbing the material, but even screwing drywall or drilling for anchors releases some dust. Send a small sample to an accredited lab for asbestos testing before you drill, sand or scrape, and test painted surfaces in pre-1978 homes for lead. Testing is inexpensive and quick.
If the results come back positive, use encapsulation or a method that needs minimal drilling, keep the material wet when you do disturb it, and follow lead-safe and asbestos work practices. Many homeowners hire a licensed abatement contractor for anything beyond painting. Never dry-sand or dry-scrape a ceiling you have not tested.
Ways to Cover a Popcorn Ceiling at a Glance
- Encapsulating paint: lowest cost, fastest, keeps the texture visible but sealed and brighter.
- Glue-up ceiling tiles: low to moderate cost, beginner friendly, hides texture fully with a decorative look.
- Planks or ceiling panels: moderate cost, modern wood or shiplap look, installed with a track or furring strips.
- Drywall over popcorn: moderate to higher cost, smoothest finish, heavy and best done by two or more people or a pro.
- Beadboard or tongue-and-groove: moderate to higher cost, cottage or farmhouse character, nailed to joists or furring strips.
Option 1: Encapsulating Paint
Encapsulating popcorn ceiling texture means rolling on a thick primer or elastomeric paint that binds the loose particles together. The texture stays, but it stops shedding, looks fresher and is safer to live under. This is the go-to choice when testing finds asbestos and you want to leave it in place undisturbed.
Use a thick-nap roller (3/4 to 1 inch) and roll gently in one direction. Popcorn absorbs moisture and can loosen if you overwork it, so apply a light first coat, let it dry fully, then add a second coat. Expect to use more paint than a flat ceiling because the texture has more surface area. Results: brighter, cleaner, still textured.
Option 2: Glue-Up Ceiling Tiles
Popcorn ceiling tiles are lightweight panels, often made of polystyrene, PVC or fiberboard, that stick directly to the ceiling. Many are designed to go right over texture. They come in patterns that mimic tin, plaster or plain flat panels, and they can be painted.
To install, snap chalk lines from the center of the room, start at the center and work outward. The adhesive needs firm contact, so on very heavy or crumbling texture, knock down the high points lightly with a wet sponge (only after testing) or encapsulate first so the glue grips a stable surface. Because glue-up ceiling tiles need no screws, they are one of the least disruptive ways to cover texture. They are also a good fit for rooms with lower ceilings, since they add only a fraction of an inch.
Option 3: Planks and Ceiling Panel Systems
Plank ceilings use long, narrow boards of wood, engineered wood or PVC. Some systems clip into a metal track screwed to the joists; others are nailed to furring strips. They give a warm, modern look and hide uneven or stained ceilings well. Shiplap over popcorn falls in this group.
Installation means locating joists with a stud finder, screwing tracks or 1×3 furring strips perpendicular to the joists, then clipping or nailing planks in place. Planks add 1 to 1.5 inches of depth, so you may need to extend light fixture boxes. Drilling into the ceiling disturbs some texture, so test first and mist the drill spots with water.
Option 4: Drywall Over Popcorn
If you cover popcorn ceiling with drywall, you get a flat, smooth ceiling that looks brand new. Use 1/4-inch or 3/8-inch drywall to save weight, screwed directly into the joists through the texture. A drywall lift, which you can rent, makes the job manageable. Then tape, mud and sand the seams before priming and painting.
This is the most labor-intensive cover option. Drywall sheets are heavy, overhead work is tiring, and finishing seams to a smooth flat ceiling takes skill. Many homeowners hang the board themselves and hire a finisher for taping and mudding. Plan to move light boxes and smoke alarms so they sit flush with the new surface.
Option 5: Beadboard and Tongue-and-Groove
Beadboard sheets or individual tongue-and-groove boards add texture of a different kind: vertical grooves that suit porches, cottages and farmhouse kitchens. Sheets go up faster; individual boards look more authentic. Both are nailed or glued and nailed into joists or furring strips, and both need painting or finishing afterward. Like planks, they add depth and require fixture box extensions.
Ladder Safety and Overhead Work
Every one of these projects means working overhead for hours. Use a sturdy stepladder or, better, a rolling scaffold or platform so you are not constantly climbing up and down. Keep three points of contact on ladders, never stand on the top two steps, and move the ladder rather than leaning out. Wear safety glasses, since debris falls straight into your eyes. For two-story foyers, stairwells or vaulted ceilings, hire a pro with proper scaffolding.
Electrical Fixtures and Smoke Alarms
Ceiling lights, fans and hardwired smoke alarms need to come down before you cover the ceiling. Turn off the breaker and confirm power is off with a non-contact voltage tester before removing any fixture, and never work on powered wires. Box extenders let the fixture sit flush with a thicker ceiling. If you need to move a box, add a new fixture location or the wiring looks damaged, call a licensed electrician.
Troubleshooting
- Paint makes popcorn fall off: the coat was too heavy or overworked. Let it dry, use a lighter coat next time and consider a spray application.
- Tiles will not stick: the texture is too loose. Encapsulate first or use a tile system that screws to furring strips.
- Drywall seams crack: screws missed the joists or the sheets were not staggered. Re-screw into framing and re-tape.
- Planks sag between supports: furring strips are too far apart. Follow the plank maker’s spacing.
- Light fixture sits recessed: add a box extender sized to the new ceiling thickness.
Cost Ranges
Encapsulating paint is the least expensive option, often costing only the price of primer, paint and roller covers for a typical room. Glue-up tiles cost more per square foot but remain affordable for DIY. Plank and beadboard ceilings sit in the moderate range and climb with real wood. Drywall materials are modest, but professional hanging and finishing pushes the total into the higher range. Professional asbestos testing is inexpensive; abatement, if required, is the biggest potential cost and varies widely by region and room size.
When to Call a Licensed Professional
Bring in a licensed asbestos abatement contractor if testing finds asbestos and you plan any method that involves drilling, cutting or removal. Call a licensed electrician for relocating fixtures or adding new lighting. Hire a drywall finisher for a perfectly smooth ceiling, and a contractor with scaffolding for high or vaulted ceilings. Some areas require permits for ceiling work that involves electrical changes or abatement, so check with your local building department. For a tested, safe ceiling at a normal height, most homeowners can cover a popcorn ceiling themselves with paint, tiles or planks.
Frequently Asked Questions
What is the cheapest way to cover a popcorn ceiling?
Encapsulating paint is the cheapest option. It seals the texture in place and brightens it, though the popcorn remains visible.
Can you put ceiling tiles directly over popcorn texture?
Yes, many glue-up tiles are made for it. If the texture is loose or crumbly, encapsulate it first so the adhesive grips a stable surface.
Is it safe to drywall over a popcorn ceiling with asbestos?
Covering asbestos is often safer than removing it, but screwing through the texture still disturbs some material. Test first and consider hiring a licensed abatement contractor if it is positive.
How thick is drywall used to cover popcorn ceilings?
Most installers use 1/4-inch or 3/8-inch drywall to keep weight down, screwed directly into the ceiling joists.
Do I need to remove light fixtures before covering the ceiling?
Yes. Turn off the breaker, confirm power is off with a non-contact voltage tester, remove the fixture and add a box extender so it sits flush with the new surface.


