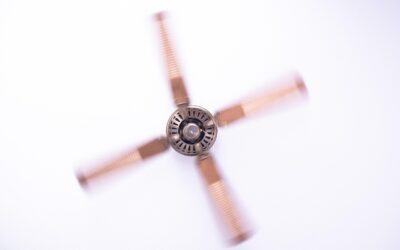
A ceiling fan can cut your cooling costs and make a room feel several degrees more comfortable, but installing a ceiling fan the wrong way is a genuine safety hazard, because a fan can weigh 15 to 50 pounds and spins overhead for years. Done correctly, installing a ceiling fan is a very achievable DIY project that takes an afternoon and basic tools. The single most important rule is to mount it on an electrical box rated for fans, never a standard lighting box. This guide covers the wiring, the mounting, and the balancing that make the difference between a smooth, quiet fan and a wobbling, noisy one.
- Installing a Ceiling Fan — Safety First: Cut the Power
- Use a Fan-Rated Electrical Box
- Tools and Materials
- Step One: Remove the Old Fixture
- Step Two: Mount the Ceiling Bracket
- Step Three: Connect the Wiring
- Step Four: Attach the Motor and Blades
- Step Five: Restore Power and Test
- Balancing a Wobbling Fan
- Cost Expectations
- Choosing the Right Fan Size
- Controls, Remotes, and Smart Options
- Final Thoughts
Installing a Ceiling Fan — Safety First: Cut the Power
Before you touch a wire, turn off the circuit at the breaker panel, not just the wall switch. Then confirm the power is off with a non-contact voltage tester at the existing fixture. Electrical work carries real risk, and this single step prevents shocks. If you are ever unsure about the wiring, hire a licensed electrician; the cost of $100 to $250 is small compared to the alternative.
Set up a sturdy stepladder on a level surface and have a helper on hand. Fans are awkward to hold overhead while connecting wires, and a second set of hands makes the job faster and safer.
Use a Fan-Rated Electrical Box
This is the step people skip, and it causes fans to fall. A ceiling fan must hang from a metal box specifically rated for ceiling fan support, marked “For Use With Ceiling Fans” and capable of holding the weight plus the dynamic load of spinning. A standard plastic lighting box is not strong enough.
If you are replacing a light fixture with a fan, you almost certainly need to swap the box. A pancake box mounted directly to a joist works where a joist is present. For locations between joists, an expandable fan-rated brace bar slides through the hole and clamps between the joists, with the box hanging from it. These braces run $15 to $30 and install without cutting extra drywall.
Tools and Materials
- Non-contact voltage tester and a multimeter
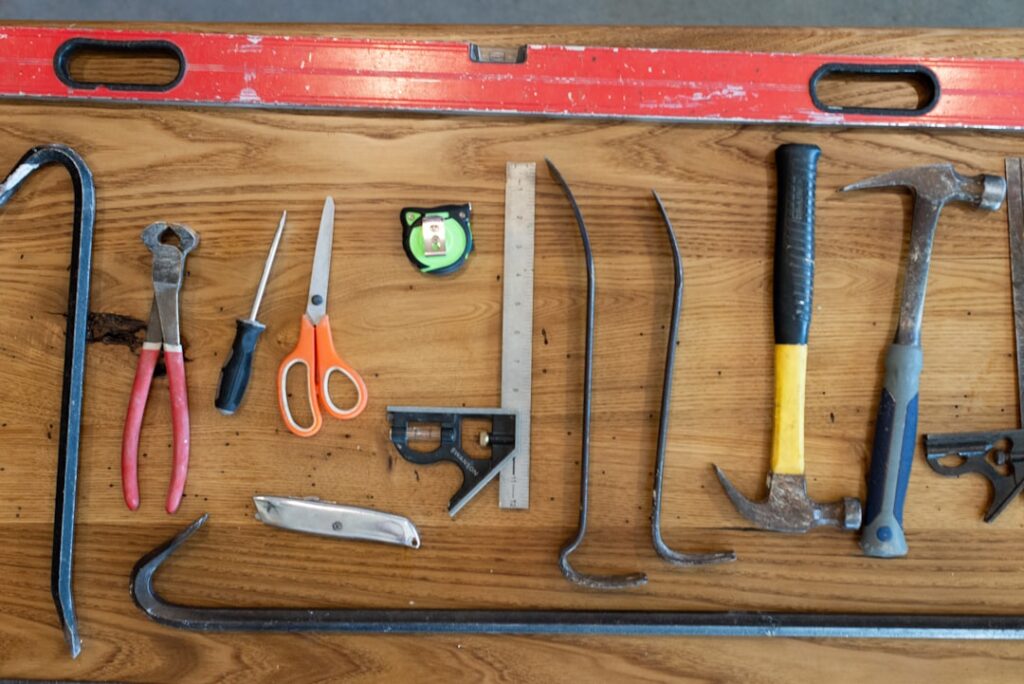
- Screwdrivers, wire strippers, and needle-nose pliers
- Adjustable wrench and a socket set
- Fan-rated electrical box or brace bar
- Wire connectors (usually supplied) and electrical tape
- Stepladder and a helper
Step One: Remove the Old Fixture
With the power off and verified, remove the old light or fan. Take down the shade or blades, unscrew the fixture from the box, and lower it to expose the wiring. Note how the wires connect: typically a black (hot), white (neutral), and a bare or green (ground). Disconnect the wire nuts and set the old fixture aside.
Inspect the existing box. If it is not fan-rated, remove it and install a proper brace bar and box now, before going any further.
Step Two: Mount the Ceiling Bracket
Assemble the fan’s mounting bracket and secure it to the fan-rated box with the supplied screws, tightening firmly. Most fans include a downrod for standard and vaulted ceilings; assemble the downrod and feed the wires through it before hanging. Many brackets have a hook or cradle that lets you rest the fan motor while you connect the wiring, a small feature that saves your arms.
For a sloped or vaulted ceiling, confirm the bracket accommodates the angle, and use a longer downrod if needed to keep the blades clear of the ceiling. Blades should sit at least 8 inches from the ceiling and 7 feet above the floor, ideally 8 to 9 feet for best airflow.
Step Three: Connect the Wiring
Hang the fan on the bracket hook and match the wires. Connect black to black (hot), white to white (neutral), and the ground wire (green or bare) to the ground on the bracket and the house ground. If your fan has a separate light kit, it usually has a blue wire; connect blue to black if a single switch controls both, or to a separate switched wire if you have a dual switch or plan to use the remote.
Twist each connection with a wire nut until snug, give a gentle tug to confirm it holds, and tuck the connections neatly into the box. Loose connections cause flickering and heat, so make each one deliberately.
Step Four: Attach the Motor and Blades
Lift the fan motor onto the bracket and secure it with the mounting screws. Install the canopy to cover the box and wiring. Then attach each blade to its bracket and each bracket to the motor, tightening every screw fully; loose blade screws are the number one cause of wobble.
Install the light kit if your fan has one, connecting the plug or wires, and add the bulbs and shades. Fans typically use candelabra or standard LED bulbs; check the maximum wattage on the fixture.
Step Five: Restore Power and Test
Turn the breaker back on and test the fan at each speed and the light on its switch or remote. The fan should run smoothly and quietly. Note the direction: blades should push air down in summer, spinning counterclockwise as you look up, and pull air up in winter, spinning clockwise. Most fans have a small reversing switch on the motor housing or a remote setting.
Balancing a Wobbling Fan
A little wobble is common and easy to fix. First, confirm every blade screw and the mounting screws are tight. Check that all blades sit at the same height by measuring from each blade tip to the ceiling; a bent bracket throws off balance. If it still wobbles, use the balancing kit included with most fans: a plastic clip and small weights that you move along the blades to find and correct the imbalance.
Cost Expectations
Ceiling fans themselves range from $50 for a basic model to $300 or more for large, quiet, DC-motor fans with integrated LED lighting and remotes. A fan-rated box or brace kit adds $15 to $30. Hiring an electrician to install a fan runs $100 to $350, more if new wiring or a switch is required. Doing it yourself saves the labor and is realistic for anyone comfortable working carefully with the power off.
Choosing the Right Fan Size
Matching the fan’s blade span to the room is essential for good airflow. For a room up to 75 square feet, such as a bathroom, choose a fan around 29 to 36 inches. Rooms of 75 to 175 square feet, like a bedroom, suit a 42- to 48-inch fan. Larger rooms of 175 to 350 square feet call for a 52- to 56-inch fan, and great rooms may need a 60-inch or larger model, or even two fans.
Airflow is measured in CFM; a well-designed 52-inch fan often moves 5,000 to 6,000 CFM on high. Look for the airflow efficiency rating, CFM per watt, if energy use matters to you. DC-motor fans cost more upfront, roughly $150 to $400, but use up to 70 percent less energy than AC-motor fans and run noticeably quieter, a worthwhile upgrade for a bedroom.
Controls, Remotes, and Smart Options
How you control the fan affects both convenience and wiring. A pull chain is simplest but inconvenient on high ceilings. A dual wall switch controls fan and light separately, which requires the right wiring in the box. Remote controls, included with many fans, add a receiver in the canopy and let you adjust speed, light, and direction from anywhere in the room.
Smart fans connect to Wi-Fi and integrate with voice assistants and home automation, letting you schedule the fan or tie it to a thermostat. If you choose a remote or smart fan, confirm the canopy has room for the receiver and that your wiring supports it. When replacing an old fan controlled by a dimmer switch, remember that standard light dimmers must never be used to control a fan motor, as they can overheat and damage the motor; use a fan-rated speed control instead.
Final Thoughts
Installing a ceiling fan rewards care over speed. Always cut the power and test it, mount the fan only on a fan-rated box or brace, make tight wire connections, and tighten every blade screw to prevent wobble. Get those fundamentals right, and you will have a smooth, quiet fan that improves comfort year-round and trims your energy bills for a decade or more.