
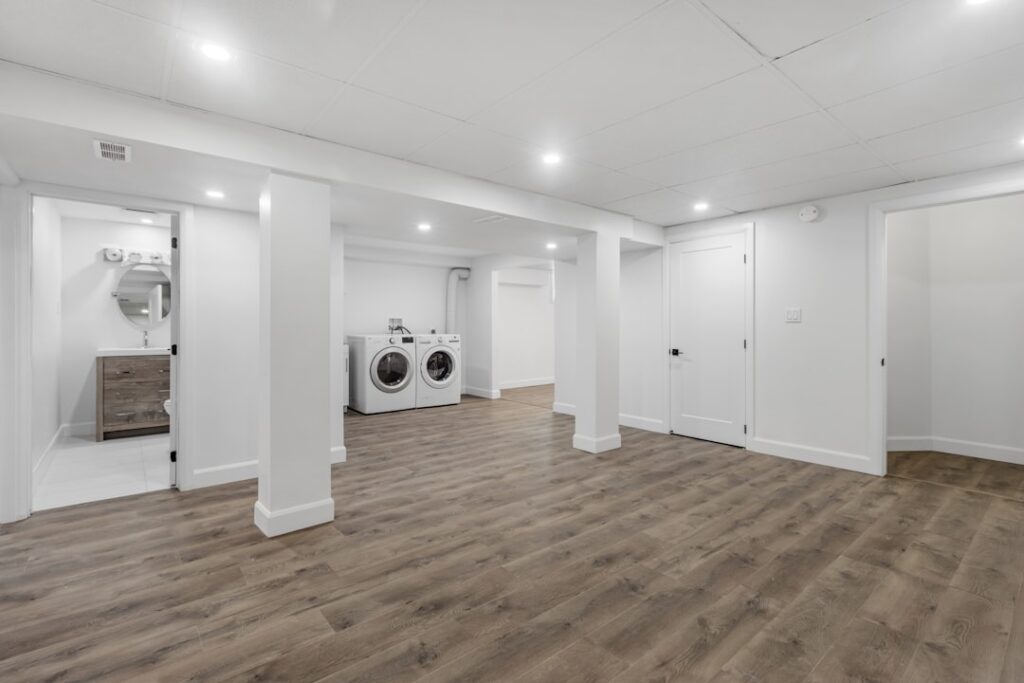
Interior basement waterproofing manages water after it reaches the foundation, using drainage, a sump pump, sealants, and moisture control to keep the space dry — all without the heavy excavation that exterior work demands. Because it’s far less disruptive and less expensive than digging around the house, interior basement waterproofing is the approach most homeowners choose first, and for many wet basements it’s all that’s needed.
Part of our Roofing guide — explore the full guide →
- How Interior Systems Work
- Interior Drain Tile
- The Sump Pump and Discharge
- Sealants and Crack Repair
- Vapor Barriers and Wall Systems
- Dehumidifiers and Sizing
- Cost of Interior Waterproofing
- Interior vs. Exterior: Why Choose Interior
- Battery Backup and Alarms
- Finishing a Basement After Waterproofing
- DIY vs. Professional
- Maintaining Your Interior System
How Interior Systems Work
Interior waterproofing accepts that some water will reach the foundation and gives it a controlled path out. A perimeter drain collects water at the base of the walls, channels it to a sump pit, and a pump ejects it away from the house. Sealants and vapor barriers cut down seepage and humidity, and a dehumidifier handles the remaining moisture in the air. It’s a system of managing water rather than blocking it at the soil — the reason it’s cheaper, since no excavation is involved.
Interior Drain Tile
The core of a serious interior system is drain tile installed inside the basement. Crews cut a channel in the concrete floor along the perimeter, lay perforated pipe in gravel, and route it to the sump pit before patching the slab. This sub-slab drain intercepts water rising through the floor-wall joint — the most common leak point — and carries it to the pump. A weeping-tile or drainage-channel system like this is what separates a real waterproofing job from just painting the walls, and it’s the most reliable interior fix for a chronically wet basement.
The Sump Pump and Discharge
The sump pump is the heart of the system. Water collected by the drain tile flows into the sump pit, and the pump lifts it out through a discharge line. A good setup includes:
- A properly sized pump matched to your typical water volume.
- A check valve to keep pumped water from draining back into the pit.
- A discharge line that carries water far enough from the foundation that it doesn’t recirculate.
- A battery backup pump so the system keeps working during the storms and outages when you need it most.
Tie the drain tile cleanly into the pit and slope everything toward it. Test the pump periodically by pouring water into the pit to confirm it kicks on and empties.
Sealants and Crack Repair
Sealing tackles direct seepage. Non-structural cracks in poured concrete walls can be filled with epoxy or polyurethane injection, and interior masonry surfaces can take a waterproof coating that slows moisture and humidity coming through the wall. These sealants work well against minor dampness but won’t hold back water under strong hydrostatic pressure on their own — that’s what the drain and sump are for. Treat sealing as a complement to drainage, not a replacement. And remember that any widening, horizontal, or bowing-wall crack is a structural warning that needs a professional, not just a bead of sealant.
Vapor Barriers and Wall Systems
To control moisture that migrates through the walls, interior systems often add a vapor barrier — a plastic or dimpled membrane fixed to the walls that directs any wall seepage down to the drain while keeping the finished side dry. Some products form a drainage plane behind finished walls so you can insulate and frame without trapping moisture. This is especially important if you plan to finish the basement, because a hidden moisture path behind drywall breeds mold. Pair the barrier with the perimeter drain so collected water has somewhere to go.
Dehumidifiers and Sizing
Even a well-drained basement stays humid in summer, so a dehumidifier is part of the system. Aim to hold humidity at 45–55%, which discourages mold and dust mites. Size the unit by pints of water removed per day and by how damp the space is — a small, moderately damp basement might need a 50–70 pint/day unit, while a large or very wet basement wants 90 pints/day or more. Route the condensate to the sump or a floor drain so you never empty a bucket, and plug the unit into a GFCI-protected outlet because it runs in a damp environment. A right-sized dehumidifier finishes the job the drainage starts.
Cost of Interior Waterproofing
Interior waterproofing costs far less than exterior work. Simple sealing and a basic sump might run $1,500 to $4,000, while a full interior drain-tile system with a sump pump and vapor barrier commonly lands around $4,000 to $10,000 for an average basement — versus $15,000 to $30,000-plus for comparable exterior excavation. Cost drivers include the length of wall treated, whether the floor must be cut for drain tile, pump quality and backup, and any wall or crack repairs. Adding a battery backup pump and a quality dehumidifier raises the price but sharply improves reliability.
Interior vs. Exterior: Why Choose Interior
Interior waterproofing is popular for practical reasons. It costs a fraction of exterior excavation — often $4,000 to $10,000 versus $15,000 to $30,000-plus — and it doesn’t tear up your landscaping, patio, or driveway. It can be installed year-round, even in winter when the ground is frozen and exterior digging is impractical, and the work happens inside where weather doesn’t delay it. The trade-off is that interior systems manage water after it reaches the foundation rather than stopping it at the soil, so they don’t relieve the hydrostatic pressure on the wall itself. For most homes with seepage at the floor-wall joint or through the slab, that’s a perfectly acceptable — and far more affordable — solution. Exterior work is reserved for cases where stopping water at the source is truly necessary.
Battery Backup and Alarms
A sump pump is only as reliable as its power, and the storms that flood basements are exactly when the grid fails. That makes a battery backup pump one of the smartest additions to an interior system: it takes over automatically during an outage or if the primary pump fails, buying hours of protection. For serious peace of mind, some homeowners add a water-powered backup that runs off municipal water pressure with no battery to maintain, or a Wi-Fi-connected sump alarm that texts you if the water level rises or the pump stops. A high-water alarm in the pit is a cheap early warning that catches a stuck float switch before the basement floods.
Finishing a Basement After Waterproofing
If your goal is a finished basement — a family room, office, or guest suite — waterproof before you frame and drywall, never after. Once walls are covered, a hidden leak breeds mold behind the drywall where you can’t see it until the damage is done. The right sequence is to install the perimeter drain, sump, and vapor barrier first, then frame with moisture-tolerant materials: treated bottom plates, mold-resistant drywall, and rigid foam or closed-cell insulation rather than moisture-trapping fiberglass against the wall. Leave access to the sump pit and any cleanouts. Doing the waterproofing first costs less than tearing out finished walls to fix a leak later, and it protects the whole investment in the finished space.
DIY vs. Professional
Handy homeowners can tackle several interior tasks: sealing minor non-structural cracks, installing or upgrading a sump pump in an existing pit, extending discharge lines, adding a vapor barrier, and setting up a dehumidifier with a drain. Cutting the floor for a full perimeter drain-tile system is heavy, dusty work that most people hire out, and anything involving structural cracks or bowing walls needs a professional and often a structural engineer. A sensible middle path is to do the grading, gutters, sealing, and dehumidifier yourself and hire out the drain-tile-and-sump installation. Diagnose the water source first — fixing exterior grading and downspouts is cheap and sometimes eliminates the need for interior drainage altogether.
Maintaining Your Interior System
An interior system is only reliable if you keep it working. Test the sump pump every few months by pouring a bucket of water into the pit and confirming it kicks on and drains fully, and check that the check valve holds so water doesn’t flow back. Clean debris and sediment out of the pit once or twice a year so the float switch moves freely — a stuck float is the most common pump failure. Inspect the discharge line for clogs, and make sure its outlet stays clear of ice in winter and directs water well away from the foundation. Replace the battery in a backup pump on the manufacturer’s schedule, and clean or empty the dehumidifier’s filter and drain periodically. A few minutes of seasonal maintenance keeps the whole system ready for the storm that tests it.


