Wet basement waterproofing starts with a diagnosis, not a product: you have to know whether the water is condensation, surface runoff, or groundwater under pressure before any fix will hold. A wet floor after every storm and a summer musty smell call for very different answers, so wet basement waterproofing done right means finding the source first, then matching the method. This guide walks through both.
- First, Identify Where the Water Comes From
- Fixing Condensation
- Stopping Surface Runoff (Cheapest Wins First)
- Handling Groundwater and Active Leaks
- Emergency Steps for an Actively Flooding Basement
- When to Call a Professional
- The Foil Test and Other DIY Diagnostics
- Finishing a Basement After Waterproofing
- What Waterproofing Costs to Fix a Wet Basement
- Health Risks of a Chronically Wet Basement
- Seasonal Patterns to Watch
- Preventing It From Coming Back
- Bottom Line
First, Identify Where the Water Comes From
Three sources cause almost all wet basements, and each has a telltale sign:
- Condensation: moisture forms on cool walls, pipes, and floors when humid air meets them. Test by taping a square of aluminum foil to the wall for 24 hours. Moisture on the room side means humid air; moisture behind the foil means water coming through the wall.
- Surface runoff: rainwater from gutters, downspouts, or poor grading seeps in near the top of the wall or at the wall-floor joint, usually right after rain.
- Groundwater / hydrostatic pressure: a high water table pushes water up through the floor or through wall cracks, often independent of recent rain and worst in wet seasons.
Nail this diagnosis and the correct solution becomes obvious. Skip it and you’ll spend money on the wrong fix.
Fixing Condensation
If the problem is humid air, waterproofing the walls won’t help. Instead:
- Run a dedicated basement dehumidifier sized to the space, typically a 50-pint unit for a full basement, and keep relative humidity around 45 to 50 percent.
- Insulate cold water pipes to stop dripping.
- Improve ventilation and make sure the dryer vents outside, not into the basement.
- Seal wall vapor with a masonry coating to slow moisture transfer.
Stopping Surface Runoff (Cheapest Wins First)
Surface water is the most common and most fixable cause. Handle the outside before touching the walls:
- Clean gutters and make sure they aren’t overflowing against the foundation.
- Extend downspouts 4 to 6 feet from the house so they don’t dump at the wall.
- Regrade the soil to slope away, about 6 inches of fall over the first 10 feet.
- Seal window wells and add covers.
These steps cost little and resolve a large share of wet basements. Only after the exterior is corrected should you seal interior cracks and joints.
Handling Groundwater and Active Leaks
When water pushes up through the floor or wall cracks under hydrostatic pressure, surface fixes alone won’t stop it. This is where real waterproofing systems come in:
- Interior perimeter drain: a channel cut around the inside edge of the slab that collects water and carries it to a sump pit. The go-to solution for chronic groundwater, typically $3,000 to $8,000.
- Sump pump with battery backup: ejects collected water outside. A backup pump ($200 to $500) is critical because the heaviest storms that flood basements also cause power outages.
- Crack injection: polyurethane or epoxy injected into a leaking poured-wall crack seals it for $300 to $800 per crack.
- Interior wall membrane: dimpled sheeting that channels seepage down to the drain and keeps finished walls dry.
- Exterior membrane and footing drain: the most thorough fix, excavating to the footing to block water at the source, $10,000 to $20,000.
Emergency Steps for an Actively Flooding Basement
If water is coming in right now:
- Cut power to the flooded area at the breaker if water is near outlets or appliances, and stay out of standing water that could be energized.
- Remove water with a wet-dry vacuum or portable pump once it’s safe.
- Get air moving with fans and a dehumidifier to prevent mold, which can start within 24 to 48 hours.
- Pull wet carpet, drywall, and insulation that has soaked; these trap moisture and grow mold.
- Photograph damage for insurance before you clean up.
When to Call a Professional
DIY covers gutters, grading, sealing, and a basic sump pump. Bring in a waterproofing contractor when:
- Water returns with every rain despite exterior fixes.
- The floor is consistently wet or you see water welling up through the slab.
- Cracks are wider than ¼ inch, horizontal, or the wall is bowing, all signs of structural pressure.
- The job needs an interior drainage system, sump integration, or excavation.
Active leaks and any structural movement are firmly professional territory. A good contractor’s most valuable service is correctly identifying the water source, the step homeowners most often get wrong.
The Foil Test and Other DIY Diagnostics
Because everything depends on the diagnosis, spend an evening confirming the source before you spend money:
- Foil test: tape a 12-inch square of aluminum foil tightly to a suspect wall and leave it 24 to 48 hours. Moisture on the room-facing side means humid air condensing; moisture trapped behind the foil means water migrating through the wall.
- Track the timing: note whether wet spots appear only after rain (surface runoff) or persist regardless of weather (groundwater or condensation).
- Follow the stain: water marks high on the wall point to runoff coming over the top or through window wells; marks at the wall-floor joint or up through the slab point to hydrostatic pressure.
- Check the obvious first: a sweating pipe, a leaking water heater, or a failed washing-machine hose can masquerade as a foundation leak.
Finishing a Basement After Waterproofing
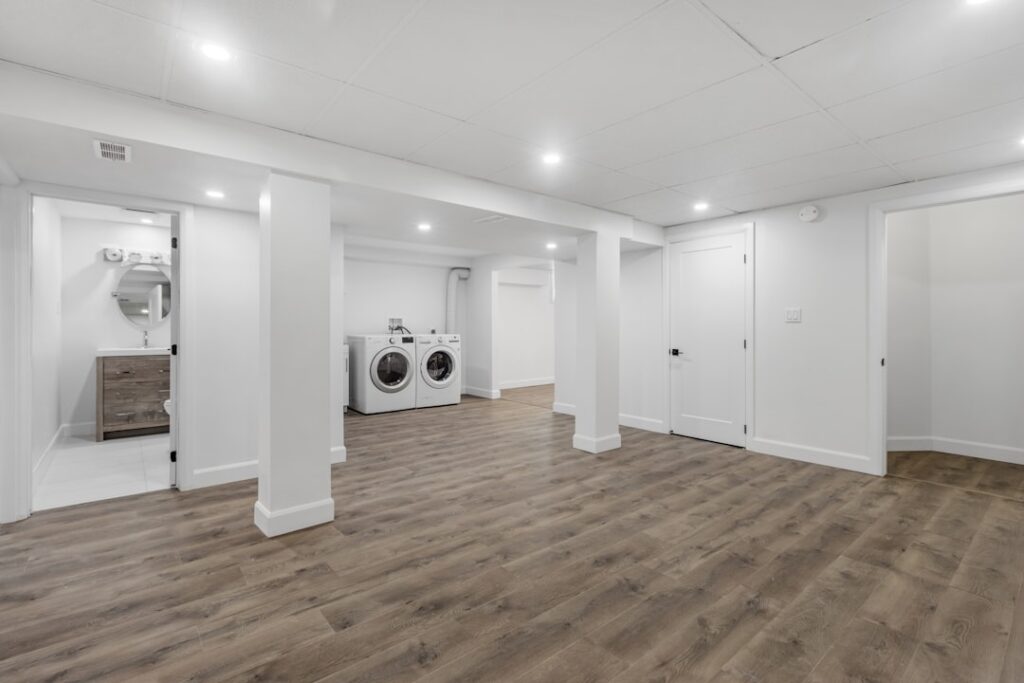
If your goal is a finished basement, waterproof first and finish second, never the reverse. Building out walls over an untreated damp foundation traps moisture behind the drywall and grows mold you cannot see until it spreads. Once the basement is reliably dry, use moisture-tolerant materials: a dimpled membrane or rigid foam against the concrete, treated bottom plates, mold-resistant drywall, and inorganic flooring like luxury vinyl plank or tile rather than solid hardwood or carpet directly on the slab. Leave an access point to the sump pit and drainage so you can service them. Building this way means a future minor seepage event is a nuisance, not a gut-and-rebuild disaster.
What Waterproofing Costs to Fix a Wet Basement
- Gutter, downspout, and grading fixes: $50 to $500 as DIY.
- Dehumidifier for condensation: $200 to $400 portable, more for whole-house.
- Crack injection for a single leak: $300 to $800 per crack.
- Sump pump with battery backup: $500 to $1,200 installed.
- Interior perimeter drainage system: $3,000 to $8,000.
- Exterior membrane with excavation: $10,000 to $20,000.
Health Risks of a Chronically Wet Basement
A wet basement is more than a nuisance; it affects the whole home’s air and health. Persistent moisture grows mold and mildew, which can start within 24 to 48 hours of water intrusion and release spores that circulate upward through the house, aggravating allergies and asthma. Damp conditions also invite dust mites and, in some regions, pests. Standing water and high humidity can rot wood framing and corrode metal, weakening structure over time. Because basement air often rises into living spaces through the stack effect, a musty, moldy basement degrades indoor air quality throughout the home. This is why controlling humidity to 45 to 50 percent and eliminating standing water quickly matters for health, not just for property protection.
Seasonal Patterns to Watch
Wet basements often follow the calendar, and noticing the pattern helps you plan. Spring snowmelt and heavy rains raise the water table and saturate soil, driving groundwater intrusion. Summer brings humid air that condenses on cool basement walls and floors, the classic sweating-wall problem that a dehumidifier solves. Fall’s leaf drop clogs gutters, sending overflow against the foundation right as autumn storms arrive. Winter freeze-thaw cycles can widen existing cracks. Matching your symptoms to the season points you toward the cause: weather-driven wetness signals runoff or groundwater, while summer-only dampness usually means humidity you can dehumidify.
Preventing It From Coming Back
- Keep gutters clean twice a year and after storms.
- Maintain positive grading; soil settles over time and needs topping up.
- Test the sump pump and its backup battery every few months.
- Run a dehumidifier in humid months and watch that foil-test spot after big rains.
Bottom Line
Wet basement waterproofing succeeds or fails on the diagnosis. Identify condensation, surface runoff, or groundwater first, then match the fix: dehumidify humid air, correct gutters and grading for runoff, and install interior drainage with a backup sump for groundwater. Handle the cheap exterior work yourself, act fast on active flooding to beat mold, and call a pro the moment leaks recur or a wall shows structural stress.