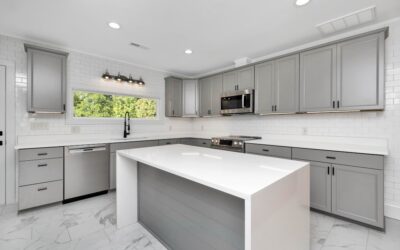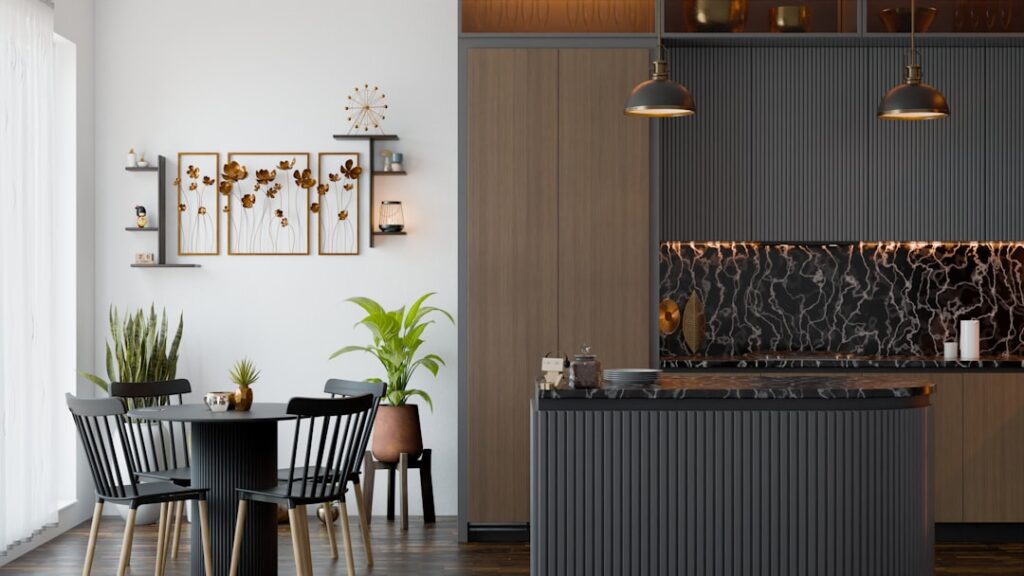
Dated cabinets don’t have to mean a five-figure kitchen remodel. Kitchen cabinet wraps — self-adhesive vinyl films applied directly over existing doors, drawers, and frames — can transform tired oak or laminate cabinets into a modern matte-white, wood-grain, or high-gloss finish for a few hundred dollars. It’s the same technology used to wrap cars, and when the surface is prepped correctly, the result looks convincingly like a factory finish. Here’s how wrapping works, what it costs, and when it’s the right call.
Part of our Kitchen Remodeling guide — explore the full guide →
What Cabinet Wraps Actually Are
A cabinet wrap is a thin, flexible vinyl film with a pressure-sensitive adhesive backing. You cut it to size and apply it over clean, smooth cabinet surfaces, using heat to conform it around edges and contours. Quality wraps come from brands like 3M (the DI-NOC architectural line), Cover Styl’, and various consumer options sold in rolls. The finishes range widely — solid colors in matte or gloss, realistic wood grains, concrete and stone looks, even brushed metal.
Why Homeowners Choose Wrapping
The math is the main draw. Compare the options for a typical kitchen:
- New custom cabinets: $8,000–$25,000+
- Cabinet refacing (new doors/veneer): $4,000–$10,000
- Professional cabinet painting: $2,000–$6,000
- DIY cabinet wraps: $150–$600 in materials
Beyond cost, wraps are fast — a motivated DIYer can wrap a small kitchen over a weekend — and they’re renter-friendly in the sense that they don’t require solvents, spray equipment, or professional finishing. There’s also no drying time or paint smell lingering for days.
Where Wraps Work and Where They Don’t
Wraps love flat and gently contoured surfaces: slab doors, shaker fronts with simple profiles, and flat cabinet boxes. They struggle with deeply routed, heavily grooved, or ornate raised-panel doors, where the film can’t conform without lifting or trapping air in the recesses. Textured surfaces are also a problem — the adhesive needs smooth material to grip. If your doors are heavily detailed or the laminate is already peeling, painting or refacing may serve you better.
Surface Prep — Where Success Is Decided
Ninety percent of wrap failures trace to bad prep. The adhesive is only as good as the surface under it. Do this properly:
- Remove all doors and drawer fronts and take off the hardware. Wrapping in place around hinges never looks right.
- Clean every surface with a degreaser — kitchen cabinets carry invisible cooking oil that kills adhesion. Follow with a wipe of isopropyl alcohol.
- Fill dents and old hardware holes with wood filler, let it cure, and sand flush.
- Lightly scuff glossy surfaces with fine sandpaper so the adhesive can bite, then wipe off all dust.
- Make sure everything is bone dry before you apply a single strip.
Applying the Wrap
The technique borrows straight from vehicle wrapping. Measure and cut each piece with a couple of inches of overhang. Peel the backing gradually as you lay the film, smoothing from the center outward with a felt-edged squeegee to push out air bubbles. Use a heat gun or hair dryer to warm the vinyl around corners and edges — heat makes it stretch and conform, then it “sets” as it cools. Wrap the film around the door edges and trim the excess with a sharp hobby knife for a clean wrapped corner. Patience with bubbles and edges separates a professional-looking result from an obvious DIY job.
Durability and Real-World Lifespan
A quality wrap applied over well-prepped surfaces lasts 5 to 10 years, and the architectural-grade films (3M DI-NOC and similar) are rated even longer. The wear points are predictable: edges near handles, the area around the sink where water sits, and surfaces above the stove exposed to heat and grease. Cheap wraps from unbranded rolls may start lifting at the edges within a year or two, so this is a place where paying for a reputable film genuinely pays off. Keep the film clean, wipe up spills promptly, and avoid abrasive scrubbers.
Care and Maintenance
Wrapped cabinets are easy to live with. Wipe them down with a soft cloth and mild soapy water; skip harsh solvents, bleach, and scouring pads that can scratch or dull the finish. Address any edge that starts to lift immediately by cleaning underneath and re-adhering with a bit of heat before dirt gets in and makes it permanent. Near the stove, a little extra care with grease and heat protects the most vulnerable panels.
Wraps vs. Paint: Which Is Better?
Both refresh cabinets affordably, but they suit different people. Paint handles ornate doors that wraps can’t, allows any custom color, and is easily touched up — but it takes days, needs good technique to avoid brush marks, and shows chips over time. Wraps go on faster, offer wood-grain and gloss looks that are hard to paint, and resist moisture well — but they demand flat surfaces and immaculate prep. For flat or shaker doors and a modern finish, wraps win on speed and looks. For detailed doors or a very specific paint color, reach for a brush and sprayer.
The Bottom Line
Kitchen cabinet wraps are a legitimate, budget-friendly way to modernize a kitchen without demolition — provided your doors are reasonably flat and you commit to thorough degreasing and prep. Buy a quality architectural film, take your time with edges and bubbles, and you can walk into a transformed kitchen after a weekend’s work for a couple hundred dollars, a savings of thousands over new cabinets.