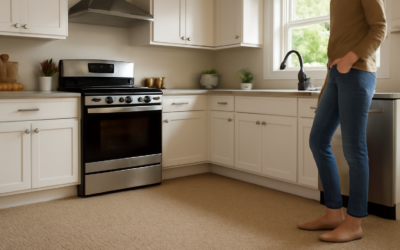
The kitchen is the single hardest room in a house to floor correctly. Water hits the surface, dishwashers leak, refrigerators leave indents, and dropped cast-iron pans crack tile that survives every other room. Kitchen flooring installation done right starts with the substrate, not the finish material — and that is where most weekend projects go wrong. This guide covers the realistic options, what they cost installed, and the prep steps that decide whether your floor lasts 8 years or 30.
Part of our Kitchen Remodeling guide — explore the full guide →
Material Choices That Actually Survive a Kitchen
Five materials make practical sense for kitchen floors today: porcelain tile, luxury vinyl plank, sheet vinyl, engineered hardwood with a waterproof core, and polished concrete. Solid hardwood and laminate work in low-moisture households, but neither is the smart bet if you ever have small kids or aging dishwashers.
Porcelain leads on durability and resale. LVP wins on warmth, comfort, and DIY-friendliness. Engineered with a hybrid SPC core (think Hallmark Courtier or Provenza Moda Living) splits the difference. Pick the material before pricing labor — installation cost varies enormously by category.
While you’re upgrading the kitchen floor, it might be a good time to rethink the seating too. Swapping out old bar stools is one of those small changes that makes the whole room feel more pulled together.
We may earn a commission when you purchase through our links.
Realistic Installed Costs
- Porcelain tile (12×24): $11–$18 per sq ft installed
- Large-format porcelain (24×48): $14–$24 per sq ft installed
- Luxury vinyl plank, click: $5–$10 per sq ft installed
- LVP, glue-down: $6–$12 per sq ft installed
- Sheet vinyl: $3–$6 per sq ft installed
- Engineered hardwood (waterproof core): $9–$16 per sq ft installed
- Polished concrete: $6–$12 per sq ft installed
Add 10 to 20 percent for demolition of existing flooring, plus $1.50 to $4 per sq ft if a self-leveler is needed. Old vinyl glued to a 1960s slab can hide nightmares — ask your installer for a contingency line item.
The Prep Step Most People Skip
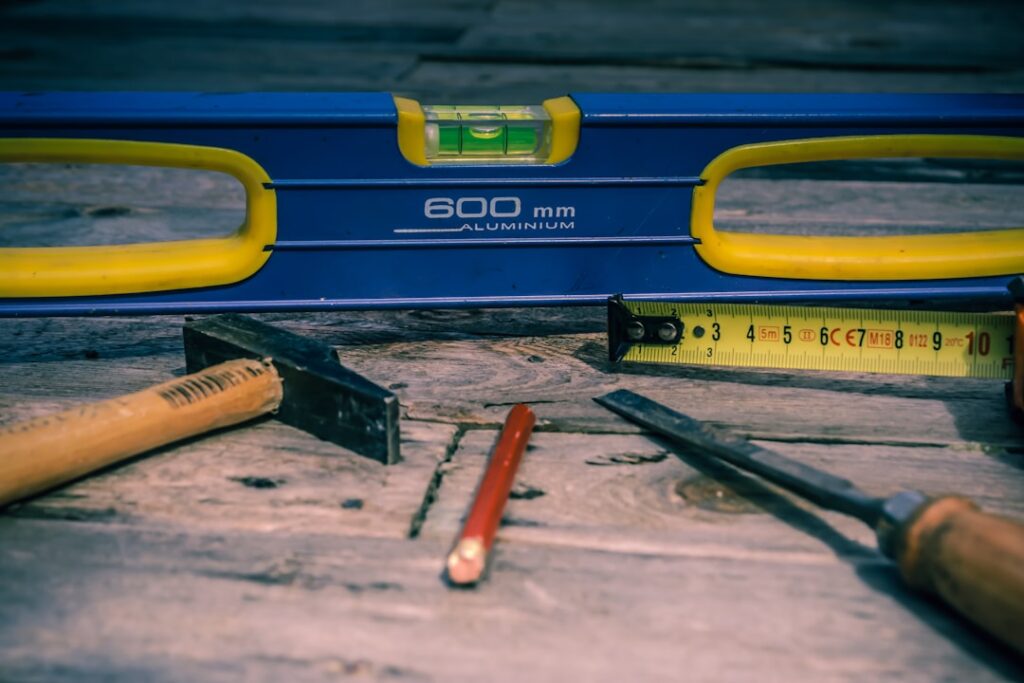
A flat, dry, clean substrate is more important than the finish material. Run a 10-foot straightedge across the floor — anywhere it gaps more than 3/16 inch needs leveler or grinding. Concrete slabs need a calcium chloride moisture test (under 3 lbs per 1,000 sq ft per 24 hours) or a relative humidity probe under 75 percent. Skip this and a glue-down LVP will telegraph every dip and bubble within six months.
For wood subfloors, check for spongy spots, squeaks, and out-of-plane joists. Add 1/4-inch underlayment plywood with ring-shank nails every 4 inches if you are tiling — anything less and grout cracks within two years.
Tile Installation Specifics
Kitchen tile lives or dies by the underlayment. Use a decoupling membrane like Schluter Ditra over plywood and over concrete with hairline cracks. Skip cement board for tile under 12×24 — Ditra installs faster and isolates movement better. For larger formats, switch to a 1/2-inch cement backer board screwed every 6 inches plus thinset bonded to the subfloor.
Use a large-and-heavy-tile mortar like Mapei Ultraflex LFT or Custom MegaLite for any tile over 15 inches on a side. Notched trowels matter: a 1/2-inch x 1/2-inch square notch for 12×24, a 1/2-inch x 3/4-inch for 24×48. Back-butter every large tile to hit 95 percent coverage. Anything less and you get hollow spots that crack the tile when a stockpot lands.
LVP and Vinyl Installation Specifics
Floating LVP needs a 5/16-inch expansion gap at every wall, cabinet, and pipe penetration. Quarter-round or shoe molding hides it. Most kitchens require a transition strip at the doorway because LVP cannot run continuously into carpet or tile without a movement break.
Glue-down LVP is the better choice in kitchens larger than 400 sq ft or under heavy cabinets. Use a pressure-sensitive adhesive rated for moisture (Mapei Ultrabond ECO 711 or Bostik GreenForce) and a 1/16-inch x 1/16-inch x 1/16-inch square-notch trowel. Roll the floor with a 100-pound roller within 30 minutes of laying each section.
Engineered Hardwood and Hybrid Cores
Traditional engineered hardwood survives a kitchen only if the homeowner is meticulous about spills. The hybrid SPC-core wood-veneer category — products like COREtec Originals Premium and Hallmark Polaris — handles standing water for up to 72 hours and clicks together with a real white oak or hickory wear layer on top.
Glue-down installation over concrete with a moisture-cure urethane (Bostik Best, Sika MB) gives the most stable result. Floating works for plywood subfloors but creates noticeable hollowness under the dishwasher. Always isolate the floor from cabinets — never run flooring under the cabinet base, only up to the toe kick.
Common Installation Mistakes
Three errors account for most kitchen floor failures. First, installing under cabinets and appliances. Floors expand and contract; trapped boards buckle. Run flooring up to the toe kick only and leave the dishwasher cavity tile-only or unfinished plywood.
Second, skipping silicone at perimeter wet zones. Caulk between flooring and cabinet kick at the sink base and dishwasher to keep splash water from wicking under boards. Third, grouting tile too soon — wait the full 24 hours after thinset cures, or grout cracks at every joint within a year.
Permits and Timeline
Most US municipalities do not require a permit for like-for-like flooring replacement. Check locally if you are changing substrate type or adding a heated mat. Realistic timelines for a 250 sq ft kitchen: 1 day for vinyl, 2 days for LVP, 3 to 4 days for tile (including grout cure), 2 to 3 days for engineered hardwood. Add a day for demo and another for any self-leveling.
Frequently Asked Questions
Should the kitchen floor go in before or after cabinets?
After. Run flooring to the toe-kick line so cabinets sit on subfloor, never trapped under the finish floor.
Do I need a moisture barrier under LVP in a kitchen?
Over concrete, yes — a 6-mil polyethylene sheet or a built-in pad. Over plywood, no, unless the manufacturer specifies it.
Can I tile directly over old vinyl?
Only if the vinyl is fully bonded, single-layer, and you use a decoupling membrane. Two layers or any loose seams require removal.
How long after kitchen flooring installation can I move appliances back?
Tile: 48 to 72 hours. LVP: 24 hours. Hardwood: 24 hours for floating, 72 for glue-down.
Prefer to explore on your own?
See how new flooring looks in your actual room in seconds — free, no signup.
Try the free Floor Studio →