
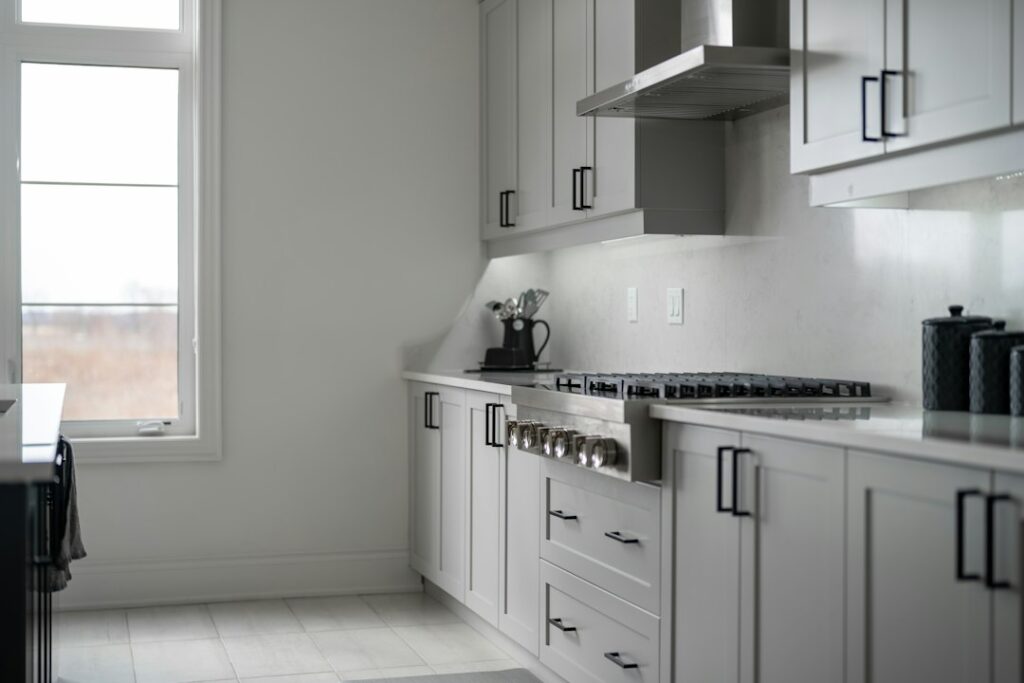
Soaking the filters is only about a third of the job. Real kitchen hood cleaning means degreasing the stainless exterior, the underside canopy, the fan housing and blower wheel, the grease cups or channels, and whatever section of duct you can reach. Grease that builds up on those surfaces drips back onto the cooktop, dulls the finish, makes the fan louder, and in a worst case feeds a flare-up that climbs into the hood.
Part of our Kitchen Remodeling guide — explore the full guide →
For most homes, a full whole-hood clean every three to six months, plus a monthly filter wash, keeps the system working. The job takes 60 to 90 minutes with a warm degreasing solution, non-scratch pads, and a screwdriver. You do not need harsh chemicals; hot water, dish soap, and baking soda handle most residential grease, with a dedicated kitchen degreaser for the sticky, amber layer that has baked on over months.
- Kitchen Hood Cleaning Basics: What Actually Gets Dirty
- Tools and Supplies
- Safety Before You Start
- Step-by-Step: Clean the Whole Hood
- Oven Vent Cleaning and Other Hidden Vents
- How Often to Clean: Frequency Guide
- Troubleshooting Common Problems
- Fire Risk and When to Call a Professional
- How to Clean Stove Fan Hood Parts Most People Skip
- Frequently Asked Questions
This guide walks through the full process, including oven vent cleaning for ranges with a rear or backguard vent, a frequency chart, and the signs that your ductwork needs professional attention.
Kitchen Hood Cleaning Basics: What Actually Gets Dirty
Grease-laden vapor rises from the pan, cools as it hits the hood, and condenses on the first cool surface it touches. That is why buildup appears in predictable places:
- Filters: Baffle or mesh filters catch the largest share. Charcoal filters in recirculating hoods cannot be washed and must be replaced.
- Underside and canopy edges: The lip around the filter frame collects a tacky film that attracts dust.
- Fan housing and blower wheel: Grease that slips past a clogged filter coats the fan blades, unbalancing them and increasing noise.
- Grease cups or trough: Many chimney-style and pro-style hoods channel liquid grease into a removable cup or tray that must be emptied.
- Exterior surfaces: Fingerprints, splatter, and airborne grease settle on the front and top, especially above a gas range.
- Duct: The first 12 to 24 inches above the fan collects residue, and a long or horizontal run can hold much more.
Tools and Supplies
- Dish soap (a grease-cutting formula) and baking soda
- Kitchen degreaser spray labeled safe for stainless steel and painted metal
- Large sink, bathtub, or plastic tote for soaking filters
- Non-scratch scrub pads, a soft nylon brush, and an old toothbrush
- Microfiber cloths, plus a plastic scraper for thick deposits
- Screwdriver or nut driver for fan and cover screws
- Rubber or nitrile gloves and safety glasses
- Step stool with a stable, wide top
- Stainless steel cleaner or a few drops of mineral oil for the final polish
Skip steel wool, abrasive powders, and oven cleaner on stainless steel or painted finishes. They scratch the grain and can strip coatings. Aluminum mesh filters can darken if soaked in strong alkaline cleaners or run through a high-heat dishwasher cycle, so check the manufacturer’s guidance before using lye-based products.
Safety Before You Start
Turn the hood fan and light off, then unplug the hood or switch off its circuit breaker before removing any panels, filters, or fan covers. Most range hoods are hardwired, so the breaker is the reliable option; turn off the breaker and confirm power is off with a non-contact voltage tester at the hood’s wiring area before reaching near the motor. Let the cooktop cool completely.
Cleaning chemicals need care too. Open a window or run a separate fan for ventilation, wear gloves and eye protection, and never mix cleaners. Bleach combined with ammonia or with acidic products such as vinegar produces toxic gases. Rinse one product off fully before switching to another.
Step-by-Step: Clean the Whole Hood
- Remove the filters. Slide or unlatch the baffle or mesh filters. Note which way each faces so they go back correctly.
- Start the soak. Fill a sink or tote with the hottest tap water you can get, around 140°F if your water heater allows. Add 1/4 cup of dish soap and 1/2 cup of baking soda, stir, and submerge the filters for 15 to 30 minutes. Stainless baffle filters can often go in the dishwasher instead; check your manual.
- Empty grease cups and trays. Pour liquid grease into a sealed container for the trash, never down the drain. Wash the cups in the same soapy solution.
- Degrease the underside. Spray the canopy interior and filter frame with degreaser or wipe on the soap solution. Let it dwell three to five minutes, then wipe with a non-scratch pad. Use the toothbrush for corners, light housings, and the filter channel.
- Clean the fan housing. With power off, remove the fan cover if your model allows it, usually by a few screws or clips. Wipe the blower wheel blades and housing walls with degreaser on a cloth. Do not soak the motor or spray liquid into it. Some blower wheels lift off for washing; if yours does, mark its orientation.
- Reach into the duct. Shine a flashlight up past the fan. Wipe the first 12 to 24 inches of accessible duct with a degreaser-dampened cloth wrapped on a brush handle. Anything you cannot reach safely is a professional duct job.
- Scrub and rinse the filters. Brush both sides with the nylon brush, working with the grain. Rinse in hot running water and let them air-dry completely before reinstalling.
- Clean the exterior. Wipe the front, sides, and top with warm soapy water, following the stainless grain. Rinse with a clean damp cloth and dry immediately to avoid streaks.
- Polish. Apply stainless cleaner or a few drops of mineral oil on a microfiber cloth and buff with the grain. Painted or glass hoods need only a clean, dry wipe.
- Reassemble and test. Reinstall the fan cover and filters, restore power, and run the fan on high for a minute. It should sound smoother and pull noticeably harder.
Oven Vent Cleaning and Other Hidden Vents
Many ranges exhaust oven heat through a slot under a rear element, beneath the backguard, or along the base of a front control panel. These oven vent openings collect splatter and crumbs that burn during every bake.
- Rear cooktop vent: With the range cool and its power disconnected, lift off any grate or cover, vacuum crumbs, and wipe the opening with a damp soapy cloth. Never push water into the vent, and never block it with foil.
- Downdraft vents: Pop-up and flush downdraft systems have their own filter under the grille. Clean it on the same schedule as an overhead hood filter.
- Over-the-range microwave vents: These combine a grease filter underneath with a charcoal filter above the door. Wash the grease filter monthly; replace the charcoal filter every six months if the unit recirculates.
How Often to Clean: Frequency Guide
| Component | Light Cooking | Heavy Frying / Daily Cooking |
|---|---|---|
| Metal filters | Every 2 to 3 months | Every 2 to 4 weeks |
| Charcoal filters (replace) | Every 6 months | Every 3 to 4 months |
| Underside and grease cups | Every 3 months | Monthly |
| Fan housing and reachable duct | Every 6 to 12 months | Every 3 to 6 months |
| Exterior | Weekly wipe | After each heavy cooking session |
| Professional duct cleaning | Every few years or as needed | Every 1 to 2 years |
A quick test: run a finger across the underside of the canopy. If it comes away sticky or leaves a clear track, it is time for a full kitchen exhaust hood cleaning.
Troubleshooting Common Problems
Fan Still Weak After Cleaning
Check the exterior wall or roof cap. A stuck backdraft damper, a bird nest, or lint and grease at the termination can choke airflow. If the damper flap is stuck closed or the run is long and flexible, a pro should inspect it.
Rattling or Vibration
A blower wheel reinstalled backward or carrying uneven grease will wobble. Disconnect power, remove and reseat the wheel, and clean every blade evenly.
Streaks on Stainless
Residual degreaser or wiping against the grain causes streaking. Rinse with plain water, dry, then buff with a small amount of mineral oil.
Filters Discolored
Aluminum mesh can turn gray from alkaline cleaners or dishwasher detergent. It is cosmetic, but if the mesh is torn or warped, replace the filter because gaps let grease bypass it.
Fire Risk and When to Call a Professional
Grease-coated ducts and fans are a real fire hazard, which is the strongest argument for regular kitchen hood cleaning. A pan flare-up can ignite residue in a dirty hood, and the fire can travel into the duct where you cannot reach it. Keeping filters clean is the first line of defense. Never use water on a grease fire; turn off the heat, cover the pan with a lid, and use a Class K or ABC extinguisher if needed.
Call a professional kitchen hood vent cleaning service when:
- Grease is dripping from the duct seams or pooling inside the hood.
- The duct run is long, horizontal, or inaccessible beyond the first couple of feet.
- You have had a grease fire, even a small one.
- The fan motor hums, overheats, or trips the breaker, which calls for an electrician or appliance technician.
- Your hood exhausts through a roof cap you cannot safely reach.
Residential hood and duct cleaning typically runs $150 to $400 depending on duct length and access, while a DIY clean costs under $25 in supplies. Replacement baffle filters generally run $20 to $80 each, and charcoal filters $10 to $40.
Finally, remember the floor. Grease that drips from a neglected hood lands on the range top and eventually the flooring in front of it, where it becomes a slip hazard and can stain unsealed grout or natural stone. A clean hood keeps the kitchen floor easier to maintain too.
How to Clean Stove Fan Hood Parts Most People Skip
A routine filter soak and canopy wipe leaves several parts untouched: the control panel, the light lenses and bulbs, the top of the hood and chimney cover, and finishes that need gentler care than brushed stainless. Knowing how to clean stove fan hood details like these keeps the unit looking good and prevents grease from creeping into switches and sockets. Turn off the fan and light, let any bulbs cool, and switch off the breaker or unplug the hood before you start. Never mix cleaners, since bleach combined with ammonia or acids releases toxic gas.
Buttons, Knobs, and Touch Panels
Controls collect greasy fingerprints and can fail if liquid seeps behind them. Never spray cleaner directly onto a control panel. Mist a microfiber cloth with warm soapy water or a mild degreaser, wring it nearly dry, and wipe each button or the touch surface. A cotton swab dampened the same way cleans edges and crevices around push buttons and slide switches. Some removable knobs pull straight off for a soak in soapy water; dry them completely before refitting. If a touch panel has a lock or cleaning mode, enable it first.
Light Covers and Bulbs
Grease on light lenses dims the cooktop and bakes onto the plastic or glass. Once the bulbs are cool and power is off, remove the lens covers by gently twisting or unclipping them per your manual. Soak them in the same hot soapy solution used for filters, then rinse and dry. Wipe cool bulbs with a barely damp cloth, never a wet one, and let them dry before restoring power. Replace burned-out bulbs with the type and wattage listed on the hood label, since a higher-wattage bulb can overheat the housing.
The Top of the Hood and Chimney Cover
The top surface of an under-cabinet hood and the panels of a chimney hood gather a sticky mix of grease and dust you only see from a step stool. Use a stool with a wide, stable top, keep your weight centered, and avoid stretching beyond the edge. Loosen the film with degreaser on a cloth, let it dwell a few minutes, and wipe with a plastic scraper or non-scratch pad. Laying a sheet of wax-free kitchen paper on the cabinet-side top, where it is out of sight, makes future cleanup easier.
Matching the Cleaner to the Finish
When deciding how to clean stove fan hood exteriors, check the finish first. Black stainless and fingerprint-resistant coatings can be dulled or stripped by abrasive or oil-based polishes, so use only mild soapy water and a soft cloth. Painted and enameled hoods tolerate soapy water but not harsh solvents. Glass canopies clean best with a vinegar-free glass cleaner or diluted dish soap, followed by a dry buff. Copper and brass hoods may have a clear protective lacquer; use mild soap only unless the maker recommends a specific polish. Test any cleaner on a hidden spot first.
Frequently Asked Questions
What is the best way to degrease a kitchen hood?
Soak the filters in very hot water with dish soap and baking soda, then wipe the underside, fan housing, and exterior with a stainless-safe kitchen degreaser. Let it dwell a few minutes before scrubbing with a non-scratch pad, then rinse and dry.
How often should kitchen hood cleaning be done?
Wash metal filters every one to three months depending on how much you cook, and do a whole-hood clean including the fan housing every three to six months. Heavy fryers should clean more often.
Can I put range hood filters in the dishwasher?
Stainless steel baffle filters usually can. Aluminum mesh filters may discolor in a dishwasher, so check the manufacturer’s instructions first. Charcoal filters cannot be washed at all and must be replaced.
Do I need to turn off power to clean a range hood?
Yes. Unplug the hood or switch off its breaker before removing filters or fan covers, and confirm power is off with a non-contact voltage tester if the hood is hardwired. Never spray liquid into the motor.
How do I clean an oven vent?
With the range cool and disconnected from power, remove any vent cover, vacuum loose crumbs, and wipe the opening with a damp soapy cloth. Never pour water into the vent or cover it with foil, since it needs to release oven heat.


