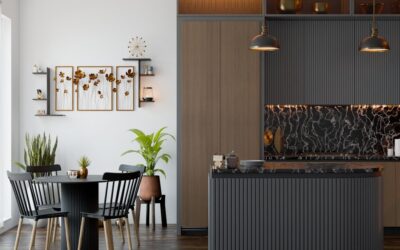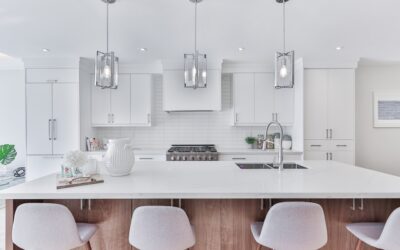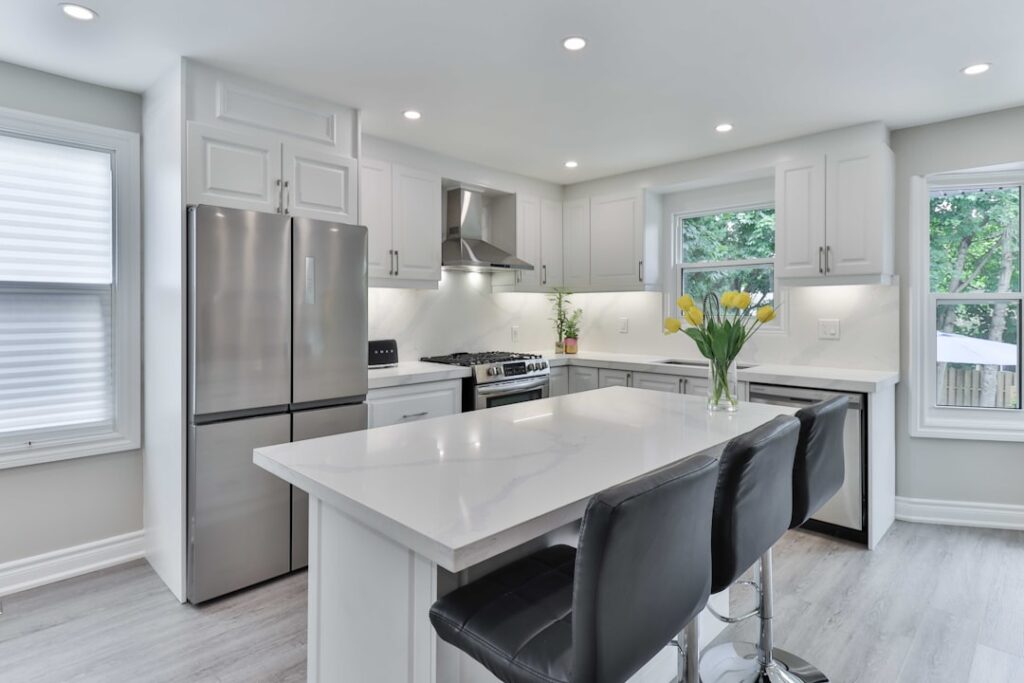
The right fixture over your island does double duty, providing task light for prep and a striking focal point for the whole room. Choosing a kitchen island chandelier means balancing scale, brightness, and style so it complements the space rather than overwhelming it. This guide walks through sizing rules, hanging heights, bulb choices, and design ideas.
Part of our Kitchen Remodeling guide — explore the full guide →
- Chandelier vs. Pendants Over an Island
- How to Size a Chandelier for Your Island
- The Length Rule for Long Islands
- Correct Hanging Height
- Brightness and Bulb Choices
- Matching Style to Your Kitchen
- Ceiling Height Considerations
- Electrical and Support Requirements
- Installation Overview
- Finish and Material Choices
- Layering With Other Light Sources
- Bulb Compatibility and Wattage
- Cost Expectations
- Cleaning and Maintenance
- Coordinating With Ceiling Fans and Other Fixtures
- Common Mistakes to Avoid
- Final Thoughts
Chandelier vs. Pendants Over an Island
Islands are commonly lit with either a chandelier, a linear fixture, or a row of individual pendants. A chandelier makes a single dramatic statement and works beautifully over square or short islands. Multiple pendants spread light more evenly across a long island and offer a more casual, modern look. A linear chandelier combines both, delivering the drama of a chandelier in a long shape suited to island proportions.
How to Size a Chandelier for Your Island
Getting the scale right is the most important step. A fixture that is too small looks lost, while one too large overwhelms the space. Use these guidelines:
- The combined fixture width should be roughly one-half to two-thirds the width of the island.
- Leave at least 6 inches of island edge on each side beyond the fixture.
- For a long island, a single round chandelier rarely fills the space, so consider a linear fixture or two chandeliers.
For example, over a 40-inch-wide island, aim for a fixture around 20 to 26 inches wide.
The Length Rule for Long Islands
Longer islands need proportional coverage. If your island exceeds about 6 feet, a single chandelier will leave the ends dark. Options include:
- A linear chandelier that spans much of the length.
- Two matching chandeliers spaced evenly.
- A chandelier flanked by smaller pendants.
Whatever you choose, distribute the light so the entire work surface is usable, not just the center.
Correct Hanging Height
Hang height affects both function and safety. The standard guideline is:
- The bottom of the fixture should sit 30 to 36 inches above the countertop.
- Taller ceilings can push toward the higher end, and add roughly 3 inches per foot of ceiling above 8 feet.
- Make sure the fixture clears the sightline of people seated or standing at the island.
Hanging too low blocks views across the island and risks head bumps; too high reduces task lighting and looks disconnected.
Brightness and Bulb Choices
An island is a work zone, so it needs real task light, not just ambiance. Consider:
- Brightness — aim for roughly 30 to 40 lumens per square foot over the island work area.
- Color temperature — 2700K to 3000K for a warm, inviting glow; 3500K for a crisper, more task-focused light.
- Dimmers — install a dimmer so you can go bright for cooking and soft for entertaining.
- LED bulbs — energy-efficient, long-lasting, and cool-running, ideal for a fixture over food prep.
Layering the chandelier with under-cabinet and recessed lighting ensures no shadows fall across your cutting board.
Matching Style to Your Kitchen
The chandelier is a design anchor, so its style should echo the room:
- Farmhouse — lantern shapes, wood and metal, and antique finishes.
- Modern — sleek linear fixtures, clean lines, and matte black or brass.
- Traditional — crystal or candle-style chandeliers with ornate arms.
- Industrial — exposed bulbs, cages, and aged metal.
Coordinate the fixture’s finish with your cabinet hardware and faucet for a pulled-together look.
Ceiling Height Considerations
Ceiling height changes what works. In a standard 8-foot ceiling, choose a compact fixture that will not feel oppressive at the required hanging height. Taller ceilings of 9 or 10 feet can carry a larger, more dramatic chandelier and allow more visual breathing room. If your ceiling slopes, use a fixture with an adjustable canopy or a swag kit so it hangs level over the island.
Electrical and Support Requirements
A chandelier can be heavy, so proper support matters. Fixtures over about 35 pounds require a rated ceiling fan or fixture box and often a support brace between joists. For any hardwiring, confirm the junction box is securely fastened and rated for the fixture’s weight. If you are relocating a box or adding a new circuit, hire a licensed electrician to ensure the work meets local code.
Installation Overview
- Turn off power at the breaker and confirm it is off with a tester.
- Verify the ceiling box is rated for the fixture’s weight and add a brace if needed.
- Assemble the chandelier and adjust the chain or rod to the desired height.
- Connect the wiring, matching hot, neutral, and ground.
- Secure the canopy, install bulbs, and restore power to test.
Because a chandelier hangs over a prep surface and often over a walkway, take extra care that it is level and firmly anchored.
Finish and Material Choices
Chandelier finishes set the mood and should coordinate with the rest of your kitchen hardware. Popular options include:
- Matte black — bold and modern, striking against light cabinets and countertops.
- Brushed brass or gold — warm and upscale, a favorite in transitional kitchens.
- Polished chrome or nickel — clean and reflective for a contemporary feel.
- Aged bronze or iron — rustic and substantial for farmhouse and traditional rooms.
Materials range from metal and glass to wood, rope, and woven rattan. Glass shades diffuse light softly, while open metal frames create a more dramatic, airy silhouette. Match the finish to your faucet and cabinet pulls to keep the kitchen cohesive.
Layering With Other Light Sources
A chandelier should not be your only light source over the island. A well-lit kitchen layers three types of lighting:
- Ambient — general room light from recessed fixtures or a ceiling light.
- Task — focused light for prep, provided by the chandelier and under-cabinet lighting.
- Accent — decorative light that highlights features and adds warmth.
By combining the chandelier with recessed cans and under-cabinet strips, you avoid harsh shadows and gain the flexibility to set the right mood for cooking, dining, or entertaining.
Bulb Compatibility and Wattage
Check what bulbs your chandelier accepts and how many. A fixture with several sockets can add up quickly, so choose efficient LED bulbs to keep energy use and heat low. Confirm the maximum wattage rating per socket and stay within it. If you want dimming, verify that both the bulbs and the dimmer switch are dimmer-compatible, since some LED bulbs flicker or buzz on incompatible dimmers. Consistent color temperature across all bulbs, ideally in the 2700K to 3000K range, keeps the light warm and even.
Cost Expectations
Island chandeliers span a wide price range depending on size and quality:
- Basic pendant-style or small chandeliers: 80 to 200 dollars.
- Mid-range linear and multi-light fixtures: 200 to 600 dollars.
- Designer and large statement chandeliers: 600 to 2,000 dollars or more.
Professional installation typically adds 100 to 300 dollars, more if an electrician must relocate a junction box or add support bracing. Factoring in the fixture, bulbs, a dimmer, and installation gives you a realistic total budget.
Cleaning and Maintenance
A chandelier hangs over a food-prep area, so it collects grease, dust, and cooking residue over time. Plan to dust it regularly with a microfiber cloth and to deep-clean the shades or crystals a few times a year. Turn off the power and let bulbs cool before cleaning. Glass shades can be washed gently with mild soap and water, while metal frames just need wiping. Keeping the fixture clean preserves its brightness, since a film of grease noticeably dims the light and dulls the finish.
Coordinating With Ceiling Fans and Other Fixtures
In open-plan kitchens, the island chandelier often shares a sightline with other fixtures, so coordination matters. Repeat the same finish on nearby pendants, sconces, or a breakfast-nook fixture to create a unified look. Avoid mixing too many competing metals or styles in one visual field. If a ceiling fan is present in the adjoining space, choose a chandelier that complements rather than clashes with it. Thinking about the room as a whole keeps the lighting feeling intentional and cohesive.
Common Mistakes to Avoid
- Choosing a fixture too small for the island’s width.
- Using one round chandelier over a long island and leaving the ends dark.
- Hanging the fixture too low, blocking sightlines and risking bumps.
- Skipping a dimmer and being stuck with one brightness.
- Overloading a standard ceiling box with a heavy fixture.
Final Thoughts
A well-chosen kitchen island chandelier elevates both the function and the beauty of your kitchen, delivering focused task light while serving as the room’s centerpiece. Size it to your island, hang it at the right height, choose warm dimmable LEDs, and match the style to your decor. Get those fundamentals right and your island will be as well-lit as it is eye-catching, ready for everything from weeknight dinners to entertaining guests.