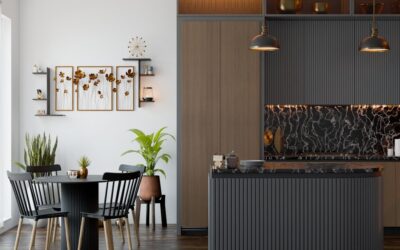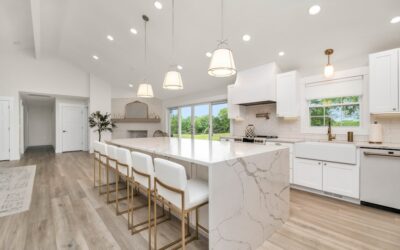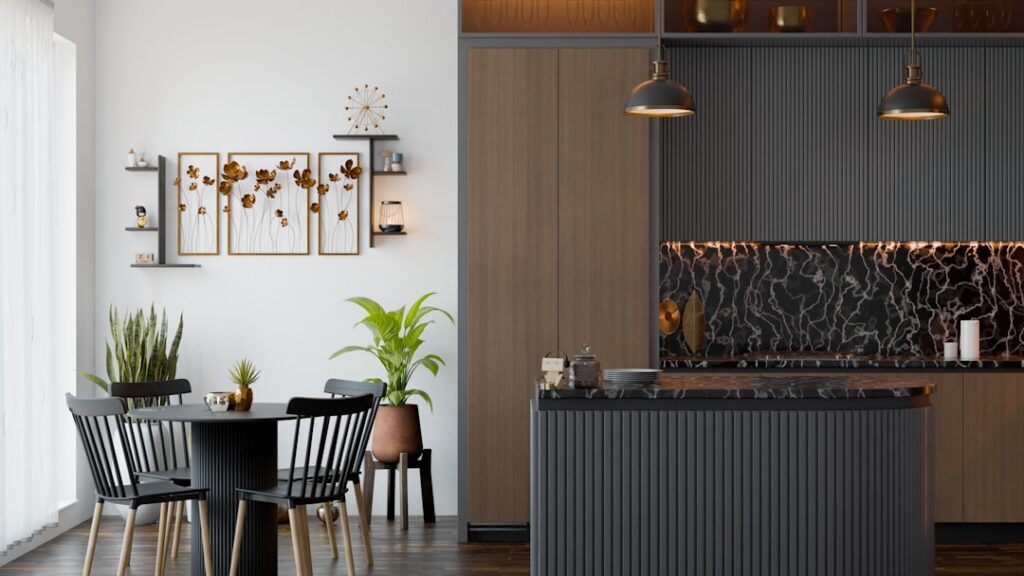
Kitchen island pendant lighting is the fastest way to make an island feel finished, but a few inches in the wrong direction turns a showpiece into a head-knocker or a dim task zone. Nail the height, spacing, and count, and the fixtures light your prep surface while framing the island like a piece of jewelry.
Part of our Kitchen Remodeling guide — explore the full guide →
This guide walks through every measurement and decision, from how many pendants to hang to which bulbs actually light a cutting board.
How High to Hang the Pendants
The single most-asked question has a reliable answer: hang the bottom of each pendant 30 to 36 inches above the countertop. On a standard 36-inch-tall island, that puts the fixture bottom roughly 66 to 72 inches off the floor, high enough to clear sightlines across the island but low enough to pool light on the surface.
Adjust for ceiling height. The old rule adds about 3 inches of drop for every foot of ceiling above 8 feet. With a 9-foot ceiling, aim near the 34- to 36-inch end of the range so the pendants do not float too far from the work surface. Tall cooks should also gut-check the number: if someone in the house is 6-foot-3, keep the bottom of the fixture at eye level or higher when they stand at the island.
How Many Pendants Do You Need
Count follows island length and fixture style. Two situations cover most kitchens:
- Two or three individual pendants: the classic look for islands 6 to 8 feet long. Two pendants suit islands up to about 6 feet; three suit 7-to-9-foot islands.
- One linear or multi-light fixture: a single elongated fixture spanning several bulbs works on any island and simplifies wiring to one junction box.
A quick way to size individual pendants: take the island length in inches and divide by the number of pendants to find the center-to-center spacing. Odd numbers usually look more balanced than even numbers because the eye finds a center point.
Spacing Them Evenly
Even spacing is what separates a professional install from a rushed one. Start by measuring the island length and marking the exact center. For two pendants, position them so each sits about one-quarter of the way in from either end. For three, place one dead center and the other two roughly 24 to 30 inches to each side, keeping at least 6 inches of clearance from the island edge so nobody clips a shoulder walking past.
Center the whole run over the island’s length, not the room’s, and confirm the pendants line up with the countertop below rather than the cabinet base, which sometimes sits inset. A laser level or a taut string across the ceiling keeps the drilled holes in a straight line.
Choosing the Right Pendant Size
Scale matters as much as spacing. For individual pendants over an island, a diameter of 10 to 14 inches reads as substantial without overwhelming the surface. Multiply the number of pendants by their width, add the gaps, and the total run should cover roughly two-thirds of the island length, leaving open space at each end.
A single linear fixture should span no more than about three-quarters of the island’s length, so a 7-foot island takes a fixture up to roughly 60 inches long. Anything longer starts to crowd the ends and looks like it is trying to escape the island.
Bulbs, Wattage, and Color Temperature
Light quality decides whether the island works for chopping and homework or just looks pretty. Aim for these targets:
- Brightness: a kitchen island wants roughly 70 to 80 lumens per square foot of prep surface. Three pendants at 800 lumens each (about 60-watt equivalent LED bulbs) light a typical island well.
- Color temperature: 2700K to 3000K gives warm, inviting light; 3500K to 4000K reads crisper and shows food colors more accurately. Most kitchens land at 3000K as a comfortable middle.
- Color rendering: choose bulbs rated CRI 90 or higher so tomatoes look red and raw chicken looks the way it should.
Put the pendants on a dimmer. Full brightness for prep, a lower setting for dinner and cleanup, all from one switch. Confirm your bulbs are marked dimmable and pair them with an LED-compatible dimmer to avoid flicker and buzz.
Matching Style to Your Kitchen
The fixture finish should tie into hardware and faucet metals already in the room. Matte black and brushed brass dominate current kitchens; polished nickel and oil-rubbed bronze remain safe classics. Clear glass globes suit almost any style and keep the light open, while metal shades throw a tighter, more dramatic cone downward.
For a coastal or farmhouse island, woven rattan or seeded-glass pendants add texture. Modern kitchens lean toward simple cylinders or thin-stemmed globes. Whatever you pick, keep the pendants consistent with each other and let them contrast slightly with the cabinets so they stand out rather than disappear.
Layering Pendants With the Rest of the Kitchen
Pendants alone rarely light a whole kitchen, and treating them as the only source leaves shadows on the counters along the walls. Think in layers. Recessed cans or a flush ceiling fixture handle general ambient light, under-cabinet strips wash the perimeter countertops for prep, and the island pendants supply focused task light plus the decorative accent. Put each layer on its own switch so you can run just the pendants on a dimmer for an evening glow or bring everything up for a busy dinner.
Keep the whole room on one color temperature. If your recessed cans are 3000K and your pendants throw a warmer 2700K, the mismatch reads as one zone looking dingy next to another. Buy all the bulbs at the same Kelvin rating, and check them side by side before you close up the fixtures.
Common Mistakes That Ruin the Look
Most pendant regrets trace back to a handful of errors. Hanging them too high is the frequent one, floating the fixtures near the ceiling where they light the air instead of the counter. Going too small runs a close second, since tiny pendants over a large island look like an afterthought. Centering the run over the room rather than the island throws the whole line off, and forgetting the dimmer leaves you stuck at one harsh brightness.
Two more worth flagging: mismatched heights, which happen when cords are not trimmed to the same length, and skipping the junction-box weight rating on a heavy fixture. Measure twice, cut the cords to identical drops, and confirm the box can carry the load, and you sidestep the problems that make an otherwise nice kitchen feel unfinished.
Wiring and Installation Basics
Good kitchen island pendant lighting depends on the box in the ceiling as much as the fixture below it. Each pendant needs a rated junction box able to carry its weight; heavy fixtures require a fan-rated or specifically supported box. If your island has no existing overhead circuit, a licensed electrician runs power and cuts in the boxes, a job that typically costs a few hundred dollars depending on ceiling access.
Swap in an adjustable-cord or rod-mount pendant so you can fine-tune the final height after everything is hung, because ceilings are rarely as level as they look. Turn the power off at the breaker, confirm it is dead with a tester, and mount the boxes into a joist or a proper brace rather than drywall alone. Space the boxes to your chosen center-to-center measurement before you cut, since moving a box after the fact means patching the ceiling. If you are retrofitting into a finished ceiling with no attic access above, expect the electrician to open and patch a strip of drywall to fish the wiring, which adds a day and a bit of cost. Once the pendants are level and the height is set, tighten the canopies and you have lighting that works as hard as it looks.