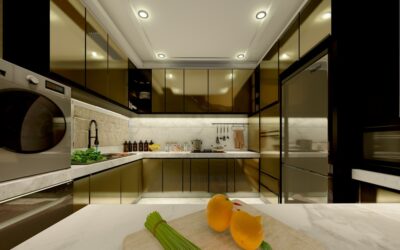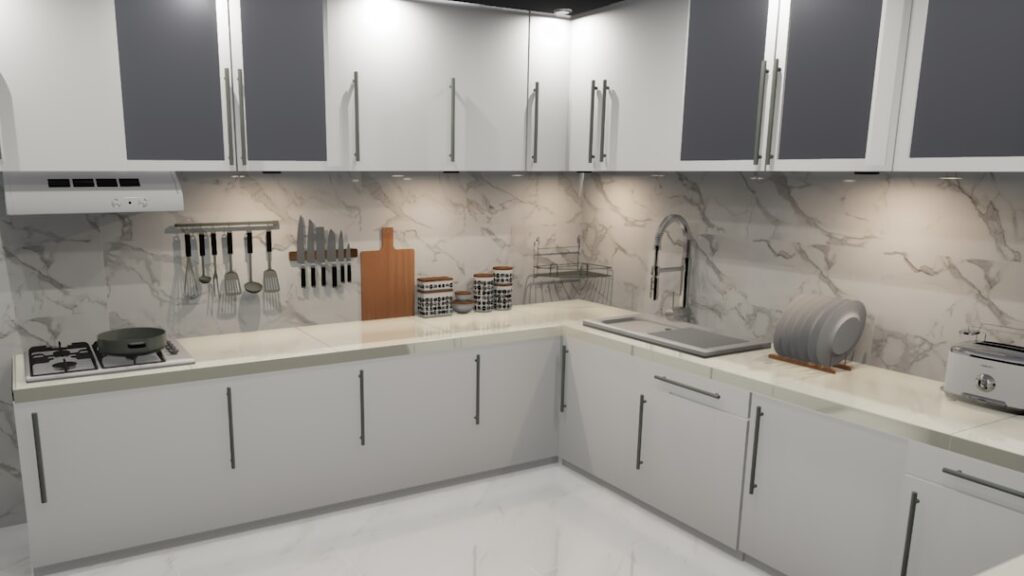
The kitchen island is the busiest surface in most homes — meal prep, homework, mail, and morning coffee all land here. That’s exactly why it’s so hard to decorate. Done well, kitchen island decorating turns a workhorse counter into the visual anchor of the entire room. Done poorly, it becomes a cluttered catch-all that fights with your actual cooking space. The trick is layering style and function so the island looks intentional without sacrificing the open work zone you need. Here’s how to strike that balance.
Part of our Kitchen Remodeling guide — explore the full guide →
Start With the Right Proportions
Before adding a single decorative item, look at your island’s scale. A standard island runs about 36 inches deep and anywhere from 4 to 7 feet long, with a 36-inch counter height. Decor should respect those proportions — a tiny vase on a 7-foot island disappears, while an oversized arrangement on a compact 4-foot island swallows your usable space.
The general rule is to decorate no more than one-third of the island’s surface, leaving the rest open for work. Cluster items toward one end or the center rather than spreading them edge to edge. This keeps the island feeling styled but still ready to use, which is the whole point.
Pendant Lighting Sets the Tone
Nothing defines an island like the lights above it. Pendants do double duty — they illuminate your prep zone and serve as jewelry for the kitchen. For a standard island, hang two or three pendants spaced evenly, with the bottom of each fixture 30 to 36 inches above the countertop.
Sizing matters: for a 6-foot island, two pendants 12 to 14 inches wide look balanced, while three smaller 8-inch pendants suit a longer run. Match the finish to your hardware and faucet — matte black, brushed brass, and aged bronze are the current favorites. Quality pendants run $80 to $300 each, and few upgrades change a kitchen’s feel more for the money.
Build a Styling Vignette
The heart of island decorating is a small, curated grouping — designers call it a vignette. The reliable formula uses a tray or board as a base, then layers three or so items of varying heights. A tray contains the cluster so it reads as deliberate rather than random.
- A base layer: A wood serving board, marble tray, or woven runner to ground the arrangement.
- Height: A bottle of olive oil, a tall vase, or a stack of cookbooks.
- Organic texture: A bowl of lemons, a sprig of eucalyptus, or fresh herbs in a small pot.
- A functional anchor: A pepper mill, a candle, or a ceramic crock holding utensils.
Stick to odd numbers and vary the heights — that contrast is what makes a vignette look professionally styled instead of cluttered.
Add Greenery and Life
A touch of green keeps an island from feeling sterile. Fresh herbs like basil and rosemary in small terracotta pots earn their spot by being both decorative and useful for cooking. If you’d rather not fuss with watering, a low arrangement of faux eucalyptus or a trailing pothos works year-round.
Keep plant heights low to medium so they don’t block sight lines across an open-concept kitchen. A single statement stem in a tall clear vase reads modern, while a fuller seasonal arrangement suits a more traditional space. Swap in branches like cherry blossom in spring or bare twigs in winter to keep the look current.
Style the Seating Side
If your island includes a 12 to 15-inch counter overhang for seating, the stools become part of the decor. Choose a count and style that fits the run — figure about 24 inches of width per stool, so a 6-foot island comfortably seats three. Backless stools tuck away cleanly and keep sight lines open, while upholstered counter chairs add comfort and softness.
Coordinate stool finishes with your island base or your pendant metals to tie the look together. A bench works well on a shorter island and adds a casual, family-friendly feel. Whatever you pick, leave a few inches of clearance between seats so people aren’t bumping elbows.
Color, Material, and Contrast
The island itself is a decorating opportunity before you place a single accessory. A two-tone kitchen, where the island wears a different color than the perimeter cabinets, has become one of the most popular looks — think a deep navy or sage island against white perimeter cabinetry. This instantly makes the island read as a deliberate feature rather than more of the same.
Countertop choice drives the whole vignette too. A waterfall-edge quartz island in a marble-look pattern feels modern and luxe, while a butcher-block top brings warmth and a natural focal point. Coordinate your decor’s tones with the counter and cabinet finish — warm wood accessories on a cool quartz top, or matte black accents against a light butcher block — so the styling feels intentional rather than scattered.
Common Mistakes to Avoid
A few missteps undermine even well-chosen pieces. The biggest is overcrowding — covering more than a third of the surface leaves no room to actually work and reads as clutter. Another is scale, where tiny accessories vanish on a large island or oversized arrangements swamp a small one. Match the size of your decor to the island’s footprint.
Avoid lining items up in a single straight row, which looks stiff and unstyled; cluster them instead in a triangle of varying heights. Skip anything that lives in the way of daily prep, and don’t forget the practical zone around the sink or cooktop if your island holds one. Beauty that blocks function never lasts, because you’ll move it within a day.
Keep It Functional and Seasonal
The best kitchen island decorating evolves with the seasons without becoming a chore. Build a simple permanent base — a tray, a utensil crock, a plant — then rotate one or two accent pieces for fall pumpkins, winter greenery, or summer citrus. This keeps the island feeling fresh on a five-minute reset rather than a full redo.
Above all, protect the work zone. Reserve roughly two-thirds of the surface for actual cooking and gathering, and your island will look styled, stay usable, and anchor the whole kitchen the way a centerpiece should. Beauty that survives daily life is the real goal here.